
Home > Directory of Drawing Lessons >Perspective Drawing > Foreshortened Perspective > How to Draw Objects in Perspective with Foreshortening
HOW TO DRAW OBJECTS & FIGURES IN PERSPECTIVE WITH FORESHORTENING DRAWING LESSONS
|


|
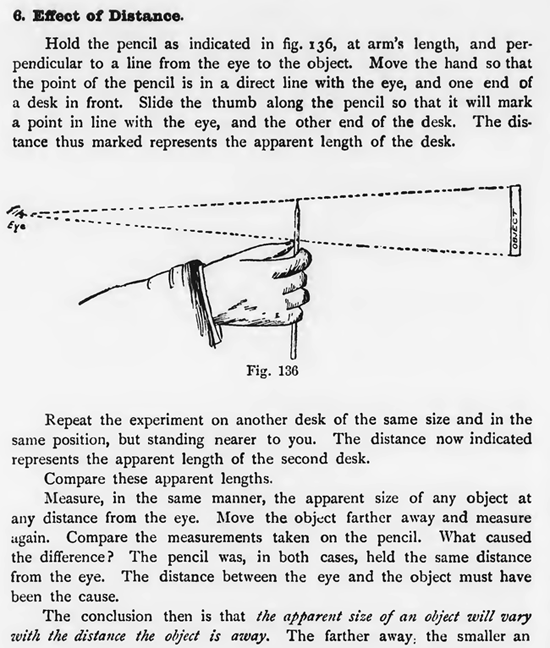
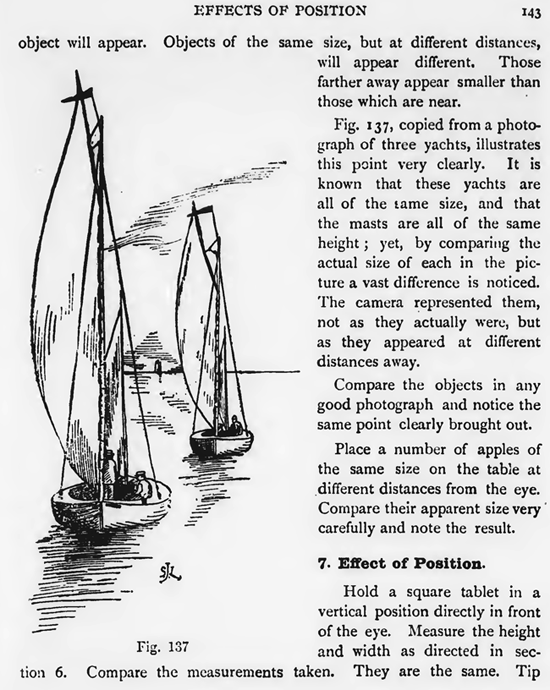
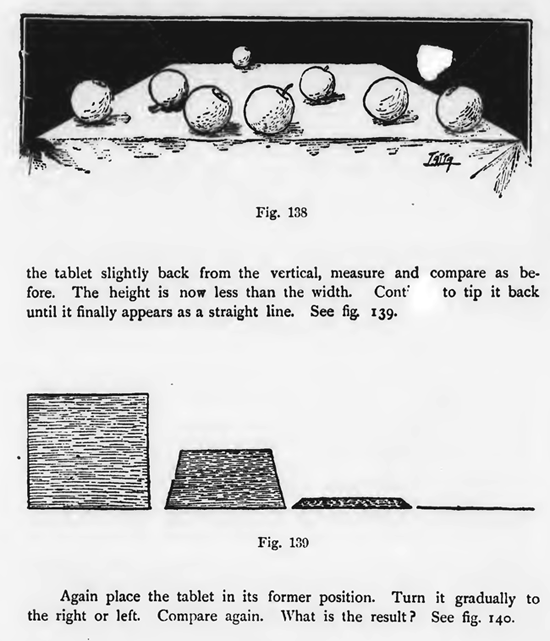
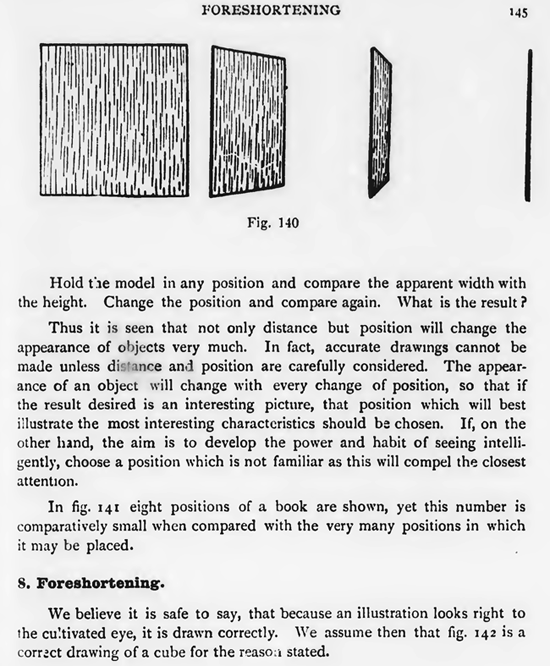
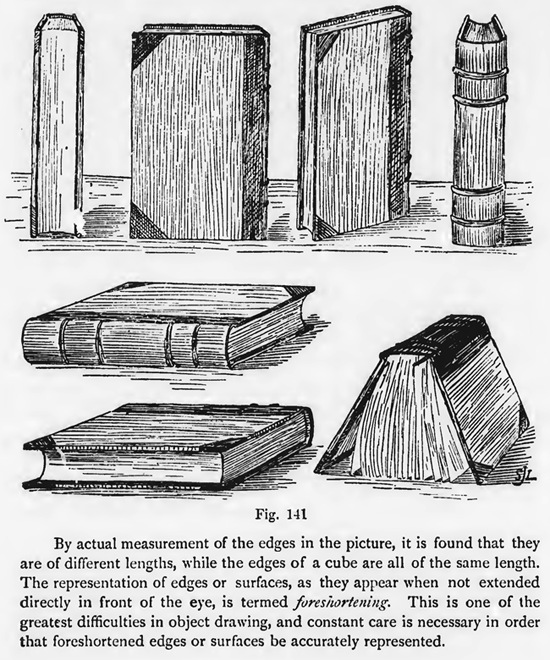
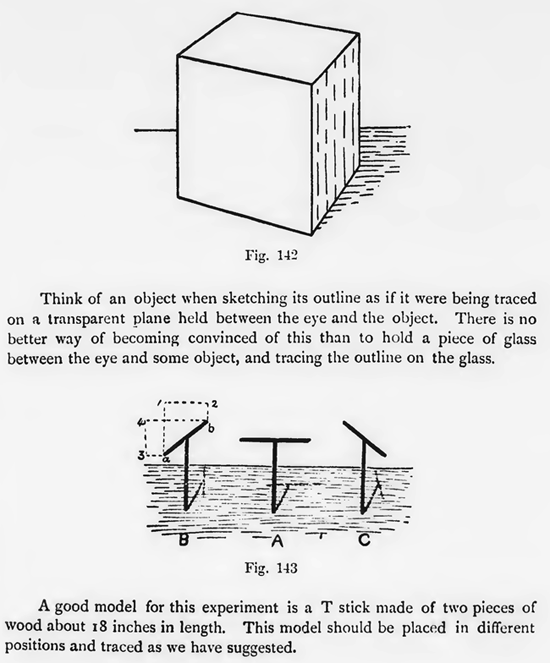
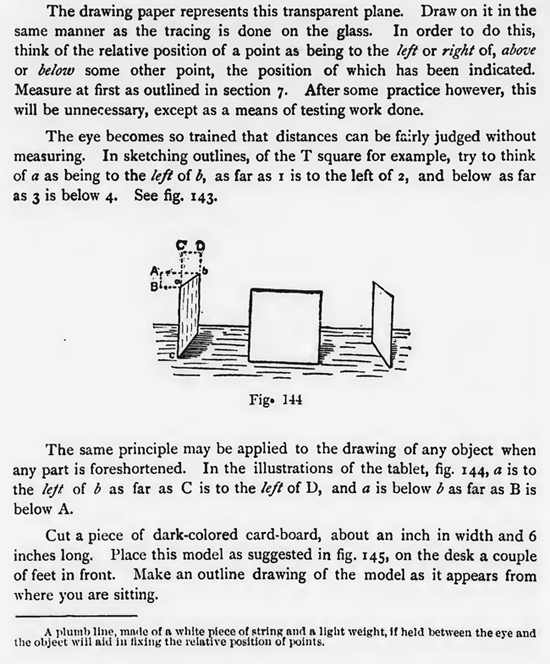
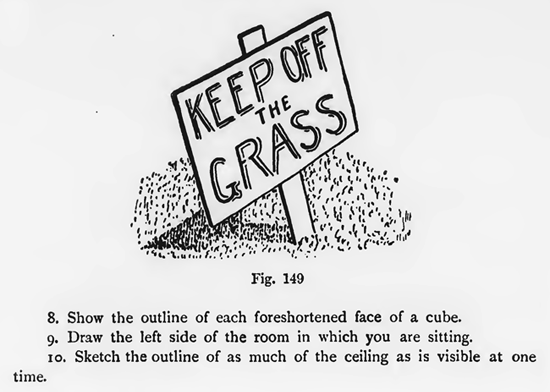
[The Text Above is Actually Images, so If You Need to Copy Text, You Can Do So Below] Effect of Distance.Hold the pencil as indicated in fig. 136, at arm's length, and perpendicular to a line from the eye to the object. Move the hand so that the point of the pencil is in a direct line with the eye, and one end of a desk in front. Slide the thumb along the pencil so that it will mark a point in line with the eye, and the other end of the desk. The distance thus marked represents the apparent length of the desk. Repeat the experiment on another desk of the same size and in the same position, but standing nearer to you. The distance now indicated represents the apparent length of the second desk. Compare these apparent lengths. Measure, in the same manner, the apparent size of any object at any distance from the eye. Move the object farther away and measure again. Compare the measurements taken on the pencil. What caused the difference? The pencil was, in both cases, held the same distance from the eye. The distance between the eye and the object must have been the cause. The conclusion then is that the apparent size of an object will vary with the distance the object is away. The farther away; the smaller an object will appear. Objects of the same size, but at different distances, will appear different. Those farther away appear smaller than those which are near. Fig. 137, copied from a photograph of three yachts, illustrates this point very clearly. It is known that these yachts are all of the tame size, and that the masts are all of the same height ; yet, by comparing the actual size of each in the picture a vast difference is noticed. The camera represented them, not as they actually were, but as they appeared at different distances away. Compare the objects in any good photograph and notice the same point clearly brought out. Place a number of apples of the same size on the table at different distances from the eye. Compare their apparent size very carefully and note the result. Effect of Position.Hold a square tablet in a vertical position directly in front of the eye. Measure the height and width as directed in section 6. Compare the measurements taken. They are the same. Tip the tablet slightly back from the vertical, measure and compare as before. The height is now less than the width. Continue to tip it back until it finally appears as a straight line. Again place the tablet in its former position. Turn it gradually to the right or left. Compare again. What is the result ? See fig. 140. Hold the model in any position and compare the apparent width with the height. Change the position and compare again. What is the result? Thus it is seen that not only distance but position will change the appearance of of Ijects very much. In fact, accurate drawings cannot be made unless di lire anA position are carefully considered. The appearance of an object will change with every change of position, so that if the result desired is an interesting picture, that position which will best i:lustrate the most interesting characteristics should be chosen. If, on the other hand, the aim is to develop the power and habit of seeing intelligently, choose a position which is not familiar as this will compel the closest attention. In fig. 141 eight positions of a book are shown, yet this number is comparatively small when compared with the very many positions in which it may be placed. Foreshortening.We believe it is safe to say, that because an illustration looks right to the cu!tivated eye, it is drawn correctly. We assume then that fig. 142 is a correct drawing of a cube for the reason stated. By actual measurement of the edges in the picture, it is found that they are of different lengths, while the edges of a cube are all of the same length. The representation of edges or surfaces, as they appear when not extended directly in front of the eye, is termed foreshortening. This is one of the greatest difficulties in object drawing, and constant care is necessary in order that foreshortened edges or surfaces be accurately represented. Think of an object when sketching its outline as if it were being traced on a transparent plane held between the eye and the object. There is no better way of becoming convinced of this than to hold a piece of glass between the eye and some object, and tracing the outline on the glass. A good model for this experiment is a T stick made of two pieces of wood about 18 inches in length. This model should be placed in different positions and traced as we have suggested. The drawing paper represents this transparent plane. Draw on it in the same manner as the tracing is done on the glass. In order to do this, think of the relative position of a point as being to the left or right of, above or below some other point, the position of which has been indicated. Measure at first as outlined in section 7. After some practice however, this will be unnecessary, except as a means of testing work done. The eye becomes so trained that distances can be fairly judged without measuring. In sketching outlines, of the T square for example, try to think of a as being to the left of b, as far as 1 is to the left of 2, and below as far as 3 is below 4. See fig. 143. The same principle may be applied to the drawing of any object when any part is foreshortened. In the illustrations of the tablet, fig. 144, a is to the left of b as far as C is to the left of D, and a is below b as far as B is below A. A plumb line, made of a white piece of string and a light weight, if held between the eye and the object will aid in fixing the relative position of points. Care must be taken to make all measurements when the pencil is at the same distance from the eye. To make sure of this, fasten the pencil by a piece of s' ring to the coat and take all measurements when the string is taut. In the same manner mark the positions of all other corners. D is A-2 to the right, and 2-D above A; C is A.3 to the left, and 3-C above A. By joining these points by straight lines the outline is completed. Fig. 147 further illustrates this principle and shows its application to the drawing of a group of leaves. The subject of foreshortening is further dealt with, in the sections on perspective. There is this, however, that we desire to emphasize : while the principles, outlined in sections referred to are necessary, success will largely depend upon ability to think of prominent points in an object as being to the lit or right of, above or below some other point already indicated. The best objects to use as models for first practice are those having prominent points indicating the meeting of edges or surfaces. See fig. 148 and fig. 149 Problems.1. Draw a garden rake ; (a) as it appears when lying on the ground, handle to the right ; (b) hanging on the wall so that the head is above the eye, handle pointing down ; (c) leaning against the wall, head down. |


Privacy Policy ...... Contact Us