Today I’ll show you how to draw a creepy Halloween silhouette scene with a glowing orange background. You will learn how to draw the silhouette of a creepy tree, a bat, a jack-o-lantern hanging from the tree, and graves. Find out how to draw them with this step-by-step drawing tutorial.
How to Draw a Halloween Graveyard Scene with a Silhouette of a Tree, a Bat, Graves, and a Jack-O-Lantern Step by Step Drawing Tutorial for Kids
STEP 01
Trace a bowl or something round that almost takes up the whole page.
STEP 02
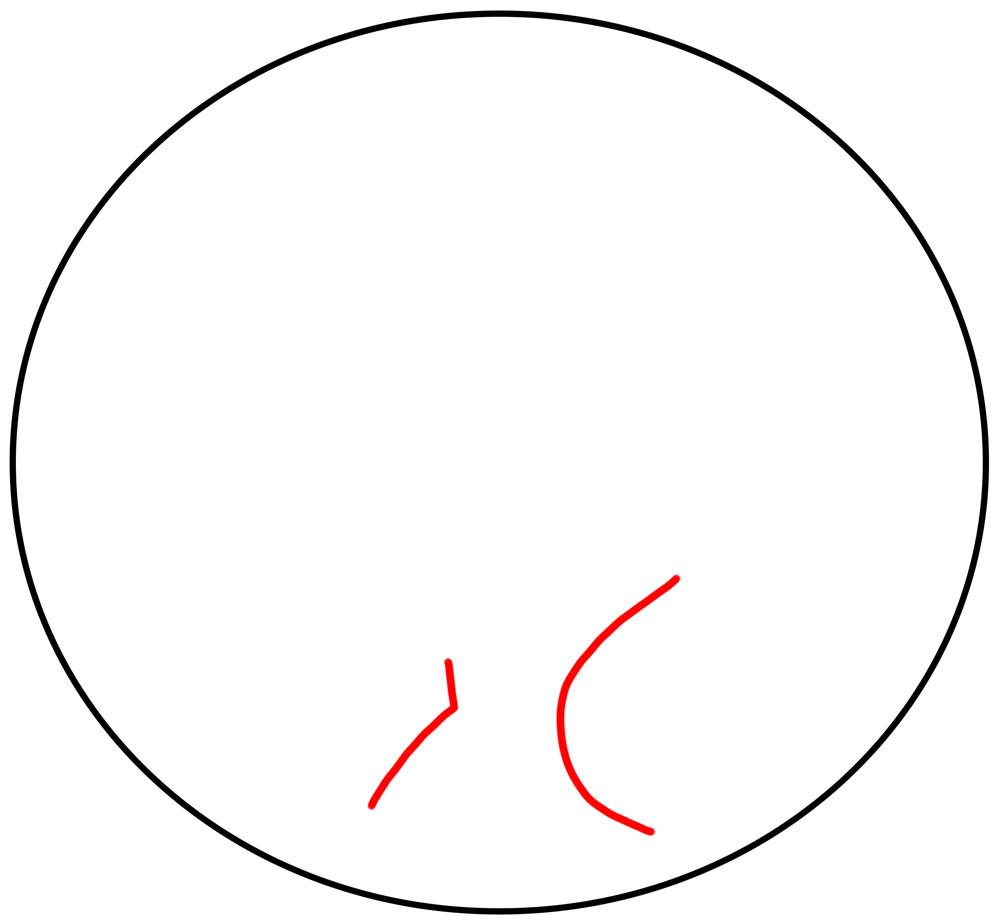
Draw a #7-like shape followed by a letter “C” shape. This will be the tree.
STEP 03
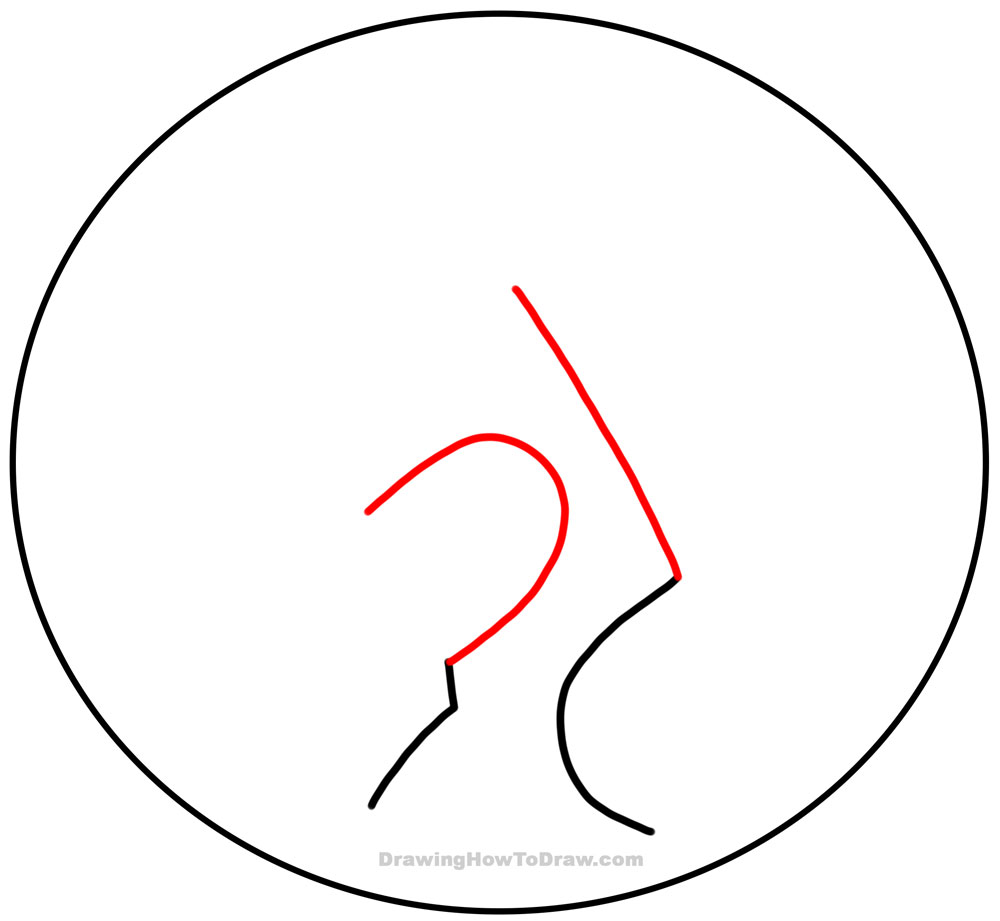
Draw a sideways “U” shape and a slanted line.
STEP 04
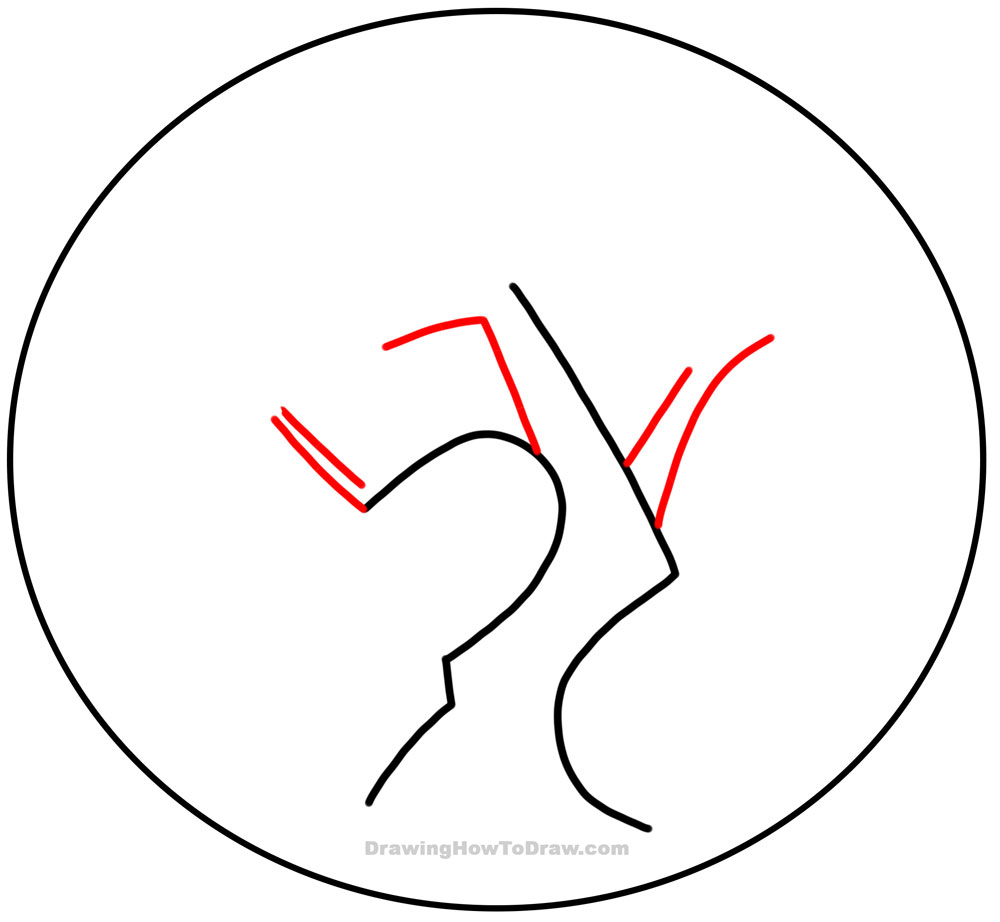
Draw 2 lines on the left, a #7 in the middle, a slanted line, and a curved line on the right.
STEP 05
Draw a curved line, a few lines, and a checkmark shape.
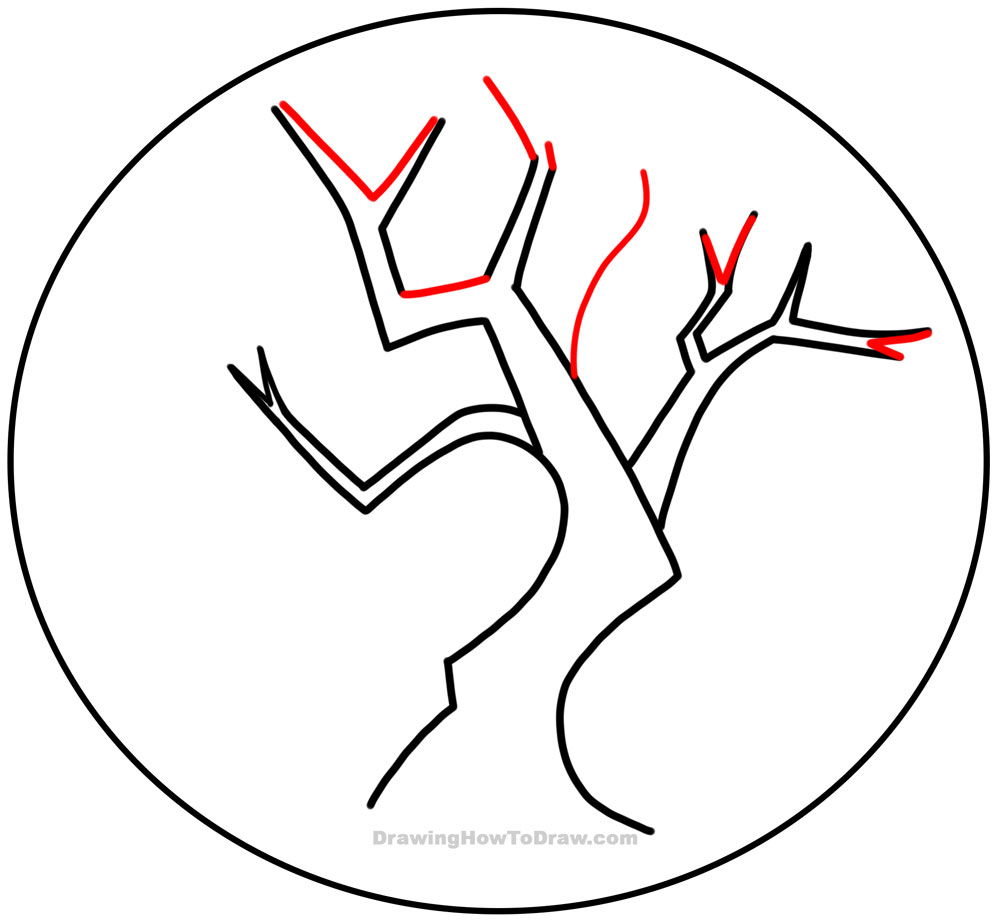
STEP 06
Draw a “V” shape and a bunch of slanted lines.
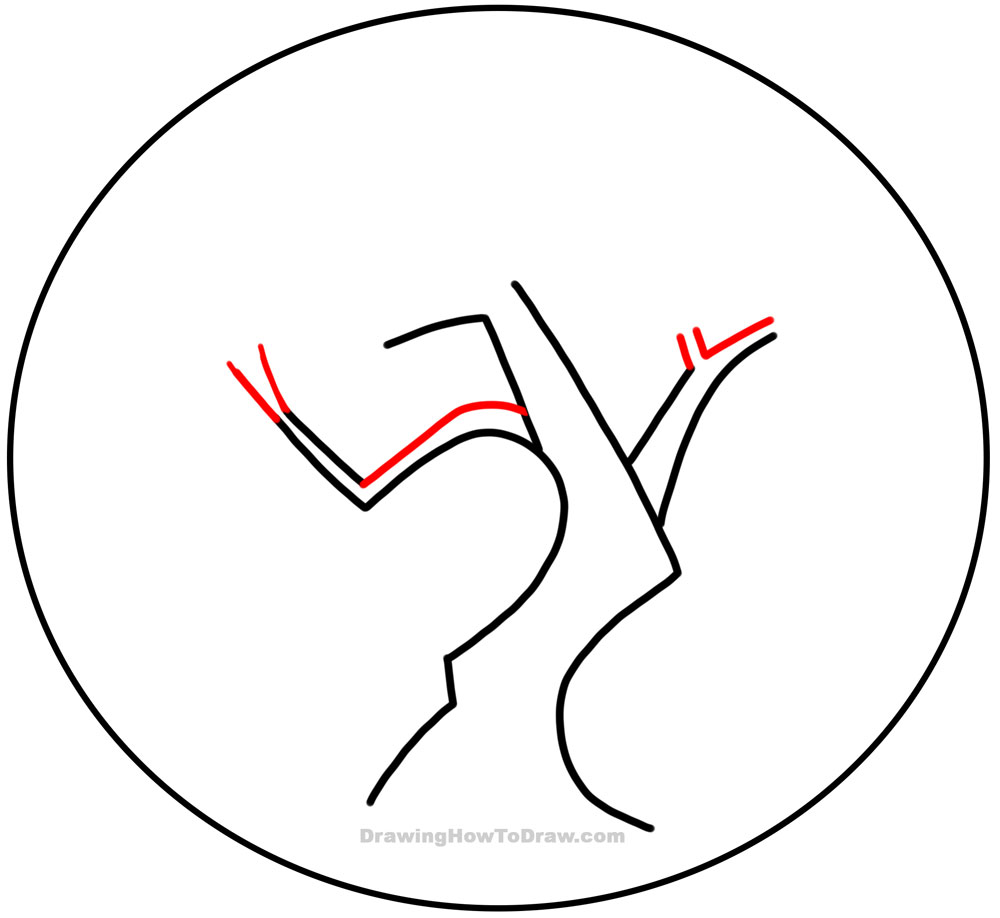
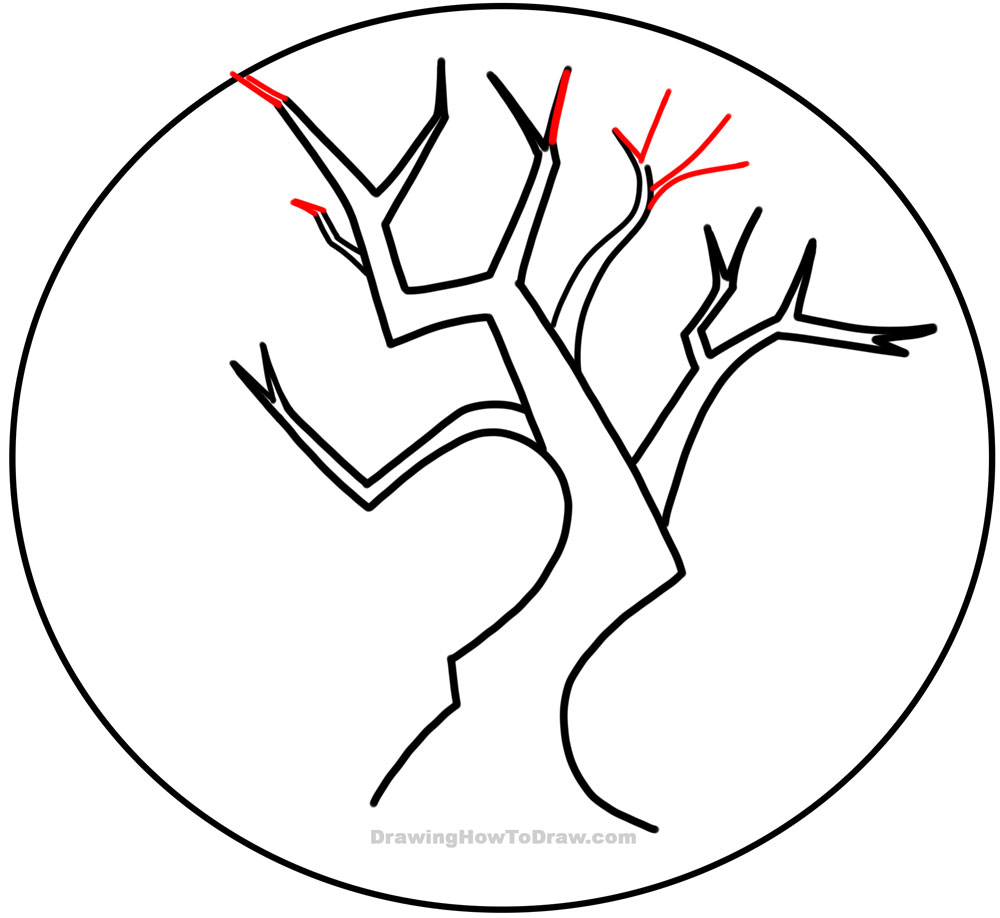
STEP 07
Continue adding to the branches. The branch on the left sort of looks like a “Y” now and the branch on the right has a sideways “V” in it.
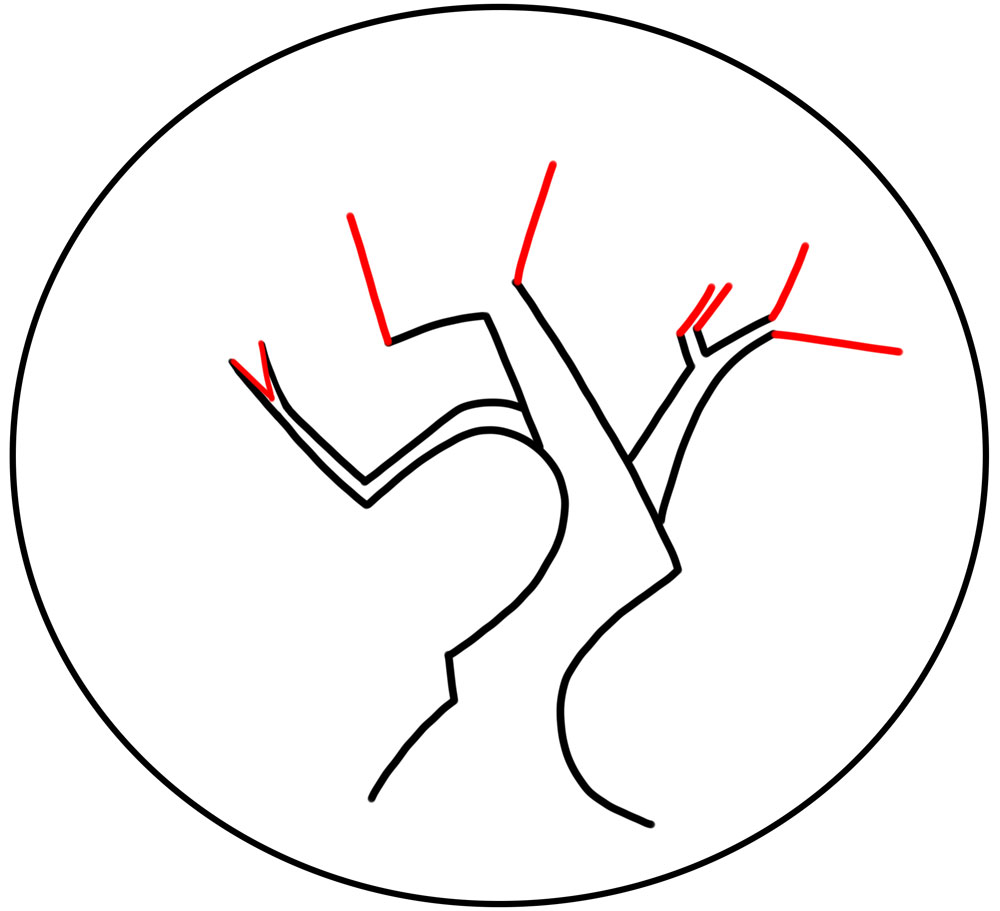
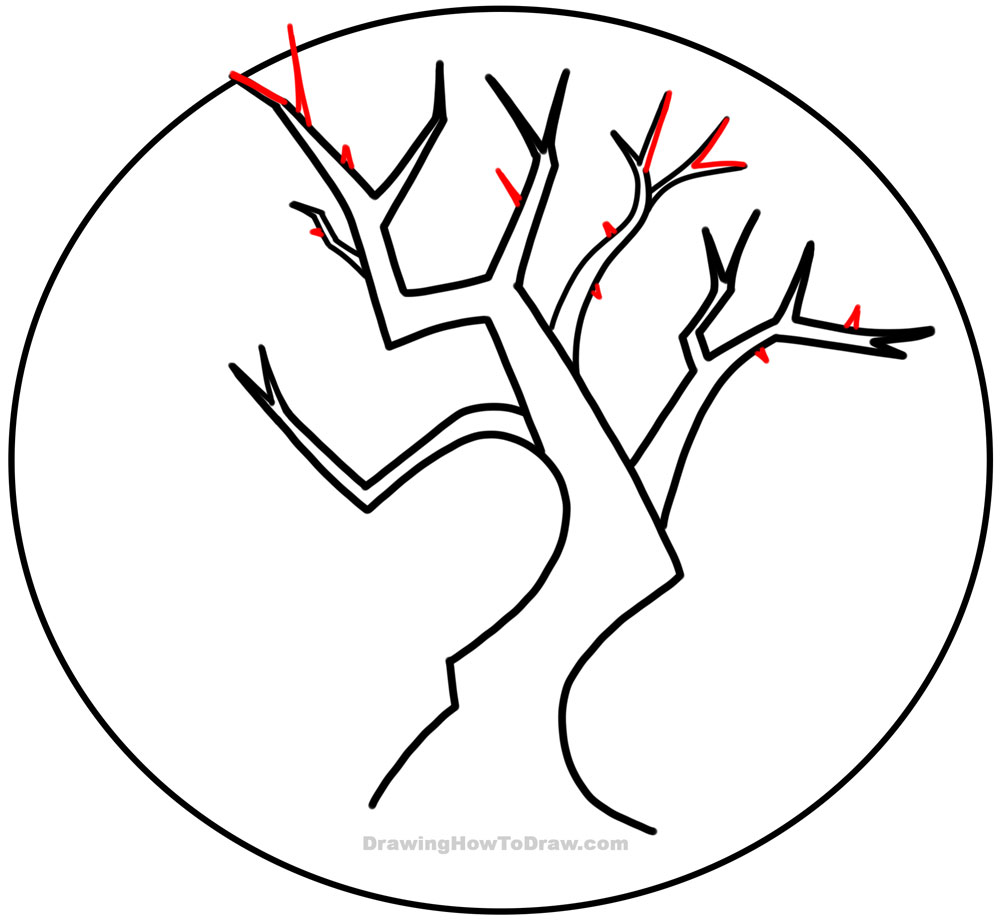
STEP 08
Draw some lines, a bunch of “V” shapes, and a backward “S”-like curve.
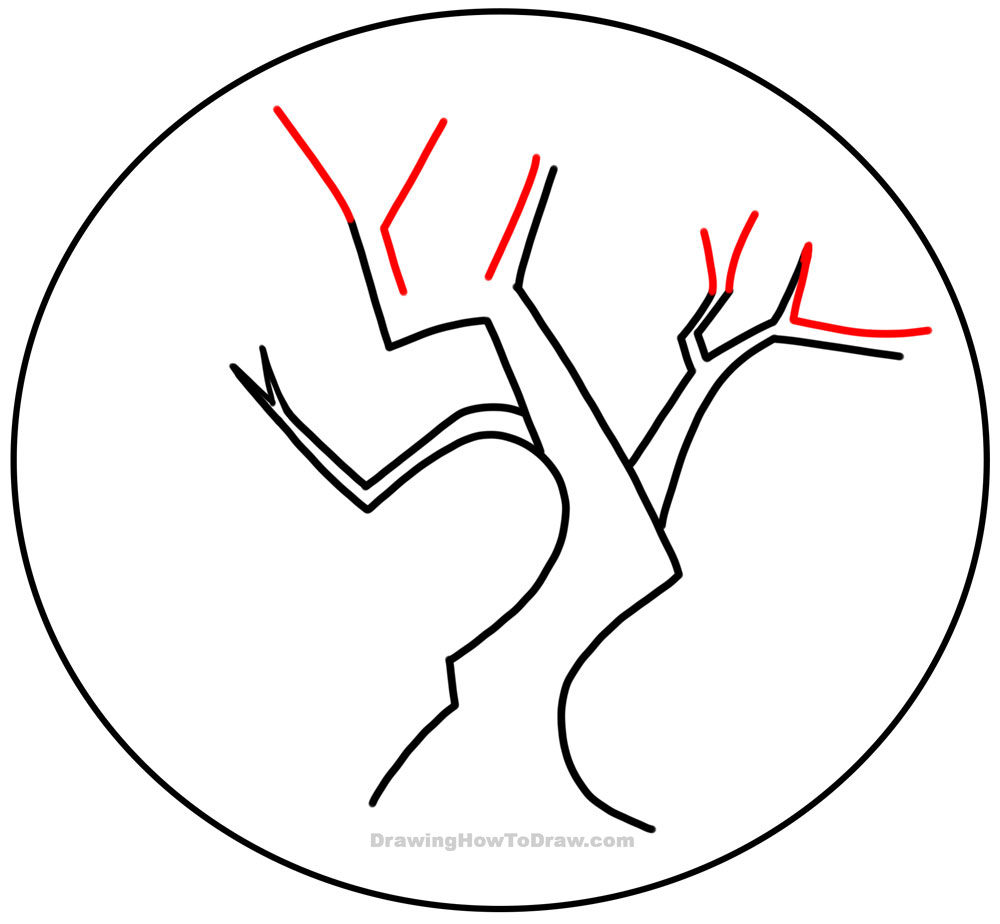
STEP 09

Continue adding to the branches, including a “V” and “?”-like shape.
STEP 10
Draw more branches…
STEP 11
Draw a bunch of “V” shapes as well as some slanted lines.
STEP 12
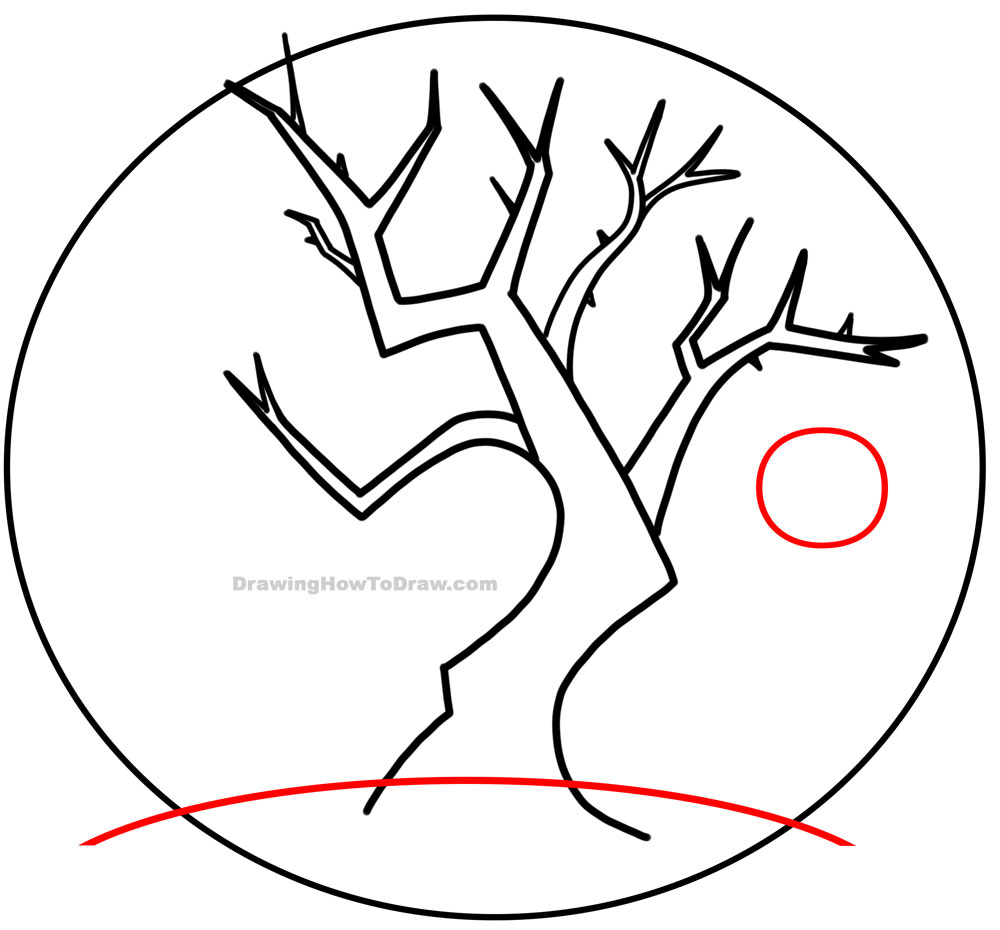
Draw a curved line for the hillside. Draw a wide oval for the jack-o-lantern that is hanging from the tree.
STEP 13
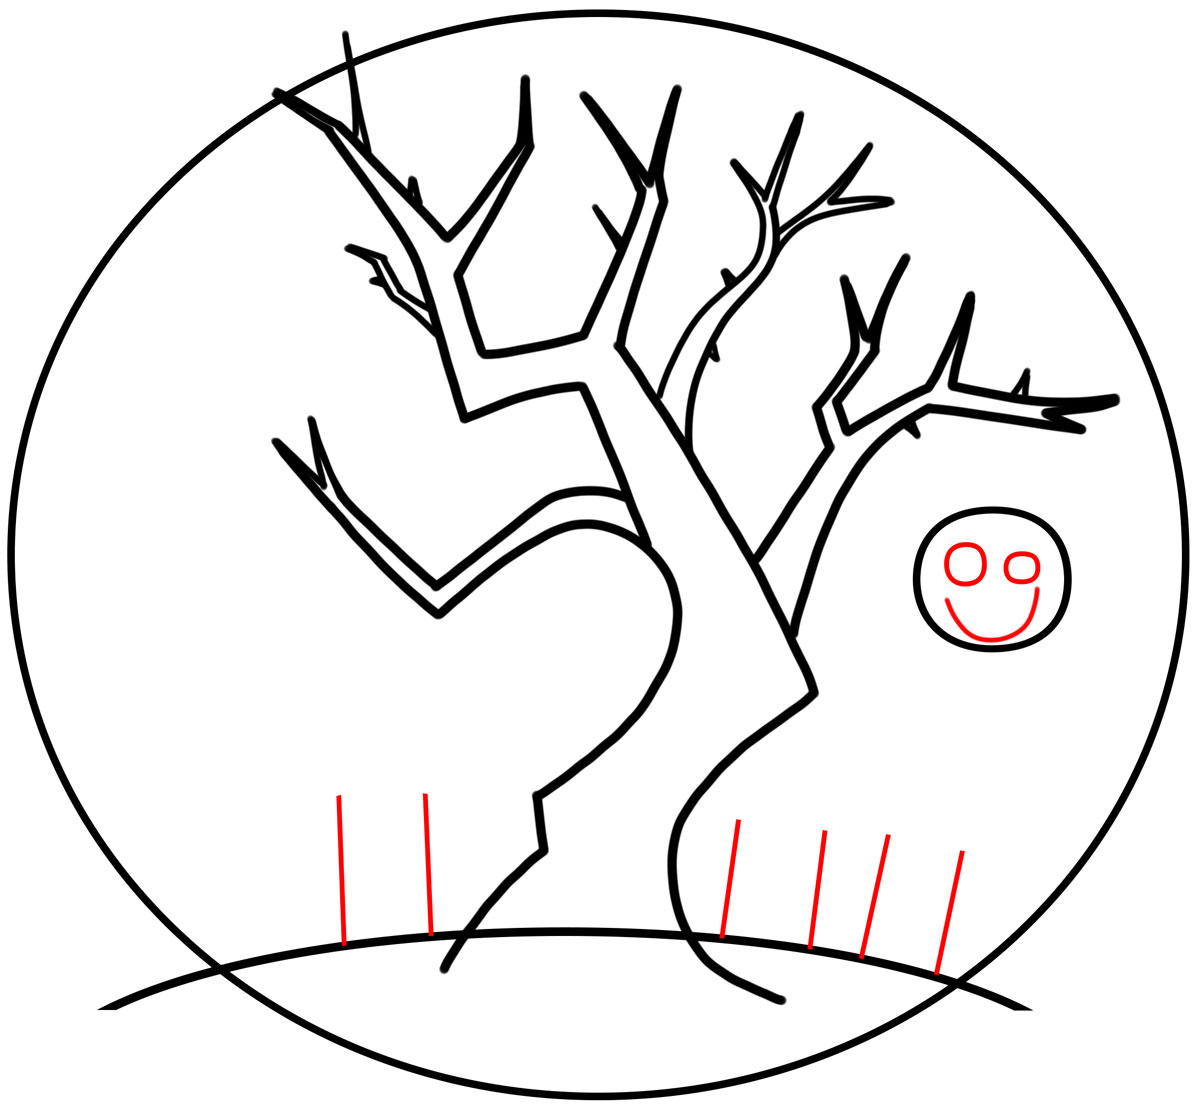
Draw different-sized ovals for the pumpkin’s eyes and a curved line for his smile. Draw 2 lines for each grave.
STEP 14
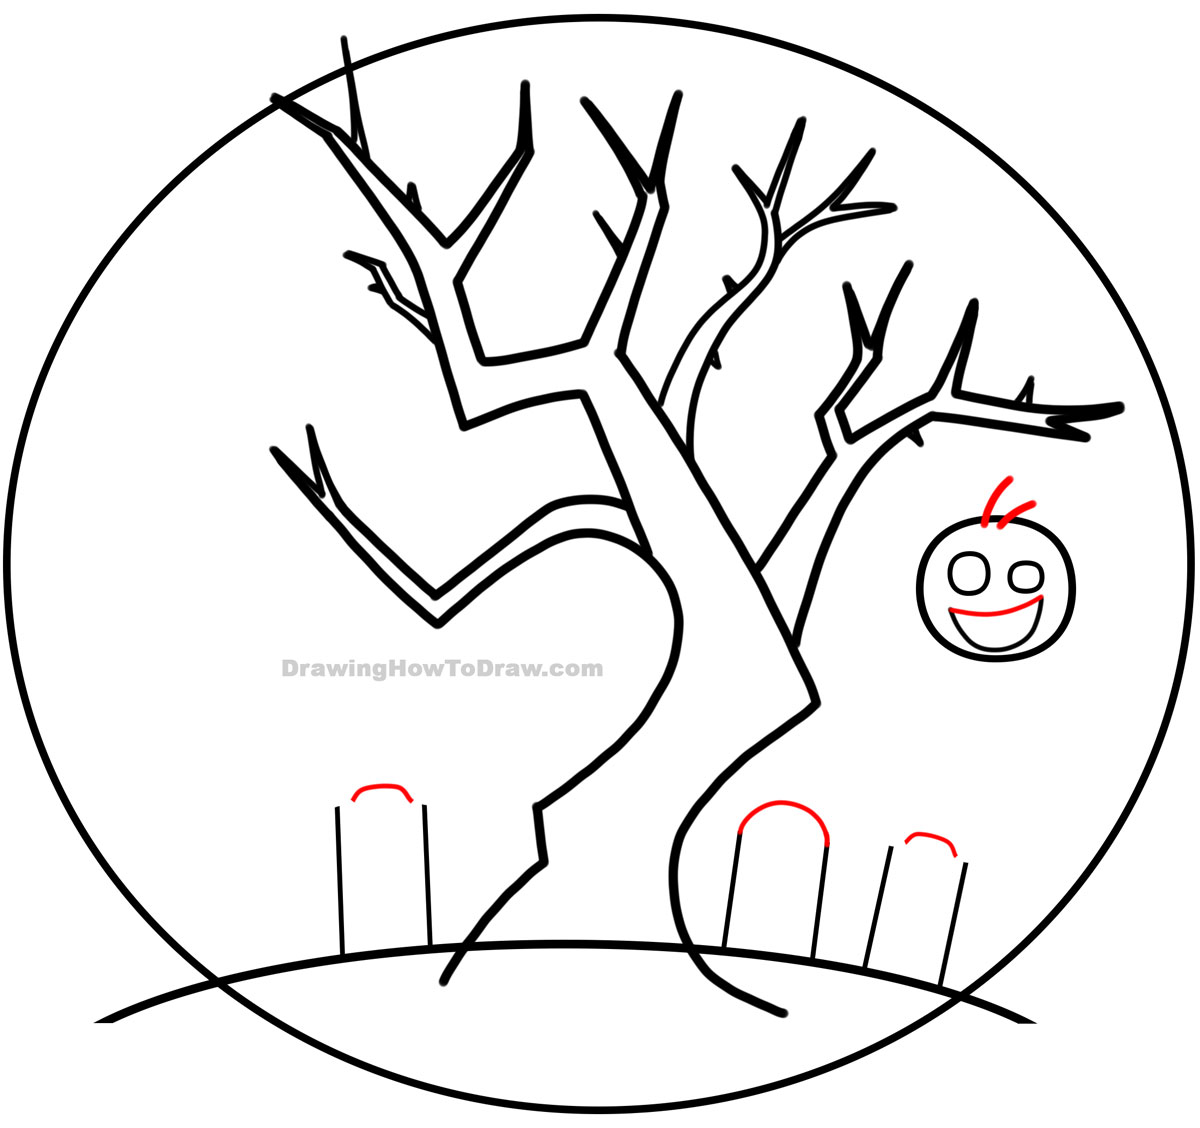
Draw a curved line for the smile and 2 curved lines for the stem. Draw a curved line on the top of each grave.
STEP 15
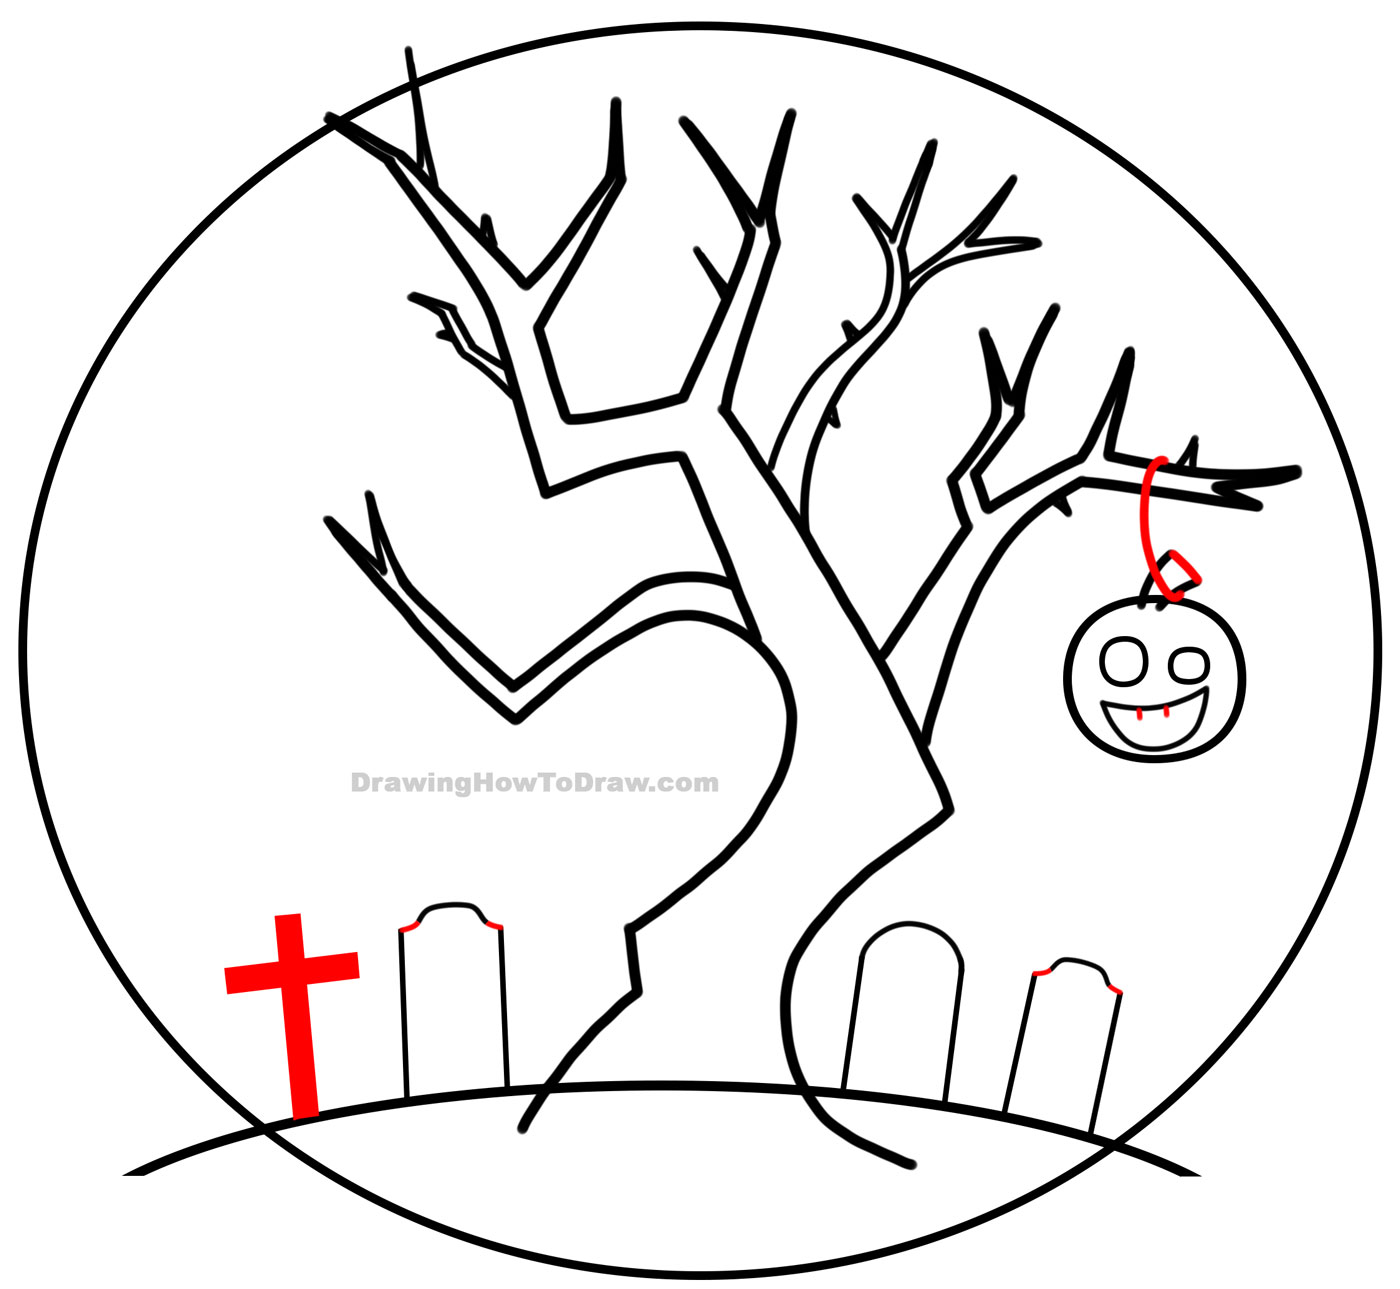
Finish up the gravestones. Draw a few lines on the pumpkin. Draw a curved line for the string holding the pumpkin. Draw a “t” shape for a cross grave.
STEP 16
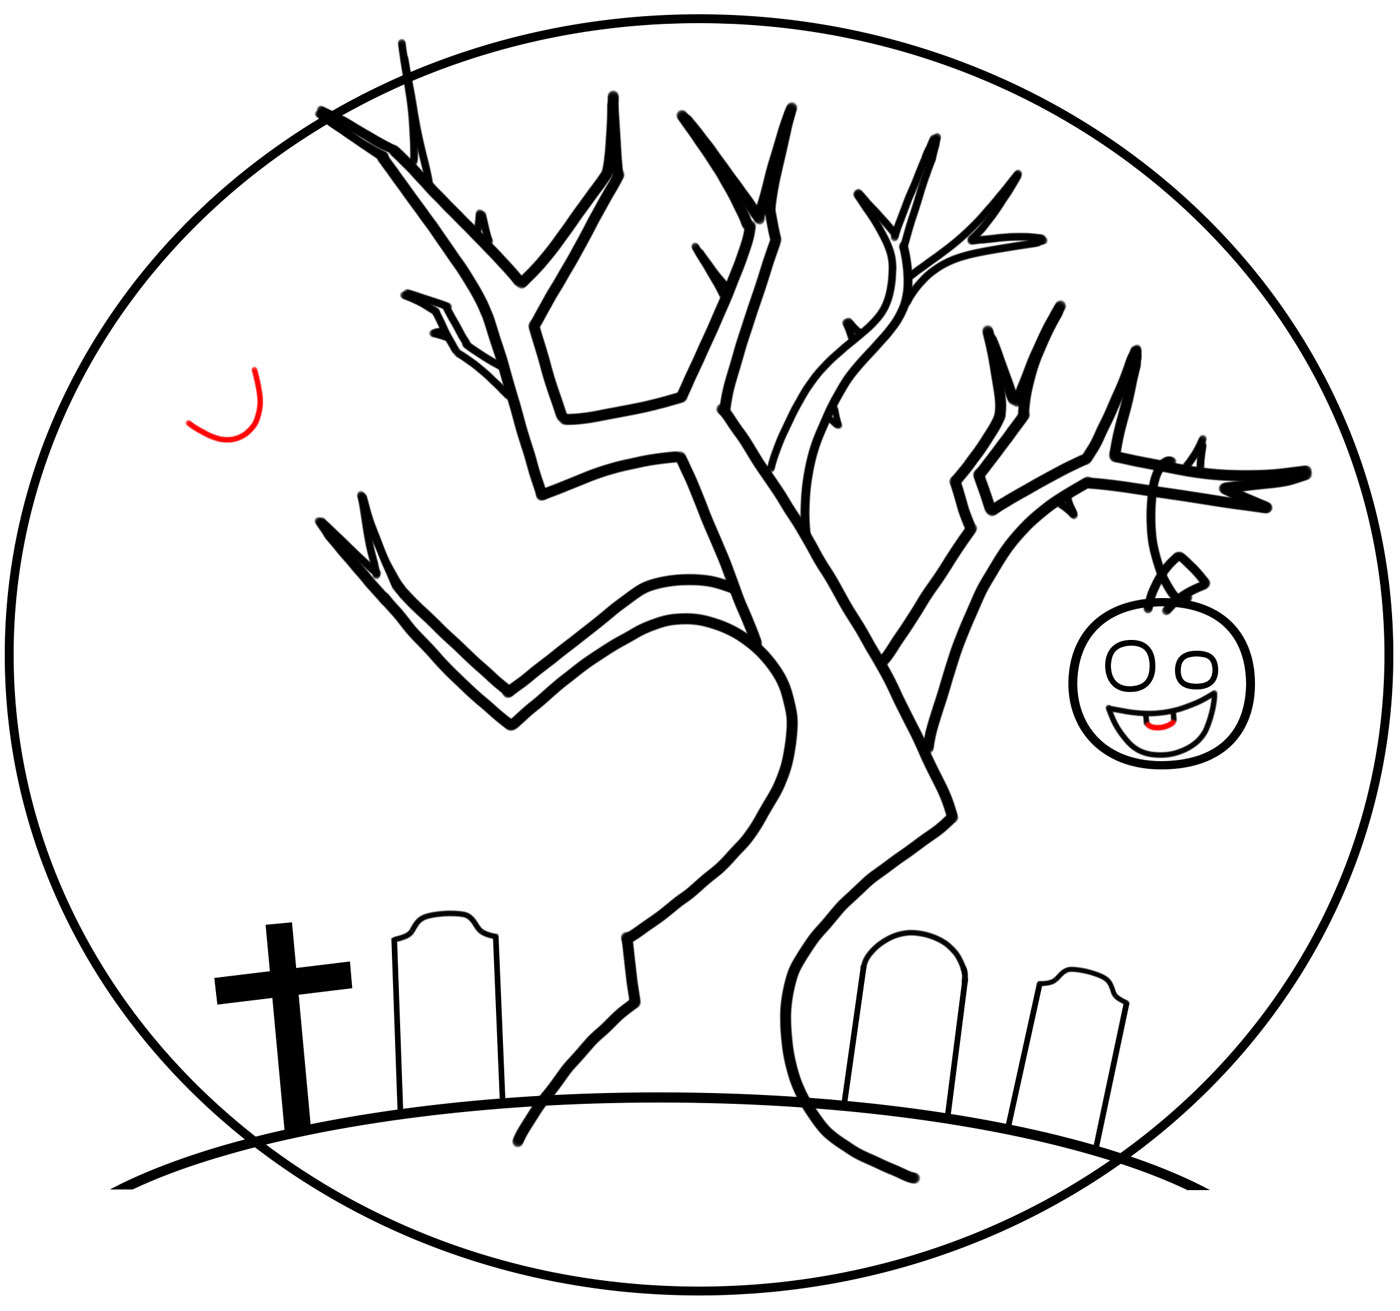
Draw a curved line to finish off the jack-o-lantern’s tooth. Draw a “U” shape to start off the bat’s shape.
STEP 17

Draw curved lines on the bat’s shape.
STEP 18

Draw wavy lines on both sides of the bat. Like #3 shapes that have one more hump. Draw a “U” shape in middle.
STEP 19
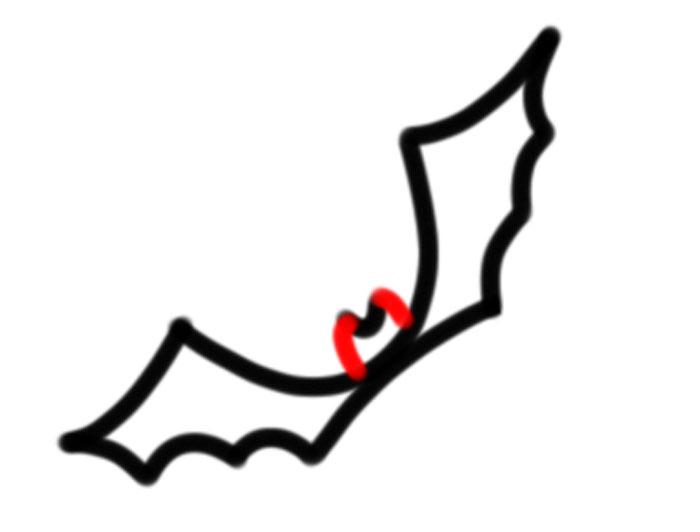
Finish the bat.
STEP 20
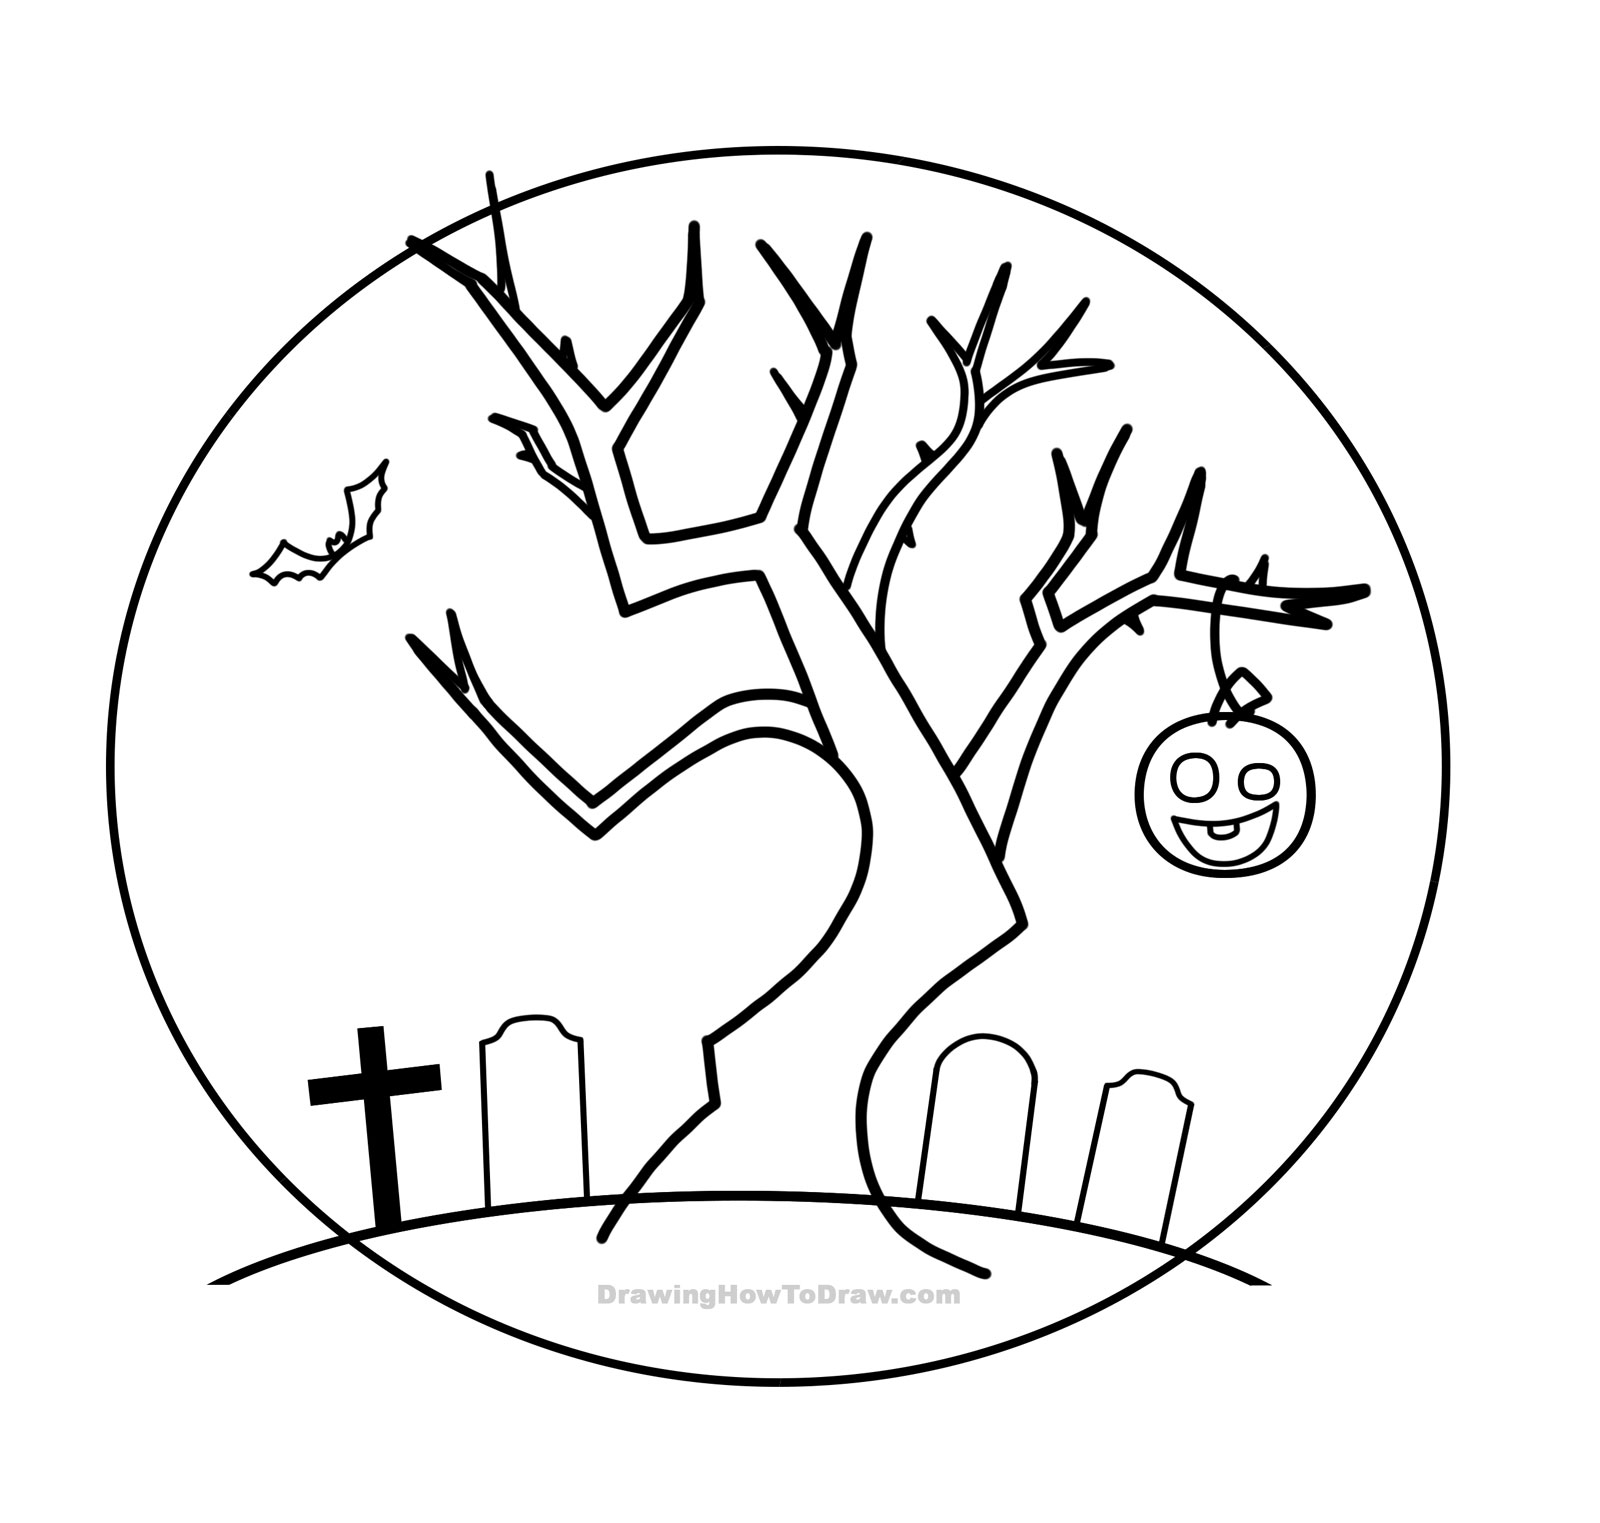
This is what your picture should look like.
STEP 21
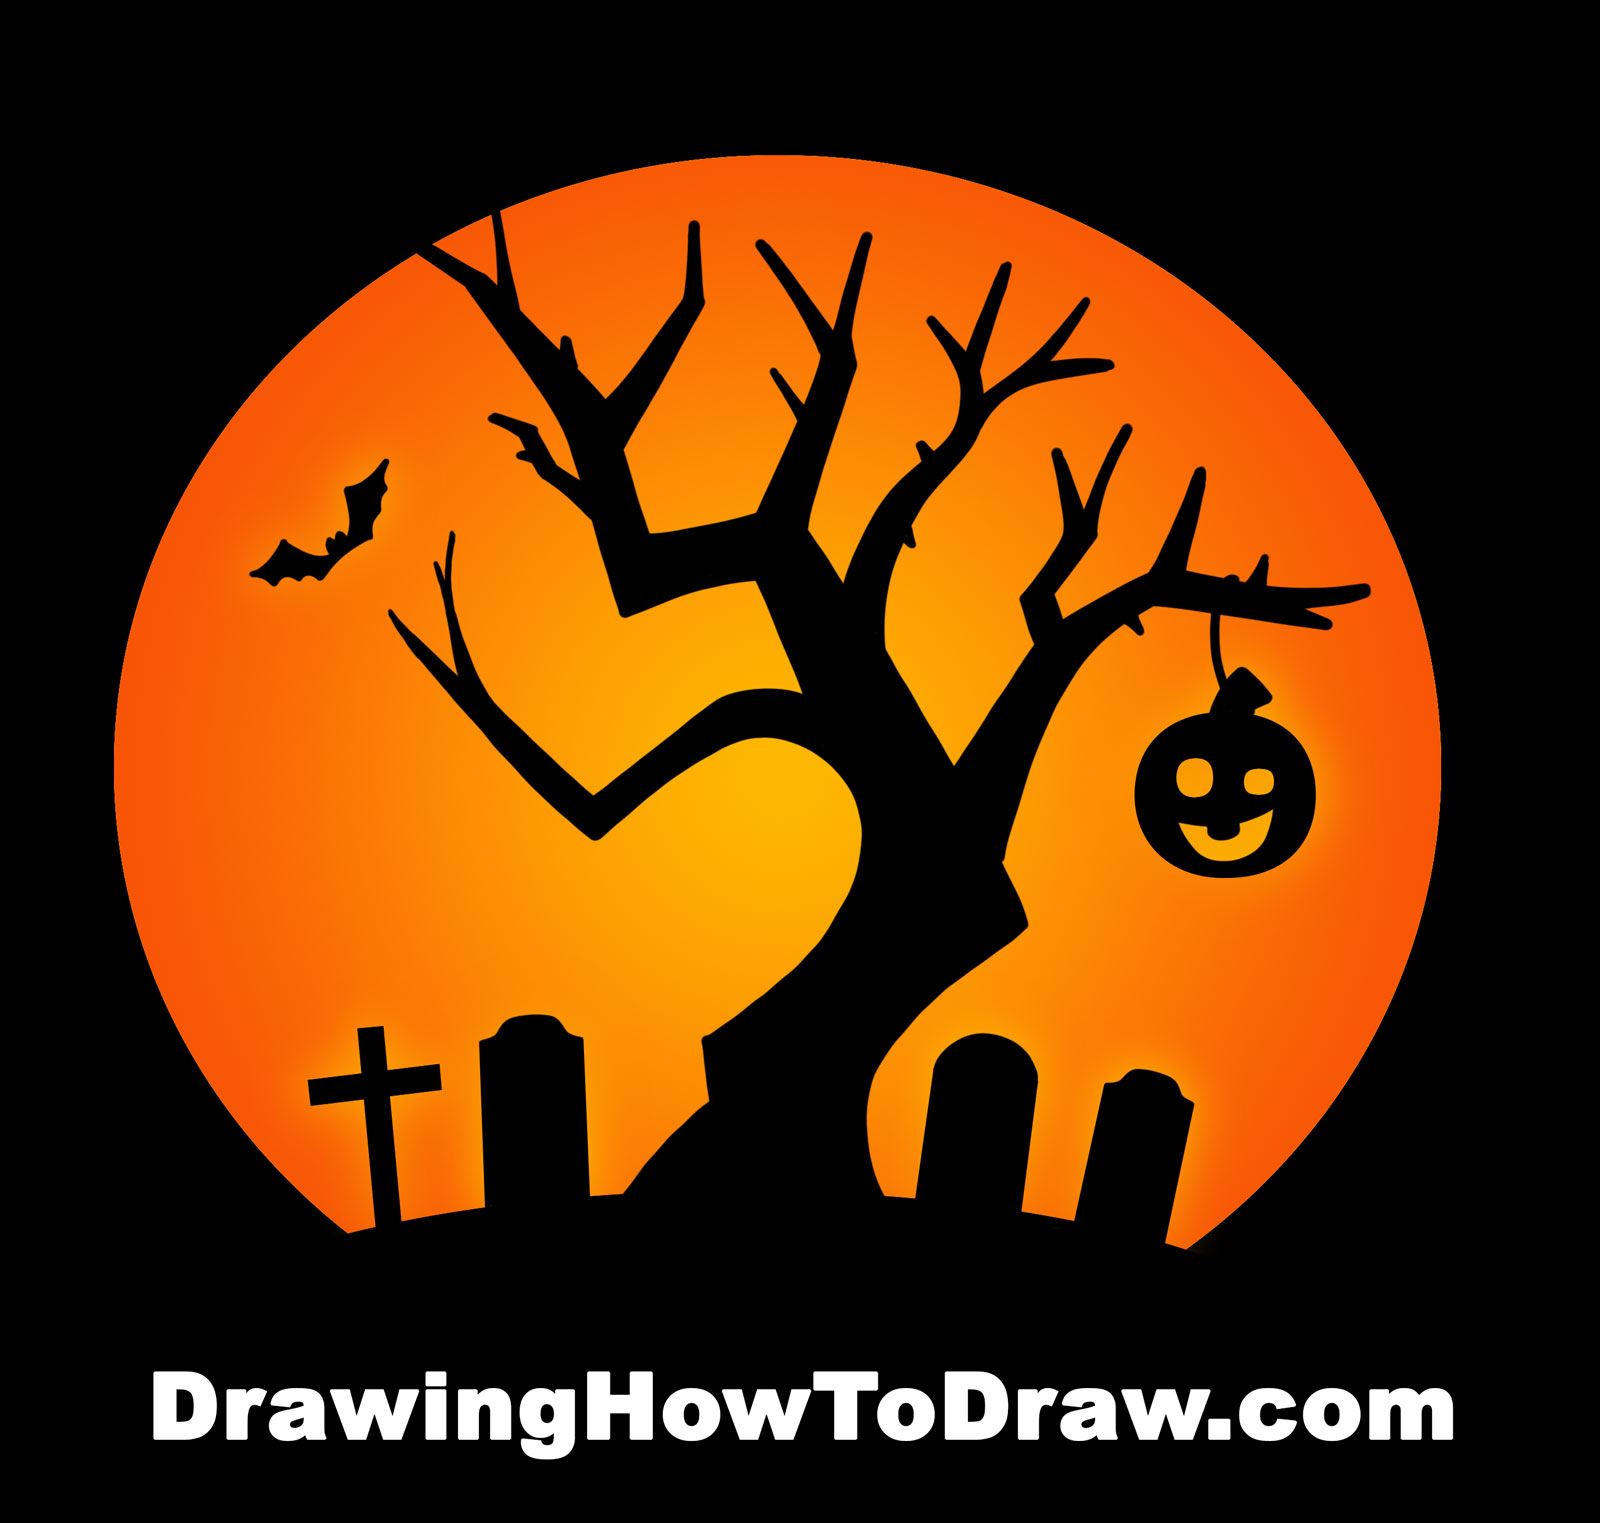
Then go ahead and color it in.
Come back soon for more tutorials.
===============================================================
Check Out Our New Chibi Drawing Book on Amazon
===============================================================