Page : 1 2
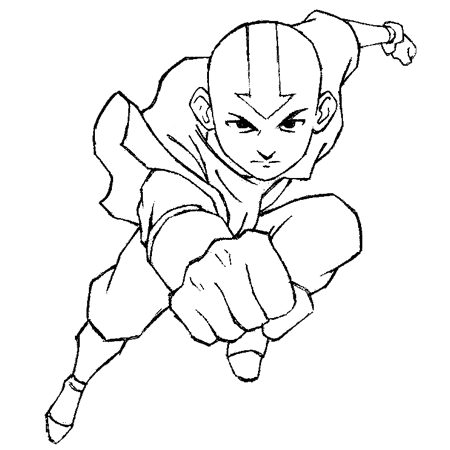
Avatar, The Last Airbender, starring Aang (The Last Avatar) was a huge success on Nickelodeon for 3 seasons. Then this year, 2010, it was turned into a movie as well. Kids and adults alike all love the characters and the plot of this beautiful story. Do you want to learn how to draw Aang, The Last Avatar? Below, please find the step by step drawing tutorial on drawing Aang. Good luck.
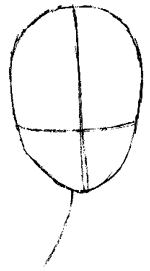
To start drawing Aang, we are going to begin with his head….draw the oval-like shape and draw guidelines as you see above…these will help you place Aang’s facial features. The picture sort of looks like we were drawing a lollipop with a curved stick. Also add a cross section for the face. The t because we will draw Aang in an action pose.
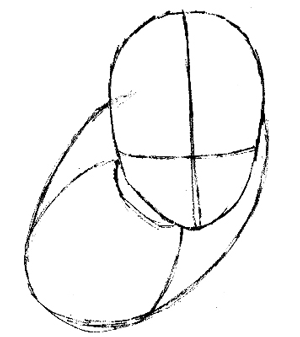
Now draw Aang’s torso with the oval shapes that you see. Aang will be in an action pose…the torso is another word for chest.
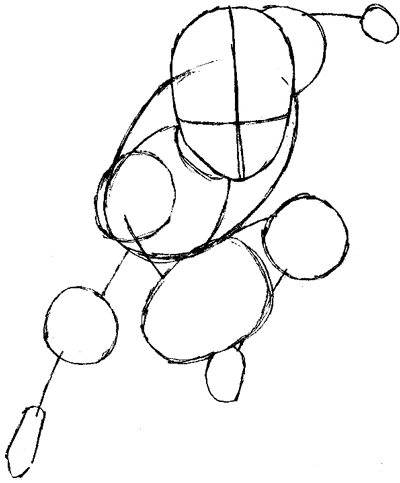
Now draw Aang’s shoulders and arms as you see above. Draw a vertical line that determines the “center” of the head where the nose is placed, and the horizontal line determines where the eyes will be placed. The curved stick will be Aang’s spine and its shor short stick for his left arm. This is short because this arm is a bit further away. This is called foreshortening (Read More About it On our Foreshortening Lessons Page)
Now draw the stick like figures of the rest of his body. Draw a short stick for his right arm but make the circle fist guide large. This is because his fist is near the viewer. Also draw sticks for his legs.
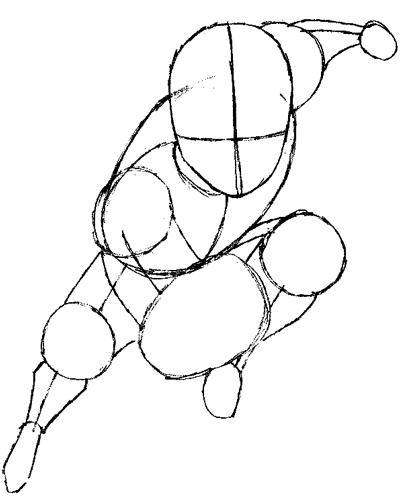
Now add the mass of Aang’s form around the stick figure that you drew in the previous steps. In other words, draw some muscle on his arms and legs. Make sure that the lower part of his legs and his left arm are triangular to give a sense of “depth”.
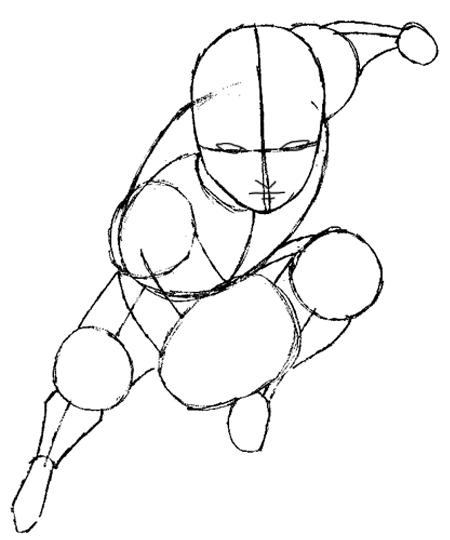
Now start sketching out the details of Aang’s face. Draw oval-ish shapes for the eyes on the guideline that you drew in step 1. Draw the ‘v’ like nose half way between the chin and guideline. Draw the small lip line in the center of the nose and chin…and draw the longer line in between the nose and lower lip line.
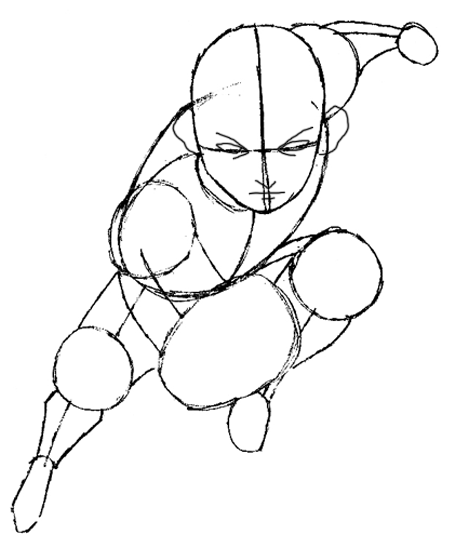
Now start drawing his ears and draw sideways letter ‘V’s on the inner parts of his eyes.
<<CLICK ON NEXT PAGE LINK BELOW TO GET TO NEXT PAGE>>
Page : 1 2
Page: 1 2
Today I'll show you how to draw Rick from the Rick and Morty cartoon tv…
Today I'll show you how to draw Morty from the Rick and Morty cartoon tv…
Today I'll show you how to draw the spunky little rabbit, Kuromi, from My Melody…
Today I'll show you how to draw this cute "bean duck" that I found on…
Today I'll show you how to draw Sosuke and Ponyo in a bubble (chibi /kawaii…
Today I'll show you how to draw a Boo from Super Mario Bros in Kawaii…
View Comments
hahaha same. it was very clear and easy to comprehend. all the other ones I try are either too hard or too easy
Awesome drawing, but lol! Aang isn't the Last Avatar, it's The Last Airbender. The title of the seris says clearly. :D But really, amazing drawing tut! It looked hard, but easy to follow. :)
Can I request The Legend of Korra characters? Plz?
this helped me
It's great but the steps at the end are too fast
soooooo i love avatar but this one was difficult but thankz admin for puting it up
and ali that is my name.
I have been searching for the movie for 9 years oh please believe me.
hmmm... they need more avatar characters
luv u nikki
same as nikki
Thanks Tyrone!
Thanks. can i post this on my sites? alex premestrelita
Sure. Just make sure you add a link to the tutorial on my site so people know where you got the tut from. Thanks.