Page : 1 2
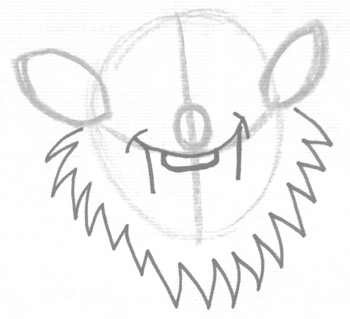
Draw leaf-shape ears…draw an oval nose….draw teeth…and draw a line down from the top of the mouth.
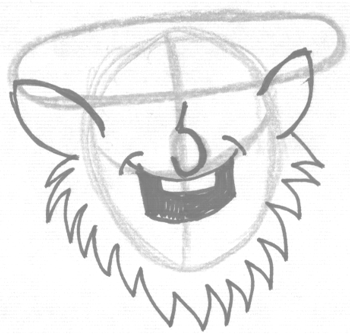
Draw an oval for the bottom of the hat. Draw a curved line for the bottom of the mouth. Fill in black for the inside of the mouth. The nose now looks like an upside down question mark shape.
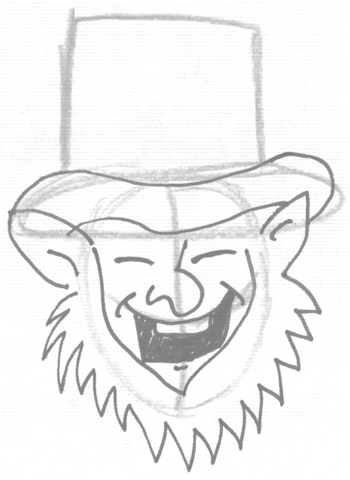
Lightly draw a rectangle for the top of the hat. Using the oval shape as a guide for the bottom of the hat….draw the hat’s rim. Draw the curved lines for the inside of the ears. Draw a downwards curved line for each eye.
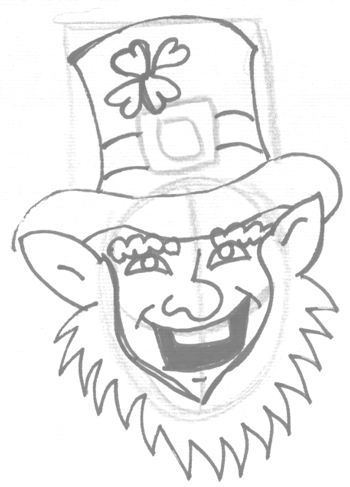
Draw the top of each eye by drawing an upside down letter ‘u’. Draw curvy lines for the eye brows.
Using the rectangle as a guide for the top of the hat…draw a curved line for each side of the hat. Draw a downwards curved line for the top of the hat.
For the belt of the hat…draw 2 curved squares….draw curved lines for the belt of the hat.
Optional … For a 4 leaf clover…draw 4 hearts.
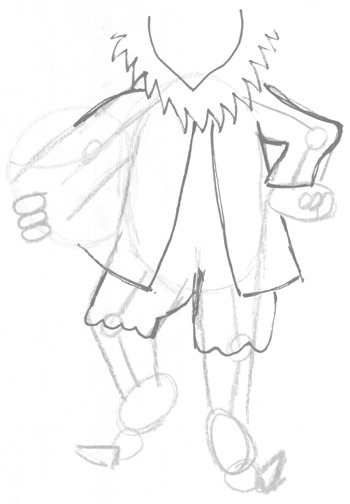
Now start drawing details of the Leprechauns clothing….using the form that you drew in step #3 to guide you. For the feet…draw 2 ovals and a triangle.
Start drawing the pot of gold….an oval for the top of the pot and a letter ‘u’ for the bottom of the bucket.
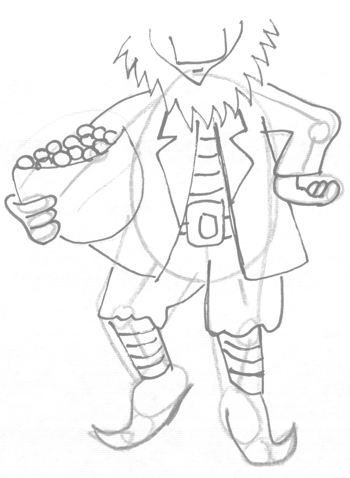
Draw little circles inside the pot…for the gold coins. Draw an outline of the shapes that you drew for the shoes in the previous step. Draw the belt and other details.
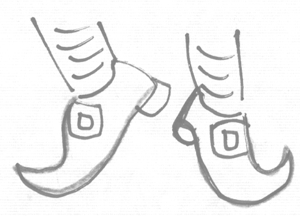
Draw the details of the shoes.
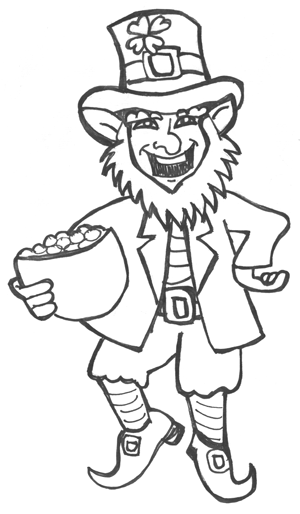
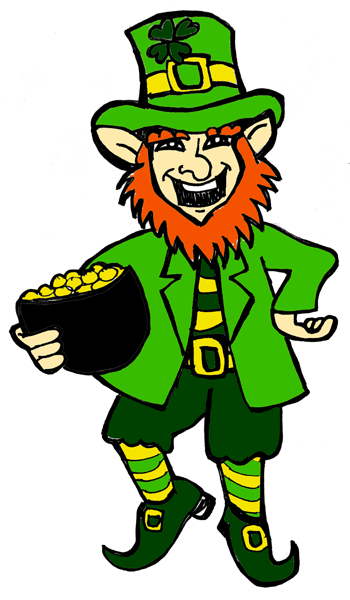
This is what the Saint Patrick’s Day Leprechaun character should look like.
Here are the colors traditionally used for a Leprechaun.
You Might Also be Interested in Our Other St. Patrick’s Day Drawing Lessons and Saint Patrick’s Day Crafts for Kids.
Technorati Tags: draw leprechauns, drawing leprechauns, how to draw leprechauns, leprechauns, drawing, drawing lessons, drawing tutorials, drawing for kids, drawing for preschoolers, st patricks day, saint patricks day, irish, step by step drawing
Page : 1 2
Page: 1 2
Today I'll show you how to draw a super cute Vault Boy from Fallout. Vault…
Today I'll show you how to draw a cute chibi / kawaii bunny rabbit named…
Today I will show you how to draw a Banana Duck from the plush Peach…
Today I'll show you how to draw a cute cartoon monster that is super easy…
Today I'll show you how to draw an adorable kawaii-style dumpster fire with the following…
Today I'll show you how to draw a cute cartoon alien in his UFO. This…