Learn how to draw and shade eggs to create an illusion of 3-dimensional eggs on your 2-dimensional paper. This drawing tutorial is from an old textbook, I hope it helps you as much as it did the students who used it over a 100 years ago.
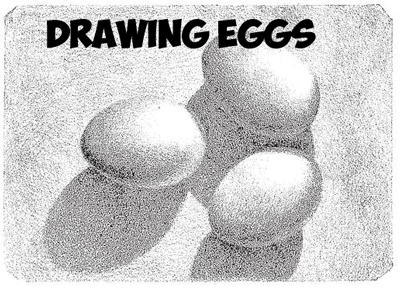
How to Draw and Shade Eggs : Shading a Group of 3 Eggs Drawing Tutorial
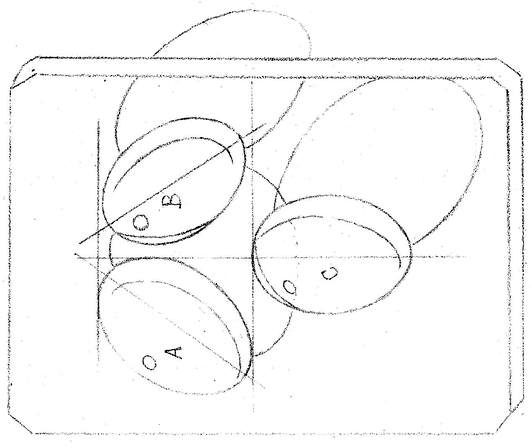
Sketch carefully the outline of the rectangular slab. A line passing vertically through the center of the lowest egg, c, bisects the cast. The horizontal line touching the lower edges of the two upper eggs, A and B, touches also the top of c, and is a trifle above the middle of the cast. Mark the axes of the eggs, and sketch them in lightly with charcoal. Draw the shadows cast from, and indicate faintly the edges of the shades upon, each egg. Mark the position of the high light upon each. (See o in picture above)
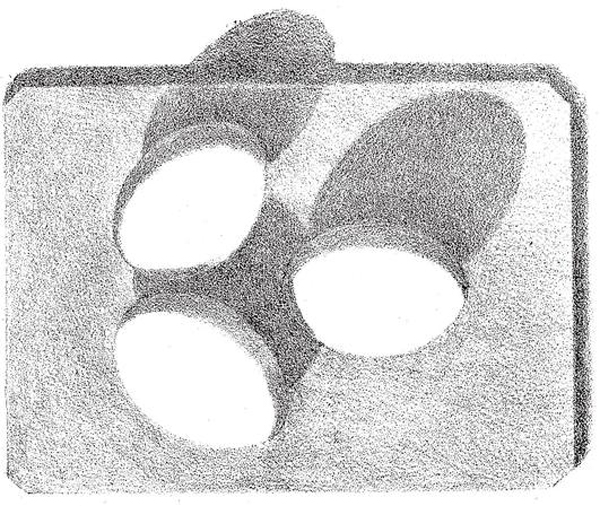
Shade the background rather lighter than it appears. This may be done in the following way :—Take a small piece of wash-leather, rub it over a little stumping-chalk, and having tried it first on a piece of scrap paper to make sure there are no lumps adhering, apply it carefully to the drawing. This method should only be used for the background. Shade the shadows cast on the background of a depth equal respectively to the lightest portion of each.
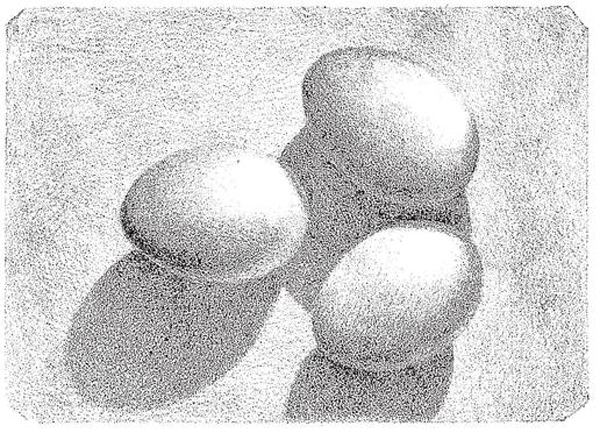
Lay on the shades of each, keeping the tones throughout equal to the depth of the reflected light. The whole is now blocked in, and the shades should bear a general resemblance to those on the cast. To test this, place your drawing beside the cast, and, stepping back some ten feet or so, compare them—a method that may be used frequently until you have obtained the broader masses of their proper relative depths.
Darken the shades near their left edges, and graduate towards the reflected light. (See on the Sphere and the Egg.) Lay on a very light gradation towards the highlight on each egg. The whole of the portion in half-tone is considerably lighter than the reflected light. A very common mistake is to get the latter too bright. If you retire some distance from the cast, you will find that while you are scarcely able to distinguish the reflected light the half-tone remains quite bright.
Part of the cast-shadow from A falls on B, and part on c. Be careful to draw these well, and, in shading, to keep their edges sharp. Darken the cast-shadows on the background near the edges of the eggs. All such deepenings of tone should be gradated. Here and there the effects of reflection may be seen strongly marked, as, for in- stance, on the upper portion of C. All such must be shown, but you must be careful not to break up the broad masses of shade—i.e., from a distance the two broad divisions of light and shade should be clearly seen. The background may be darkened slightly wherever a very light portion—as, for instance, the bright side of the eggs—is to be made prominent.
Technorati Tags: eggs, drawing eggs, shading eggs, how to shade eggs, add shadows to eggs
Today I'll show you how to draw Rick from the Rick and Morty cartoon tv…
Today I'll show you how to draw Morty from the Rick and Morty cartoon tv…
Today I'll show you how to draw the spunky little rabbit, Kuromi, from My Melody…
Today I'll show you how to draw this cute "bean duck" that I found on…
Today I'll show you how to draw Sosuke and Ponyo in a bubble (chibi /kawaii…
Today I'll show you how to draw a Boo from Super Mario Bros in Kawaii…