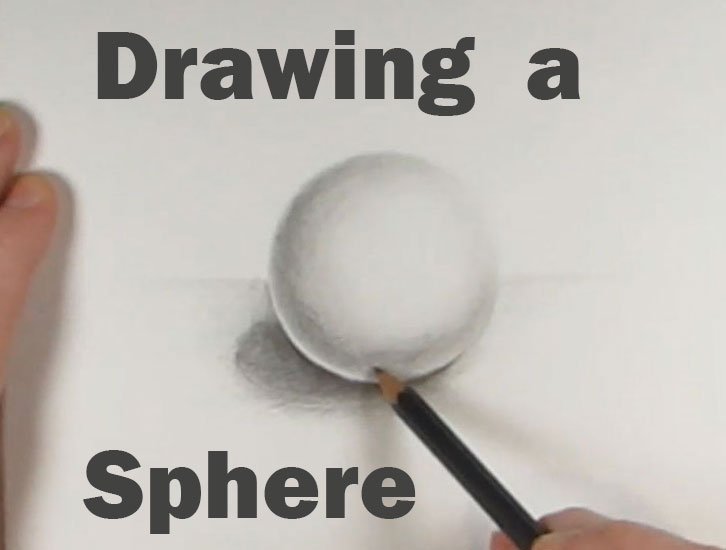
Today I will show you how to turn a circle into a 3-dimensional sphere, ball, or orb. In order to turn a circle into a sphere, you will need to use specific shading techniques to accomplish this. In this tutorial, I use graphite pencils, H, 2B, 3B, and 4B. This lesson will help you learn how to shade a beautiful sphere.
(1) Graphite pencils Here is a cheaper brand of graphite pencils or a better quality set of graphite pencils
(2) A Blending Stump is optional. In this tutorial, we use a blending stump to blend the shading together. I recommend it, but you could make your own paper tortillon or use a Q-tip instead.
(3) Makeup Blender Sponge is optional. In this tutorial, I used a makeup blender sponge. You might already have one around the house if there is a teenage girl or another woman in your house. Ask first though.
(4) Eraser. I usually use 2 types of erasers. I use (a) A white drawing eraser and (2) Kneaded eraser
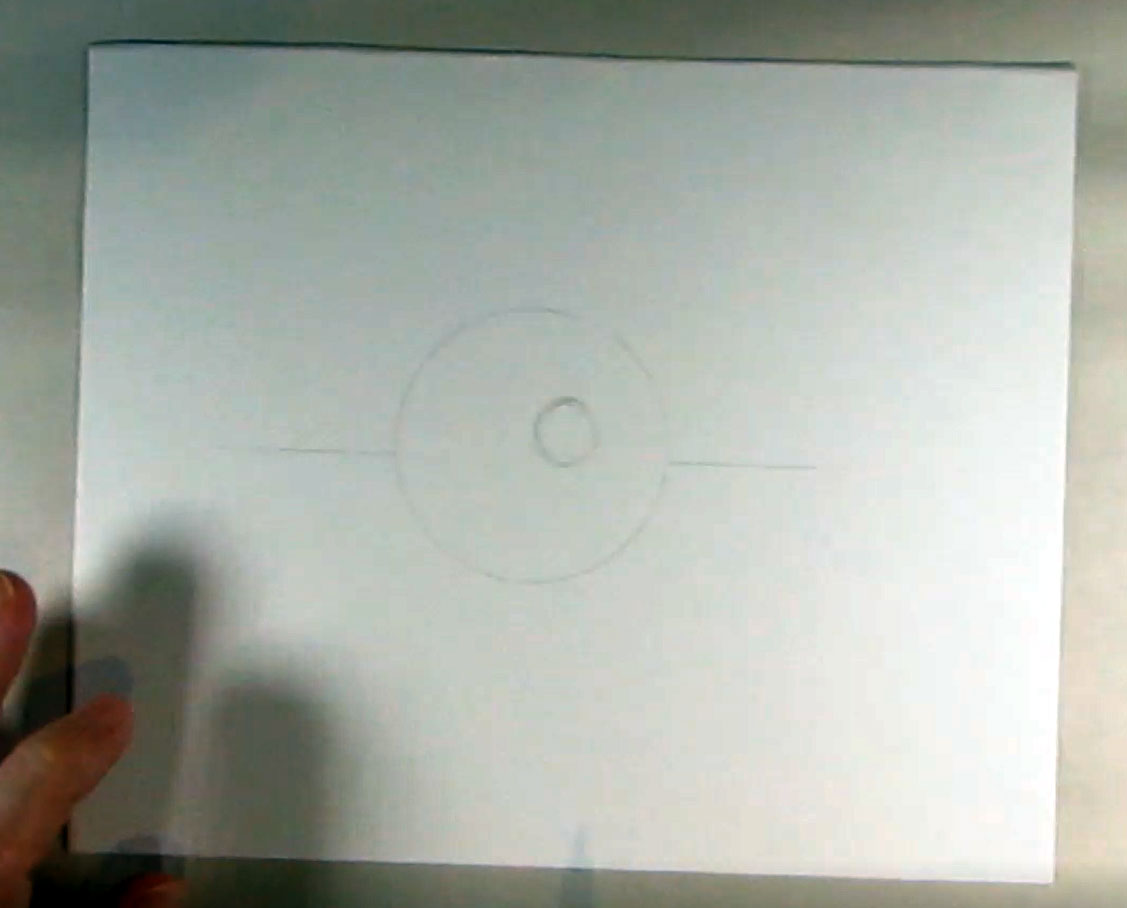
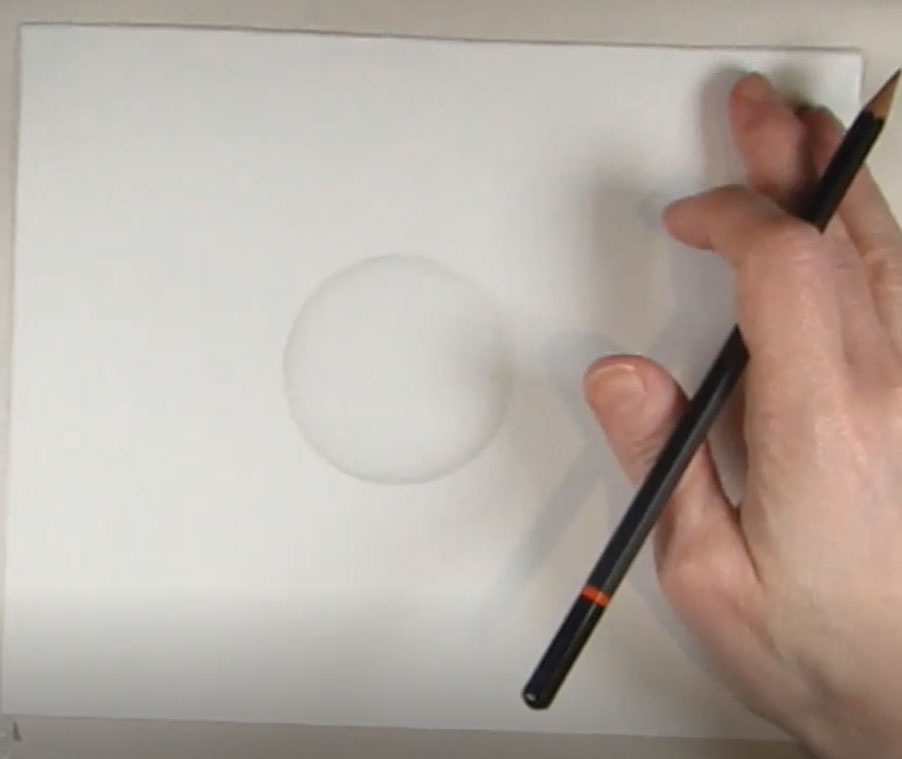
(a) Draw a circle. I used a compass, if you don’t have one then you can just trace a circle, such as a lid, a bowl, a roll of packing tape.
(b) Use a ruler to draw a line behind the circle.
(c) Draw a much smaller circle inside the first circle. This will be the highlight.
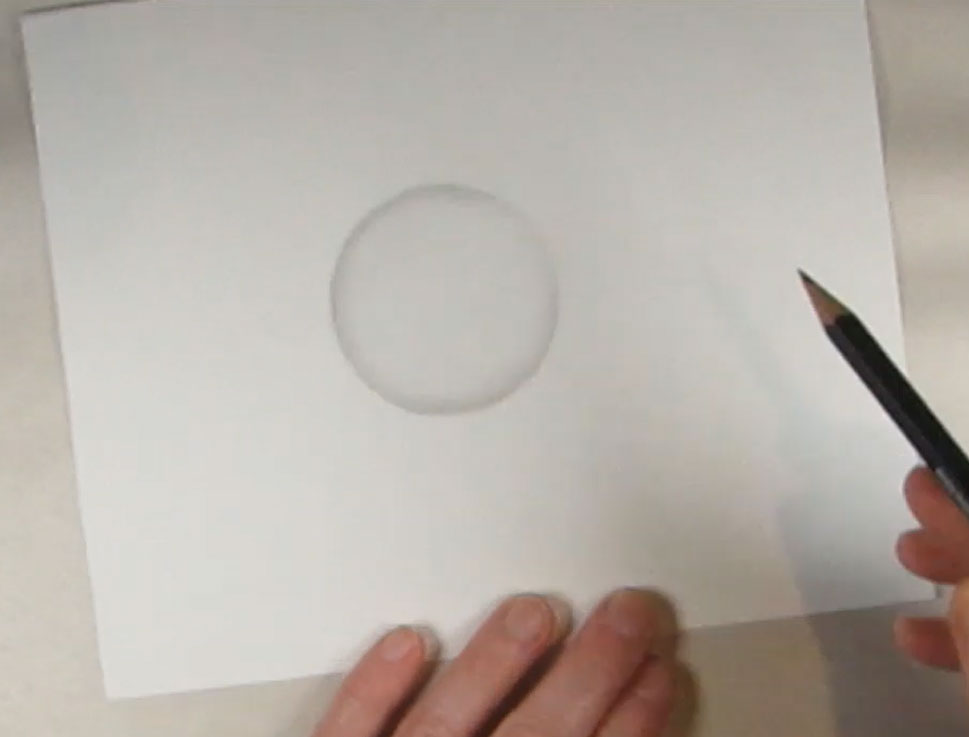
(d) Make sure the lines aren’t too dark, we need the lines to be as light as possible to make it look realistic. after we shade it.
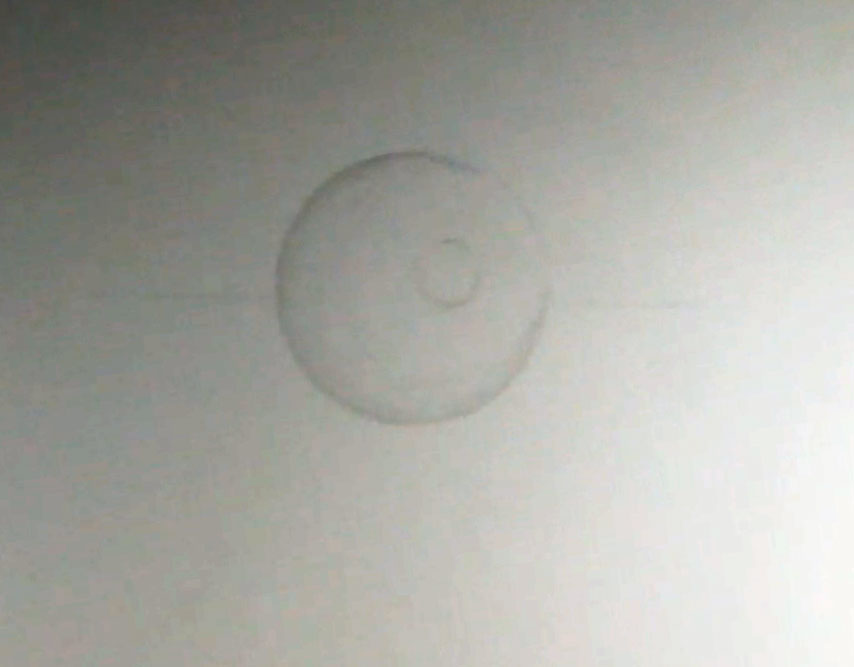
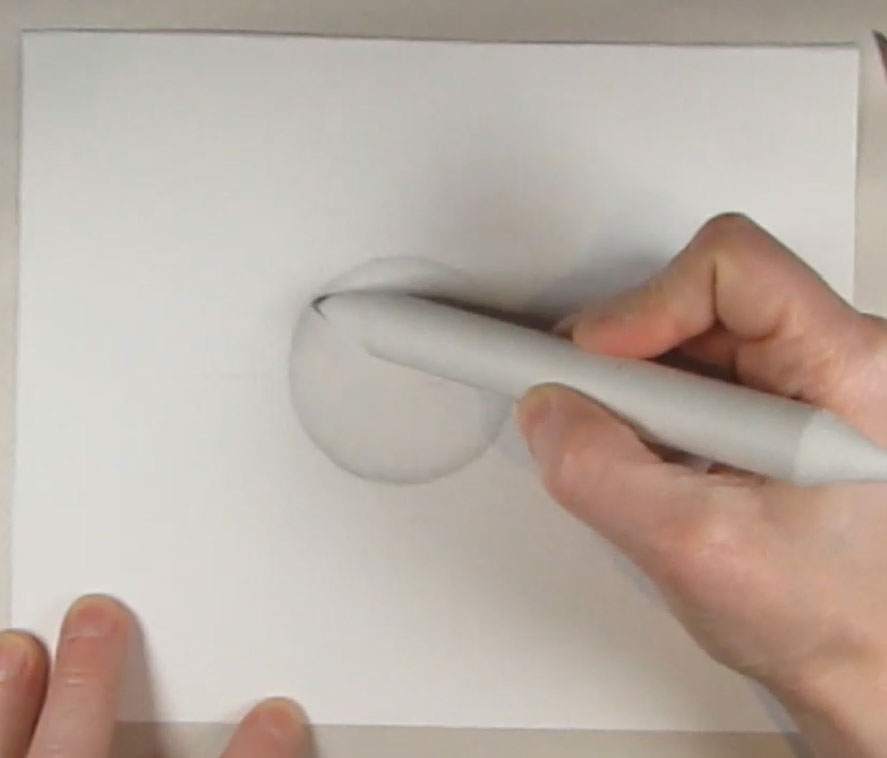
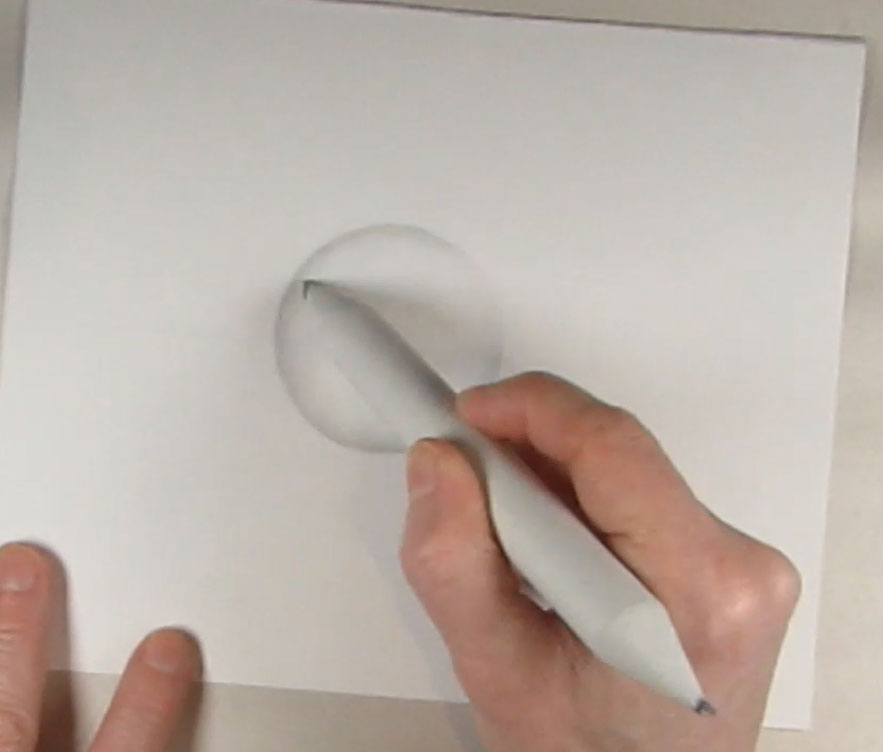
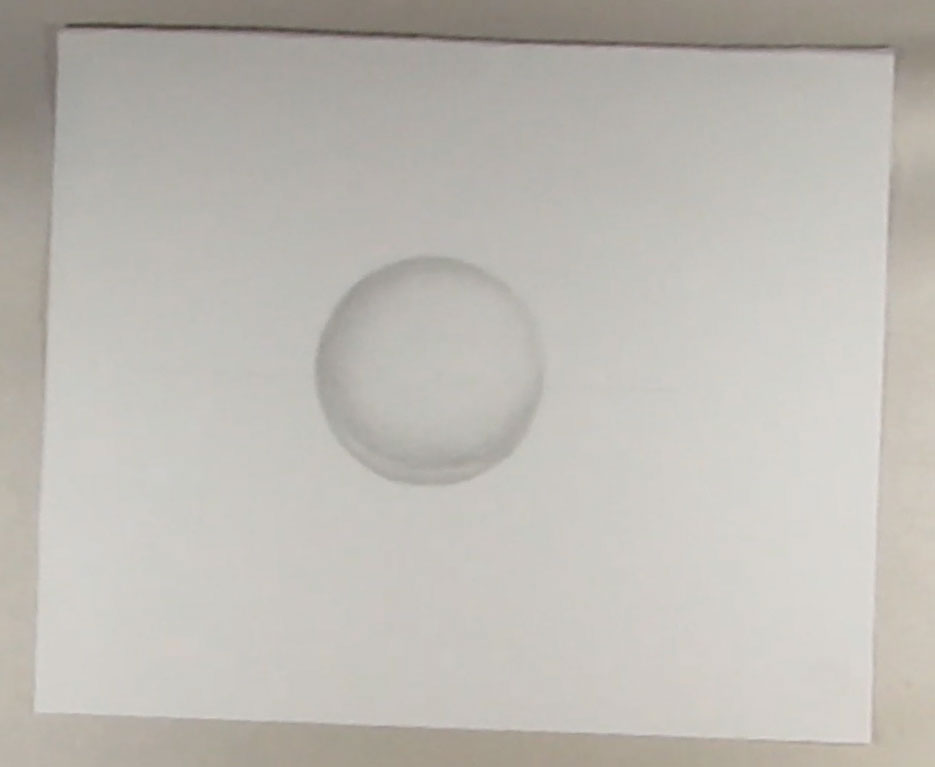
It’s hard to see because we lightened the lines. Basically, use an H graphite pencil to very lightly add shadows around the highlight. Draw very light shadows by holding your pencil towards the back of it. Then you can make lighter strokes. It might be hard to see, so the shadows are in the form of a “C” around the highlight. Make the shadows slightly darken when you get close to the outline of the bigger circle so that the outline looks like it is part of the shadow.
Darken some of the shadows. Make sure to keep a smooth gradient (do this by lightly using the pencil to slowly darken the shadows.)
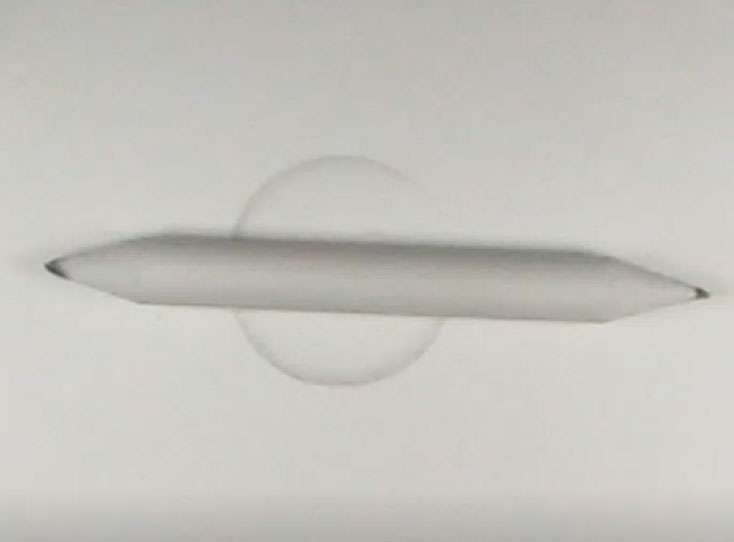
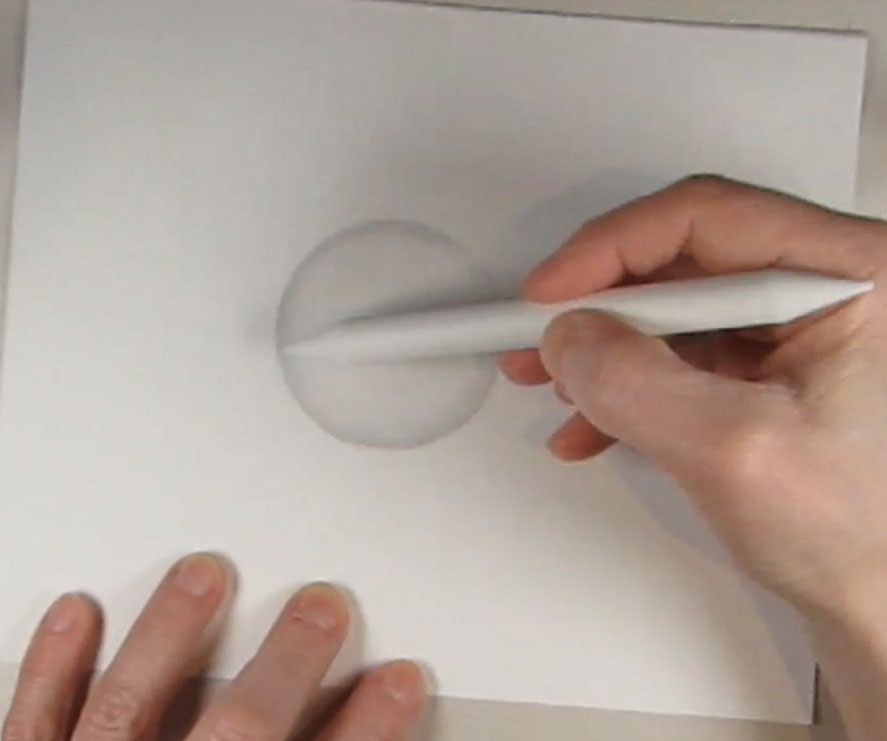
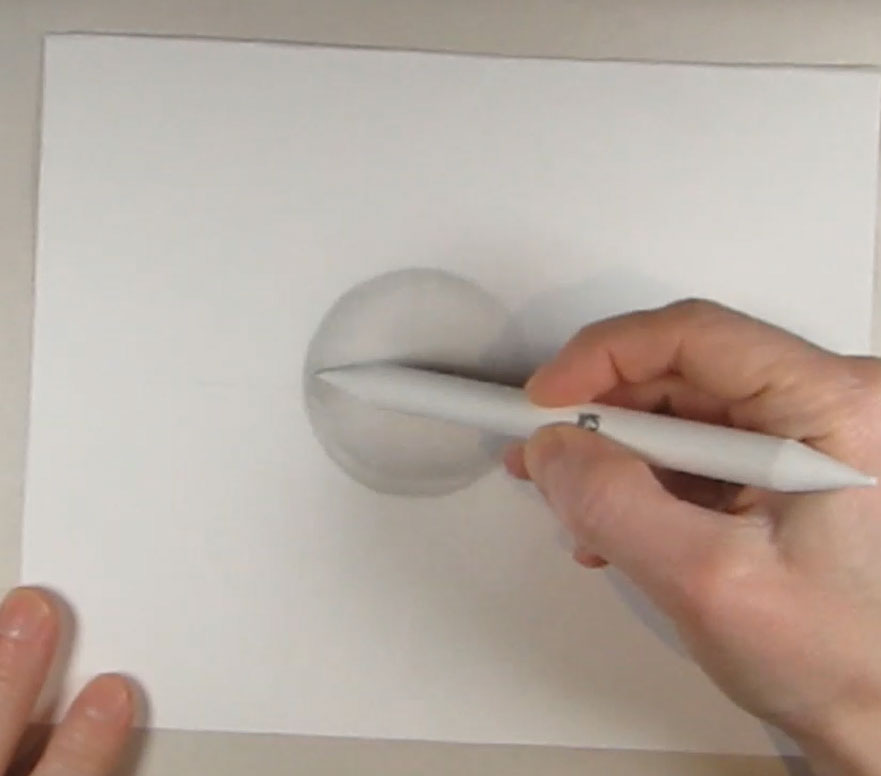
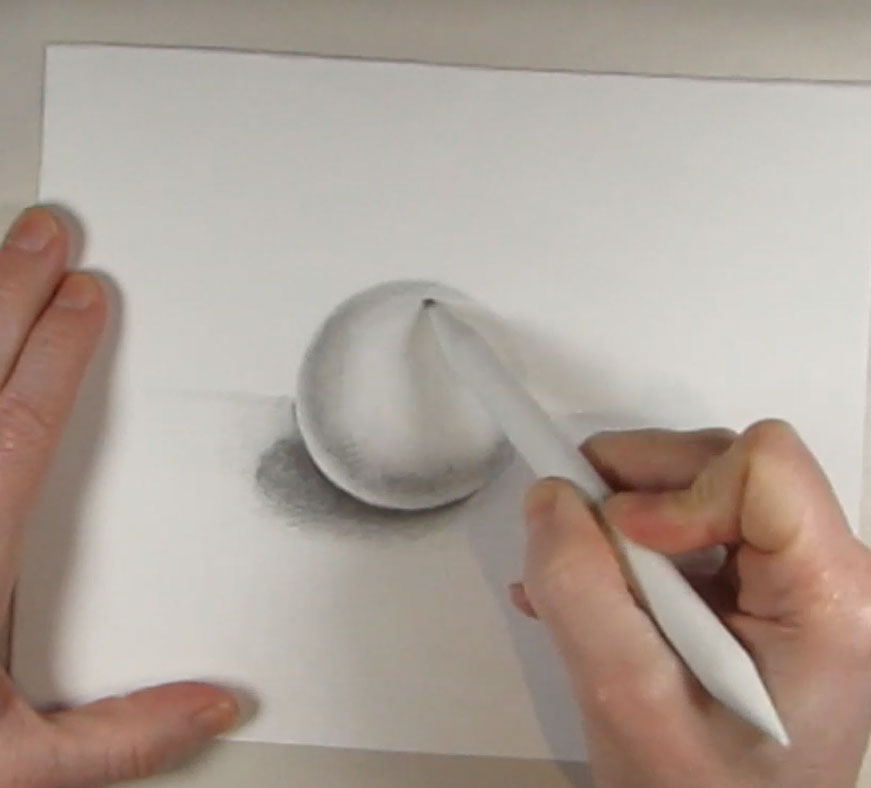
This is a blending stick (or blending stump) I use it to rub the graphite out to look smoother. Try to blend in one direction (not back and forth). If you don’t have one, then you could also use a Q-tip or rolled-up paper, called a tortillon. Here is how you make a paper tortillon.
You can see me blending the graphite for a smooth gradation.
As I get some graphite on my blending stump, I continue to drag the stump around the circle, in the lighter areas. This will cause a gradated look.
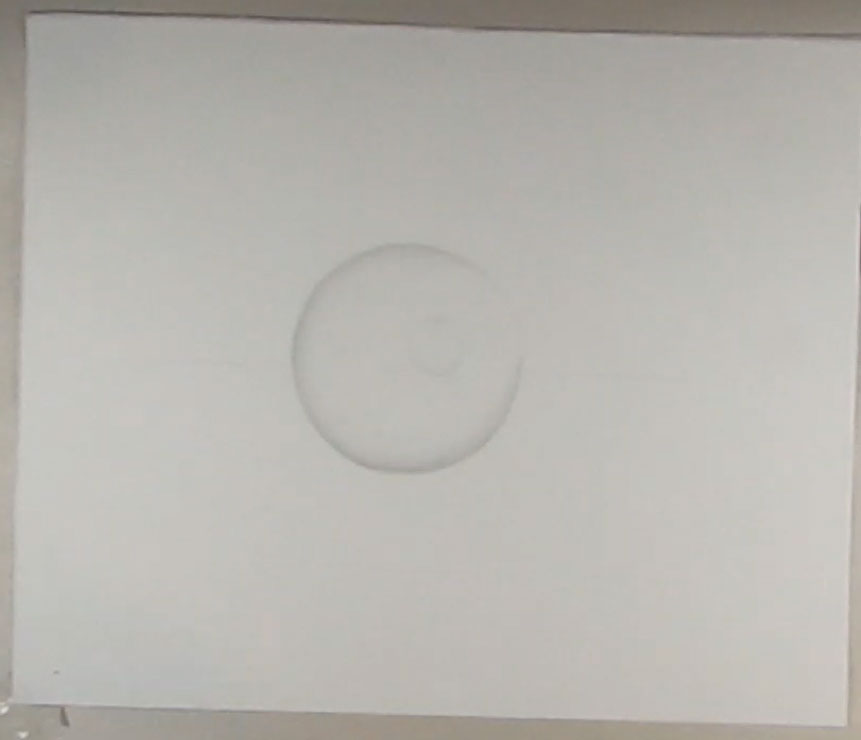
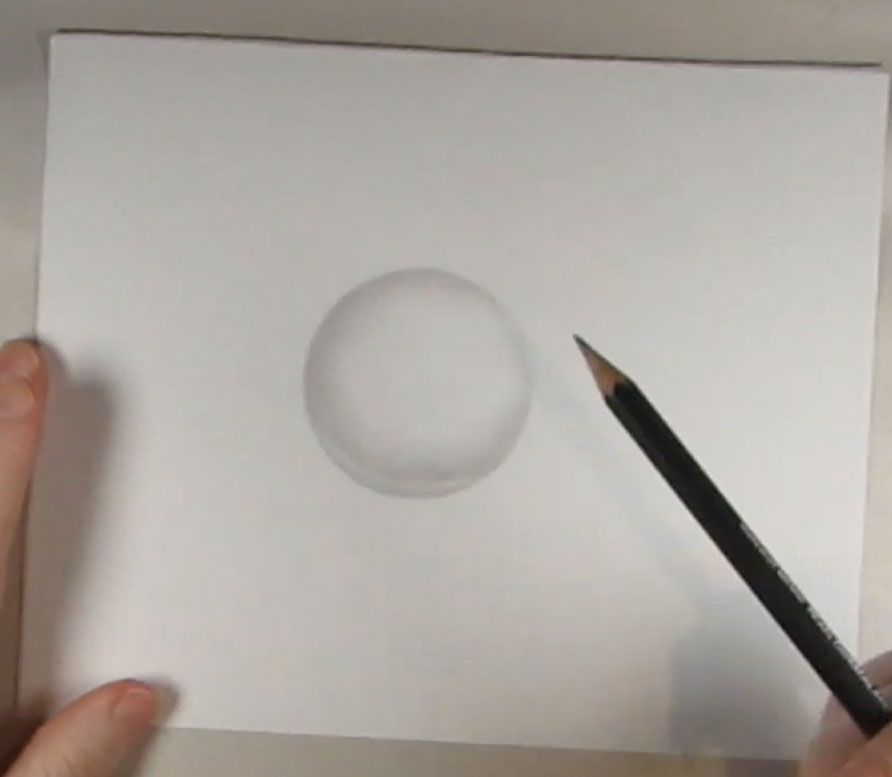
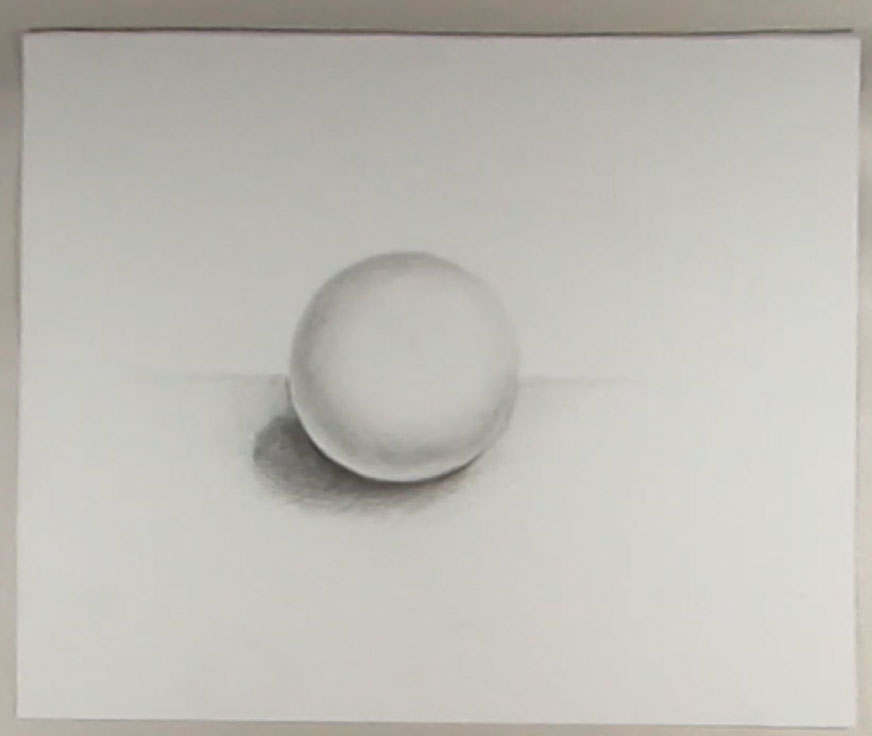
Until your circle looks like this.
(a) Darken the area close to the edge, again.
(b) Then continue to use the H pencil add some lighter tones (halftones) to the paper.
(c) Now the halftones need to get darker and darker until they meet the edge of the outer circle. make sure that there is a soft gradient to the edge.
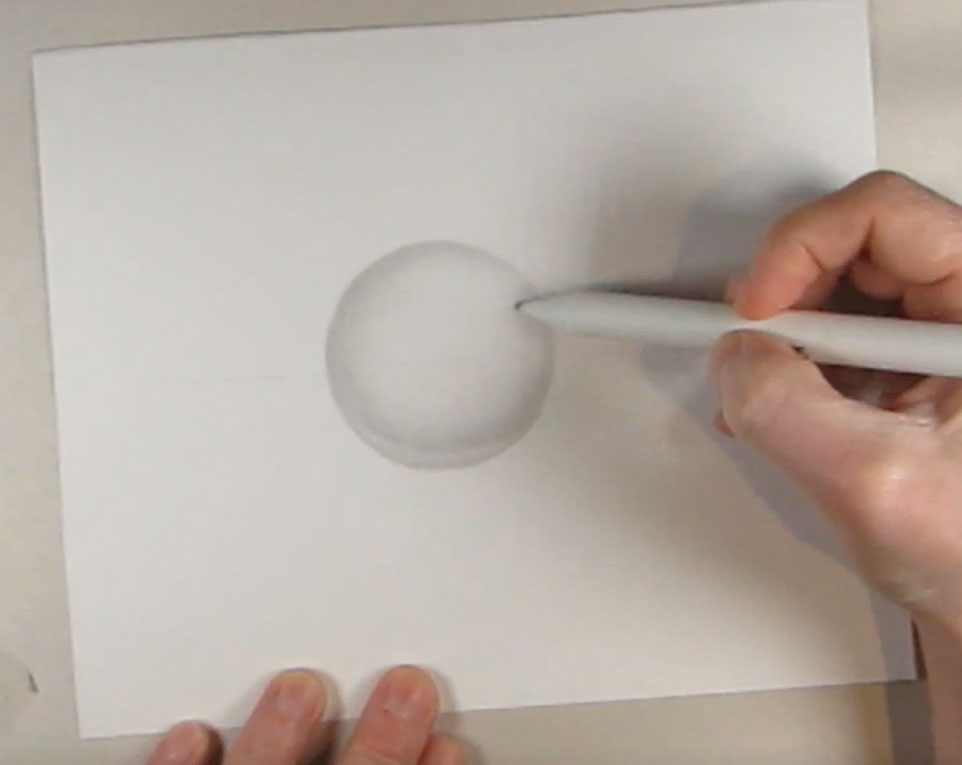
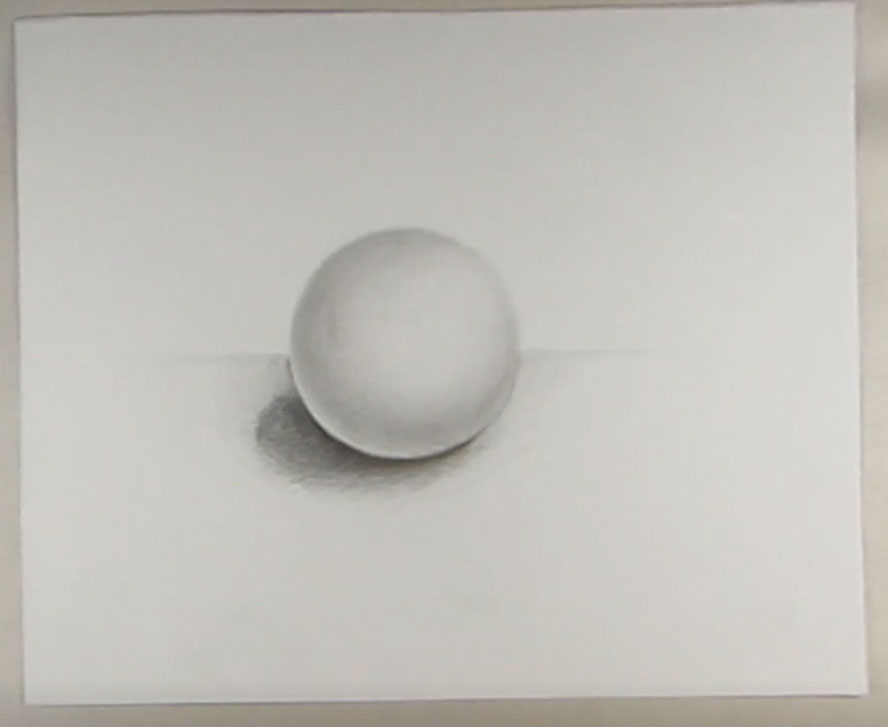
Let’s use a blending stump to lightly rub the graphite into a soft gradient.
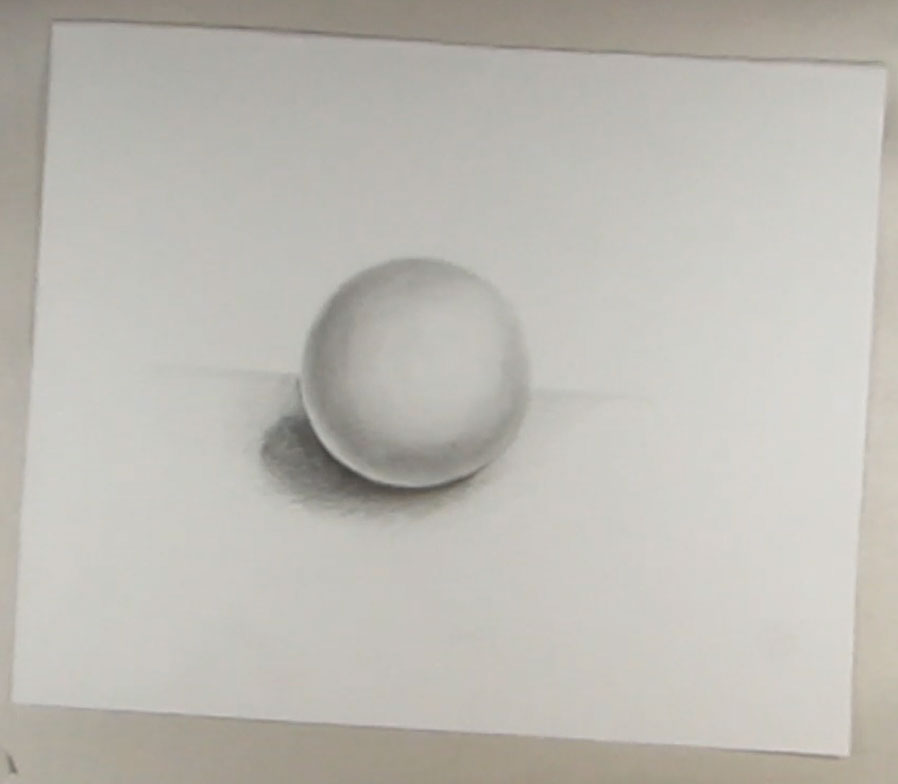
Now, look at that lovely gradient.
Do you see this highlight in the final picture? In the following steps, we are going to avoid this area to keep it lighter.
Use the blending stump again.
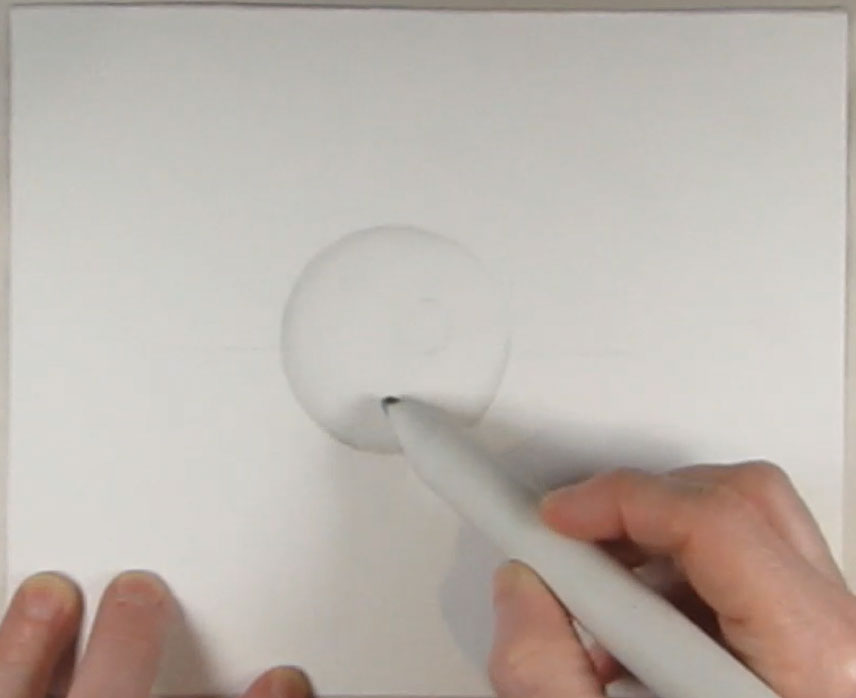
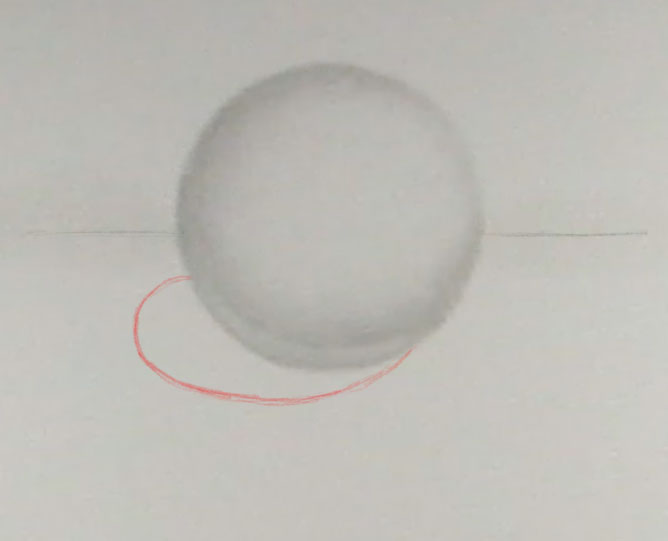
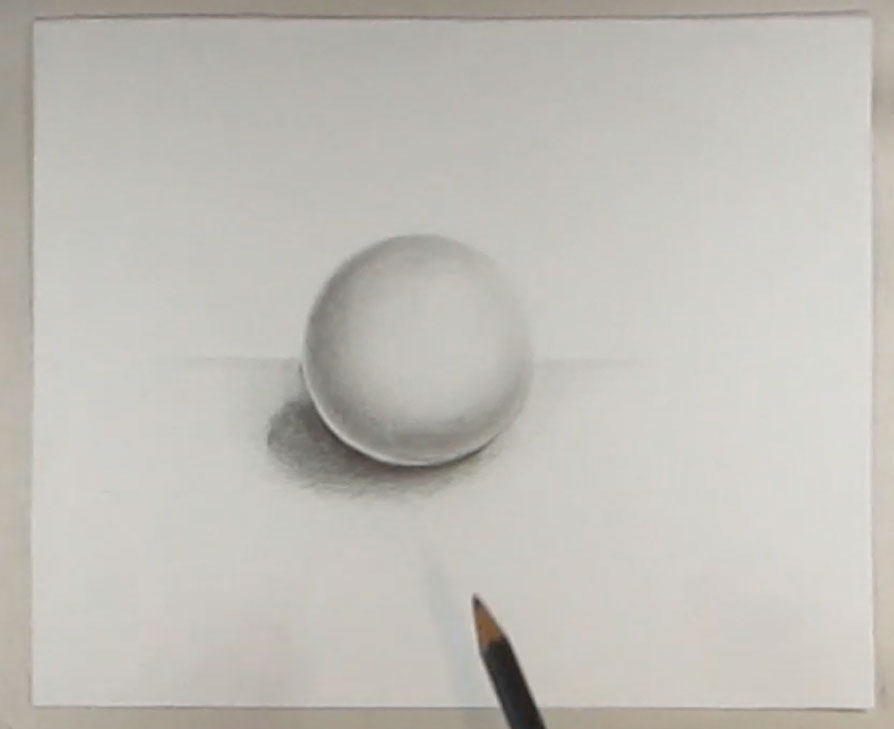
Draw where the cast shadow will be.
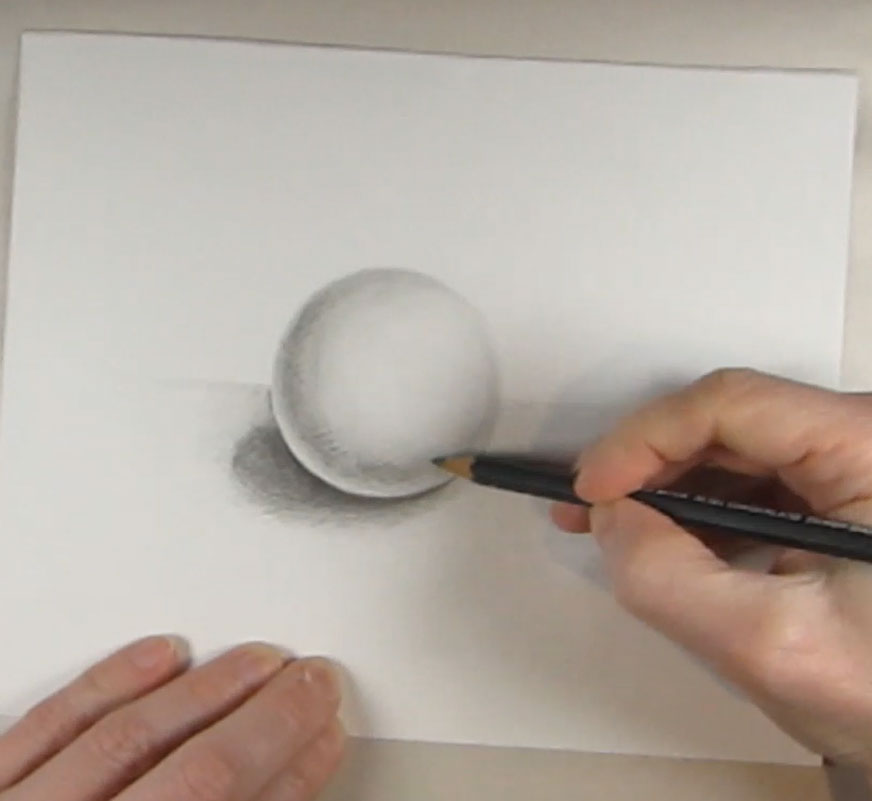
(a) Use a 3B pencil to fill in the shadow. Go outside the shadow a bit so that it doesn’t look like there is a hard edge.
(b) Use an H pencil to draw the light halftones, all the way back to the edge of the table.
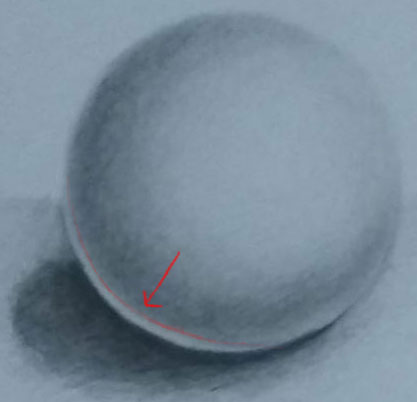
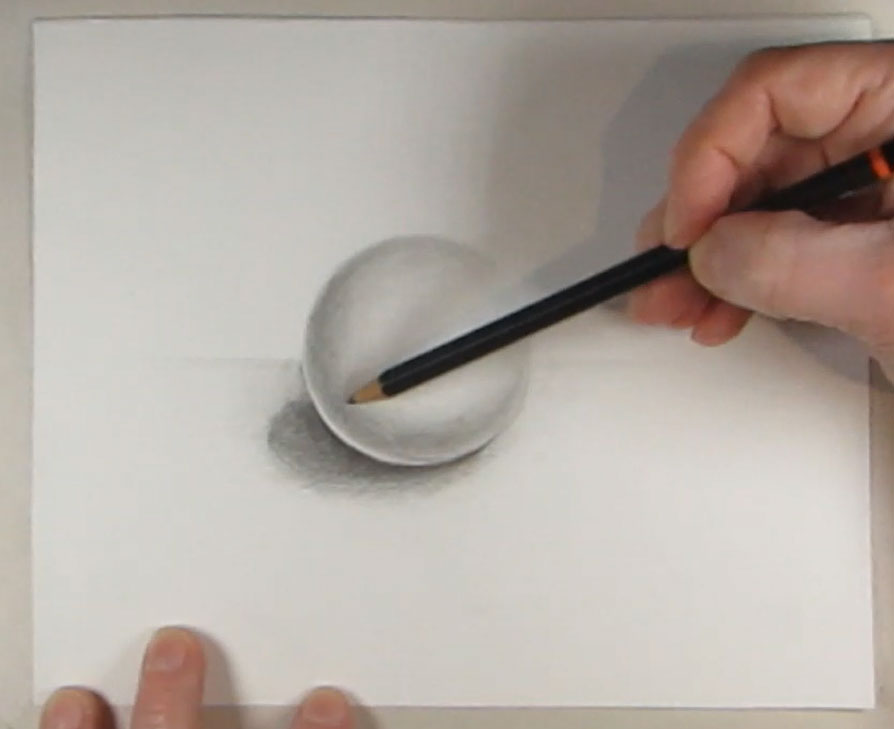
(c) Then use 4B pencil to outline part of the circle.
Sorry that I put that all into one step but part of the video was damaged.
Use a 3B pencil to add the darker shadows in this step. Use an H pencil to draw some halftones so that the dark shading doesn’t overwhelm the picture.
Use an H pencil to add some more light tones.
Use the blending tool to blend it up again. Use the blending stump to smudge some of those soft halftones closer to the highlight circle.
Use a 3B pencil to add some more dark shadows. See the pattern yet?
Blending stick again.
Use a 2B pencils to add some more shading to the left side.
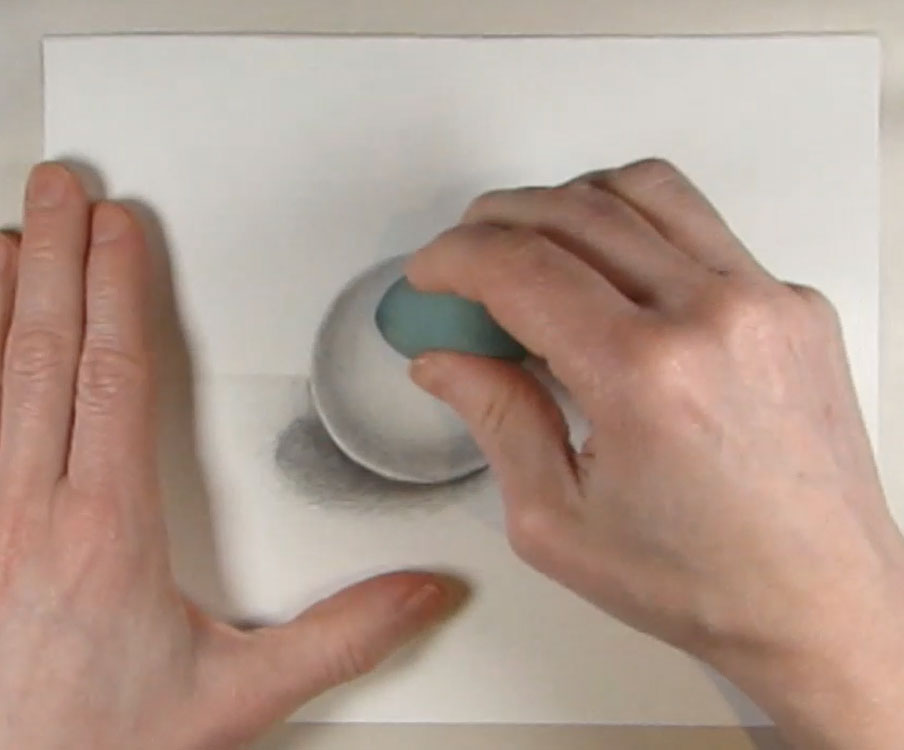
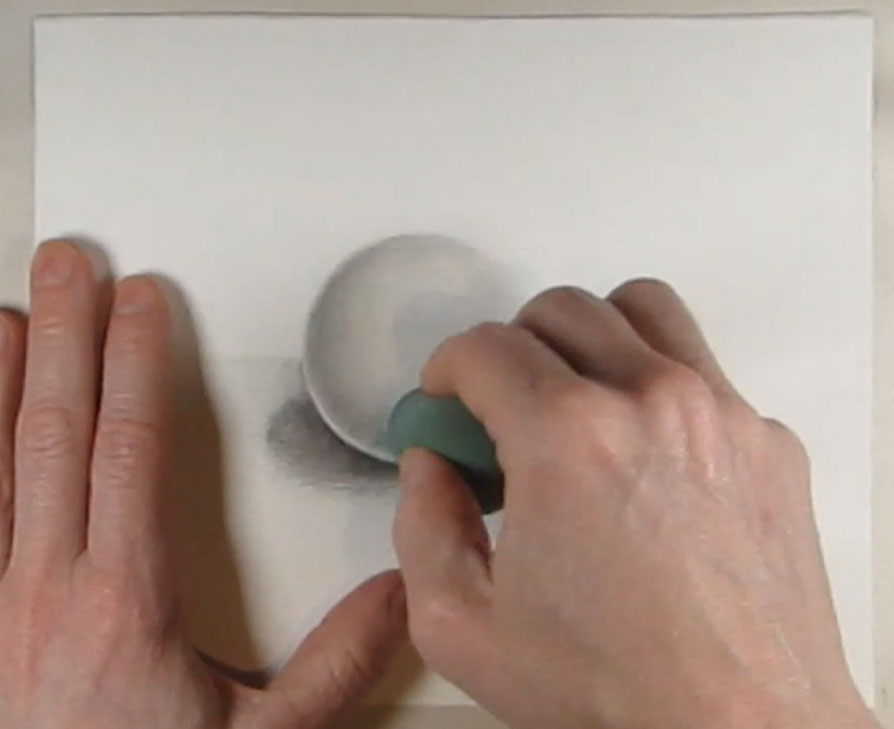
I use a makeup blender sponge sometimes. It softens the shadows so nicely.
Darken the halftones a bit, as well as the darker shadows, so as they blend together.
I’m using the makeup sponge again to smooth the shading a bit.
I used a 4B pencil to add the darkest shadows in. I criss-crossed the strokes all the way down the arc of shading on the left side.
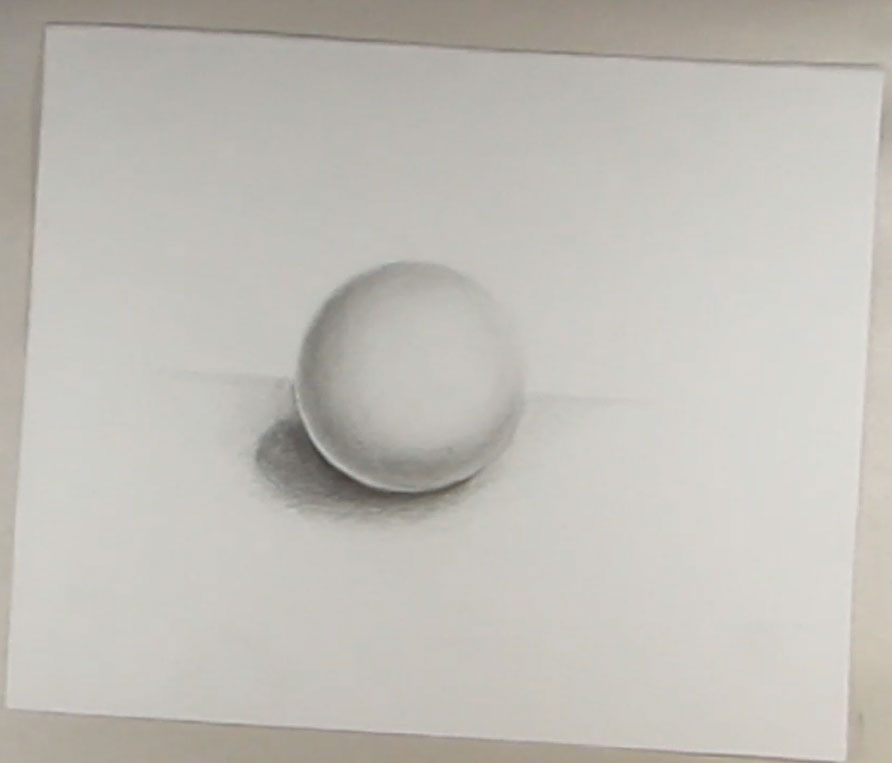
It’s done.
I hope your sphere drawing turned out great! If not, practice makes perfect.
Technorati Tags: sphere, ball, circle, orb, how to draw a sphere, how to draw a ball, how to draw an orb, shading, shadows, gradient
Today I'll show you how to draw Rick from the Rick and Morty cartoon tv…
Today I'll show you how to draw Morty from the Rick and Morty cartoon tv…
Today I'll show you how to draw the spunky little rabbit, Kuromi, from My Melody…
Today I'll show you how to draw this cute "bean duck" that I found on…
Today I'll show you how to draw Sosuke and Ponyo in a bubble (chibi /kawaii…
Today I'll show you how to draw a Boo from Super Mario Bros in Kawaii…
View Comments
Thank you! This helps me sketch grapes for a painting.