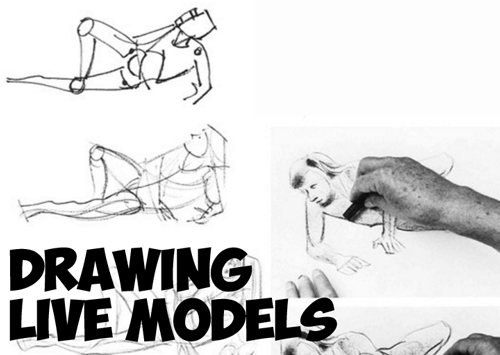
Sketching a live model can be tough, it is a lot of pressure to work fast and to get all the details while staring at a live human being. It is also hard to get the right pose. This lesson will guide you through that process. This is a blurb from a book that I like. I saw on Amazon that it only has one Star and I thought that I would mention it here to give the book more steam. At the bottom of the article is the link to the book. If you like it, buy it.
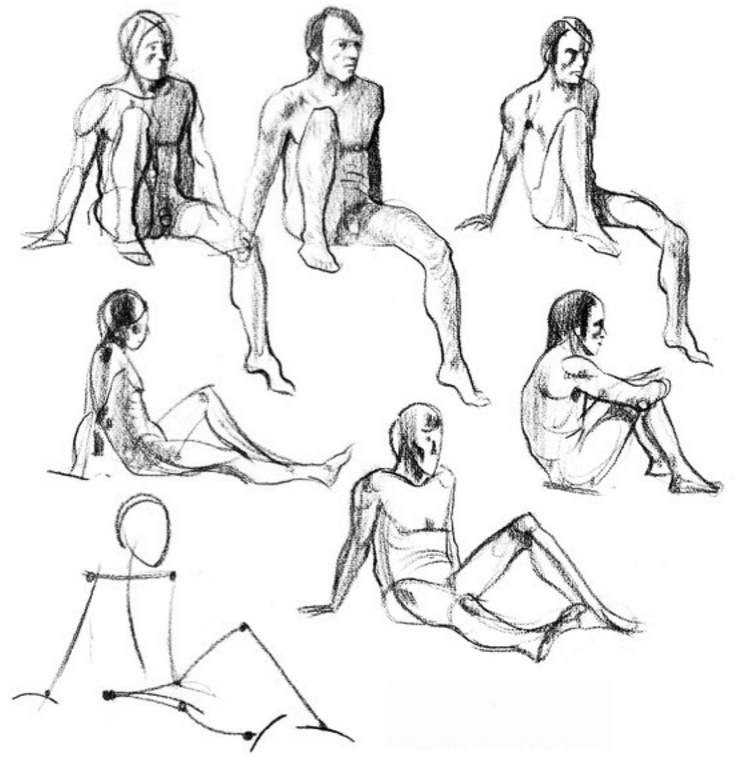
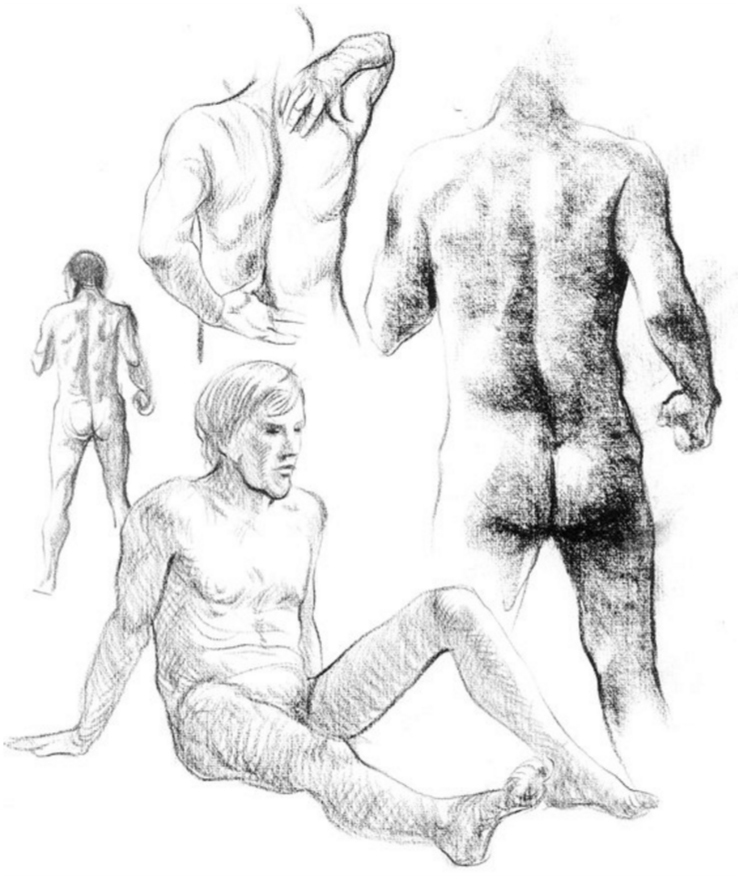
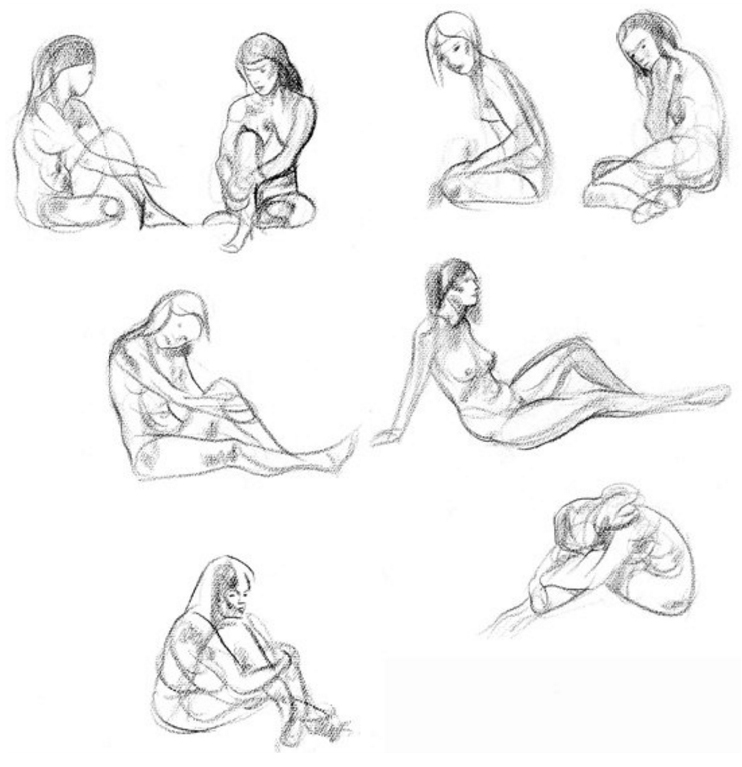
Here are a number of attempts, little sketches, made in search of a pleasing position for my model. I decide on one, start with a stick figure, bottom left, go to more lineal figures, bottom center, and continue into the large finish shown on page 61. While drawing the sitting pose I had selected after so many sketches, I observed that the model had a great back for drawing. This back I drew again and again.
Here I draw a few sketches of the very active male model. First, the stick approach, with little dots to locate the elbows, the ankles, the shoulders, and the knees. Carried a little further, the drawing is blocked out. By the time I am working on the third stage of the figure, the drawing begins to take on action. In the fourth stage I have a complete sketch. In the top photograph, I show the method of using the side of a piece of hard pastel to get a tone. In the bottom photograph, I’m using the corner of the pastel for a line. In the photographs, I’m making a very simple line sketch with a charcoal pencil. In these last two sketches I’ve shown the model standing. The model, as can be seen in the photograph, was posing lying down. Illustrators often draw the model in a simple-to-hold pose only to later show a sketch that makes the model appear in violent action.
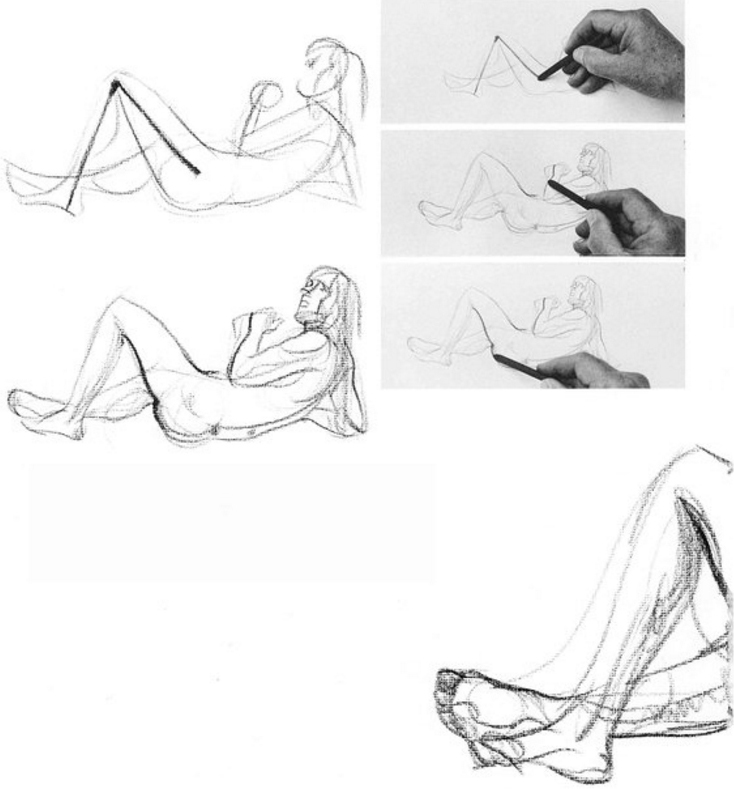
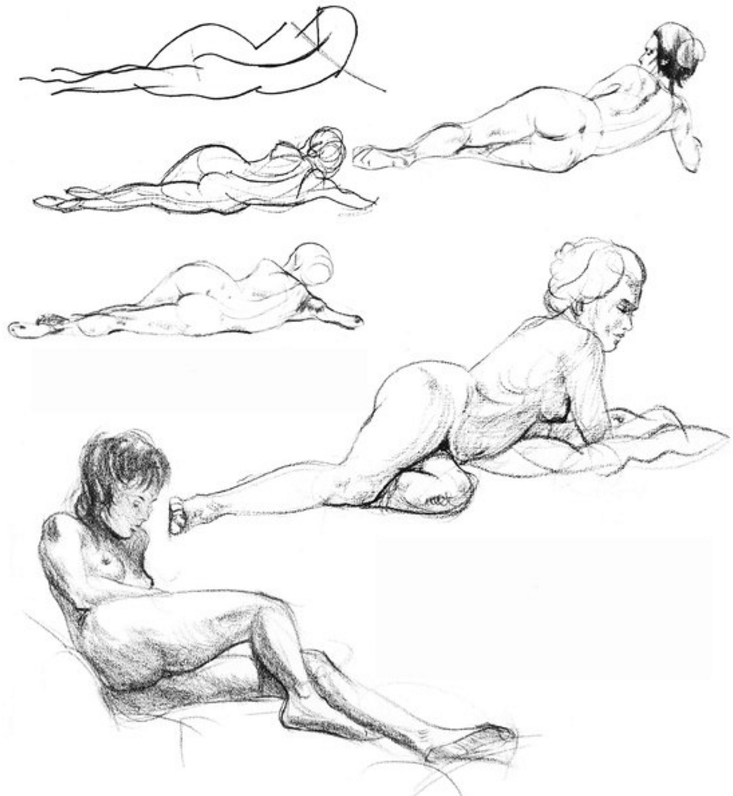
Try a larger, lying down position, starting once more with a “stick” figure and continuing. At times just a change in the size of your practice drawings will help you along the road to becoming a better artist.
The three step-by-step drawings above show, once again, typical procedure in figure drawing. The more finished sketch, top right, which at first glance seems so similar, is seen to be a quite different position. The remaining two sketches, in a more reclining than prone position, are far more difficult to draw. They are more foreshortened drawings.
Foreshortening, a condition in which the figure or parts are shown shorter than they are to give an illusion of proper size, has been the bugaboo of artists through the ages. To make matters worse, it is difficult to get any interesting pose without a good deal of foreshortening.
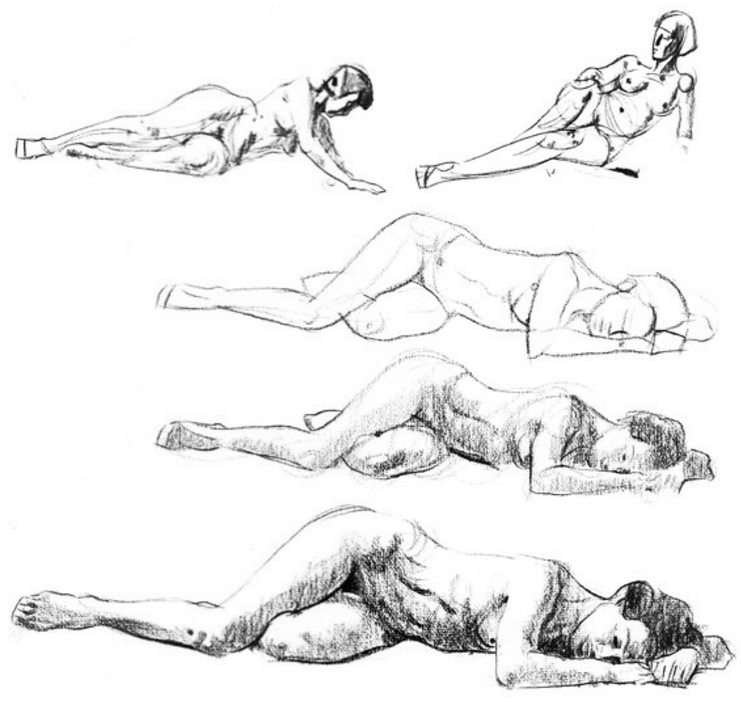
Lying down poses, aside from being a welcome relief for the model, are more at home as wall decorations in today’s relatively low-ceilinged homes than drawings of standing or seated figures. At the top of the page are a couple of suggested poses.
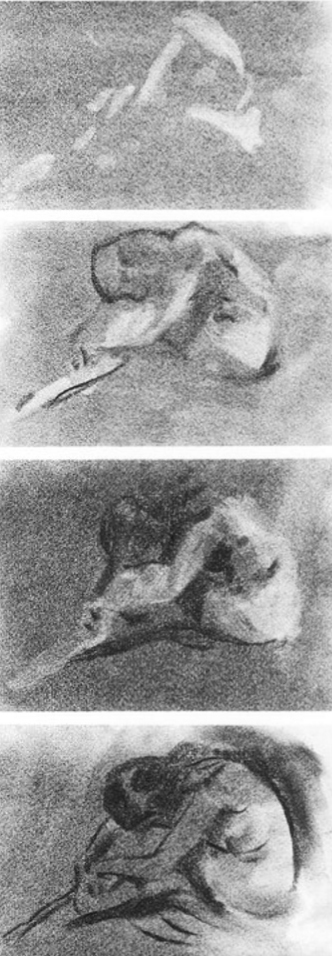
The step-by-step procedure illustrated in the remaining three sketches came about when the model was told to rest. Falling asleep, she fell into the best position so far.
After the fairly long period of sketching reclining figures, try a more sustained drawing. I’ve picked a pose that is a simple one (if any pose is really simple). With the model facing away, I have no face to draw. With the model posed in a position that demands very little foreshortening, I’ve avoided the pitfall I mentioned earlier.
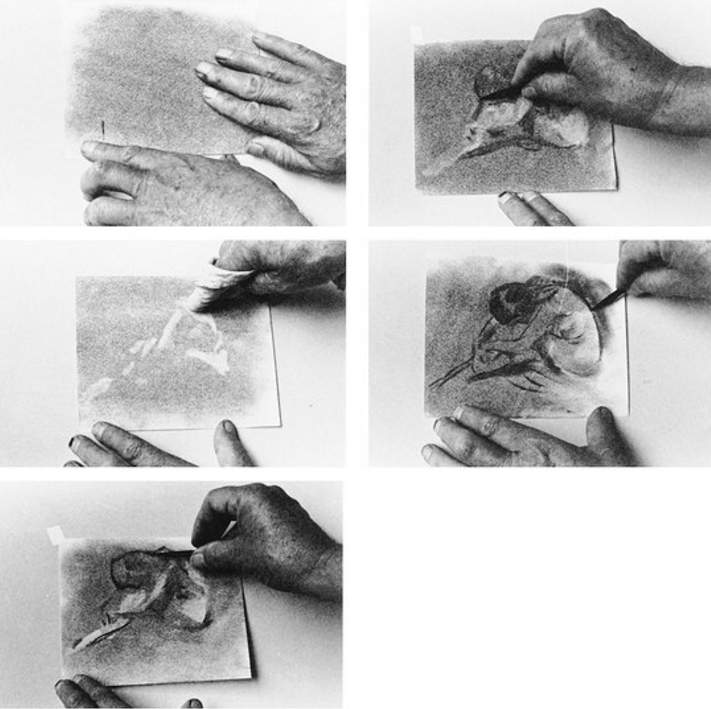
I have drawn five operations that take place in the completion of this drawing. I began the drawing by laying in a gray charcoal tone. I could as well have started directly on white paper and toned the background along with the modeling on the figure.
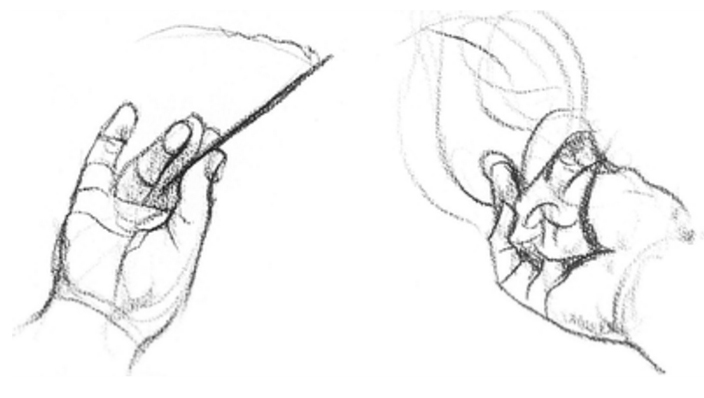
To return to the five hand sketches, from left to right. The first is of my hand sketching, with a long stick of vine charcoal held very lightly, the overall planning of the drawing in flowing lines. The next indicates thumping out all but a faint image of the early work. The third indicates redrawing with a charcoal pencil or whatever
medium you are using. With much of the early mistakes taken care of in the thumped-out charcoal sketch, it’s a bit easier to emphasize or eliminate passages. The last two sketches show a smudging with the thumb to get tones, and the use of a kneaded eraser to lighten other sections. The sketches are in no firm order, and the various operations may be repeated tone after time, your patience and the strength of the paper being the governing factors.
In making your little idea sketches, finish each only to the point where someone can recognize what the model is doing. Go on to the next. As you will remember in our studies of the relaxed skeleton series, it is not at all necessary to have the model, in the exploratory sketches, constantly on the move. The artist can ignore effectively move around the model. This is especially true in the case where a number of persons have shared the price of the model.
Your life-drawing group may be short-lived if you have the model shift positions before one of the other sponsors is ready. First, on a sheet of charcoal paper (larger than shown in the photograph), I make a gray overall tone in charcoal. I put a chamois cloth around my finger and, after studying the model, take out some
of the gray tone. Next I take a piece of charcoal and darken those sections that look dark. Starting at the model’s back, I continue into the hair. Finally, I make lineal accents. Although these photographs were of a very, very small facsimile of the large drawing, they give you the idea of how I approached the job. I could as well have done a lot of sketching on tracing paper before I did this. Later I’ll do that for one of the other drawings.
If You Like This Blurb from “Figures and Faces”, go Buy it on Amazon.
Technorati Tags: figure drawing, drawing live models, drawing models, drawing nude models, model poses, drawing models poses
Today I'll show you how to draw Rick from the Rick and Morty cartoon tv…
Today I'll show you how to draw Morty from the Rick and Morty cartoon tv…
Today I'll show you how to draw the spunky little rabbit, Kuromi, from My Melody…
Today I'll show you how to draw this cute "bean duck" that I found on…
Today I'll show you how to draw Sosuke and Ponyo in a bubble (chibi /kawaii…
Today I'll show you how to draw a Boo from Super Mario Bros in Kawaii…