Drawing Hand Lesson Number 2 shows the back view of the same hand worked out in lesson #1.
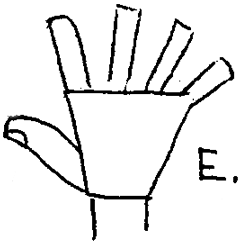
First sketch, lightly, the back of the hand, as in figure E.
Then add to this the four fingers and the thumb, just using straight lines to get their general shape and position. Be sure to place the thumb in its proper position, so you don’t ruin the action that the hand is trying to express. Also be careful to get the length of the fingers in proportion to each other. Look at your own hand and note carefully how long each finger is compared to the others.
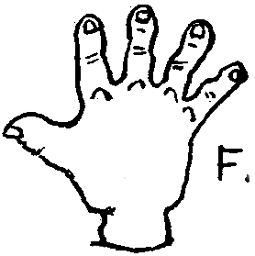
Now go over the sketch, carefully shaping the fingers and hand. After the drawing is inked in, erase the pencil lines (F).
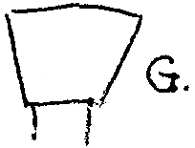
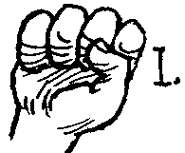
Drawing Hands Lesson #3 shows how the inside view of the fist is drawn.
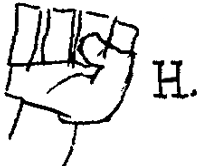
Now block in the fingers as basic shapes as seen in letter H.
Now finish drawing the hands by rounding them out and drawing in details as seen in letter I.
Today I'll show you how to draw a super cute Vault Boy from Fallout. Vault…
Today I'll show you how to draw a cute chibi / kawaii bunny rabbit named…
Today I will show you how to draw a Banana Duck from the plush Peach…
Today I'll show you how to draw a cute cartoon monster that is super easy…
Today I'll show you how to draw an adorable kawaii-style dumpster fire with the following…
Today I'll show you how to draw a cute cartoon alien in his UFO. This…
View Comments
This is so helpful
Thanks. The third page (proportions) was particularly helpful. Looking back at my drawings, I can spot where I went wrong (with fingers too long for the rest of the hand).
I'm glad that this helped you. :)