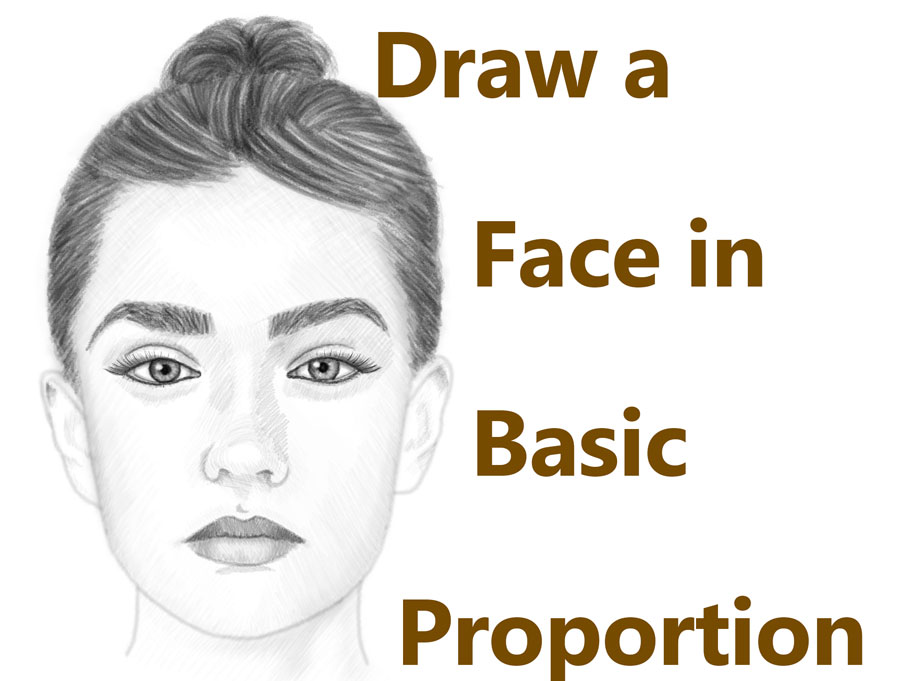
Learn how to draw a face with basic proportions. This technique might look annoying, but it is reliable and really can be quick if you memorize how to do it. Drawing faces and heads really aren’t as hard as it appears to be. Follow this facial proportions tutorial and you will see how easy drawing faces can be. Happy Drawing!
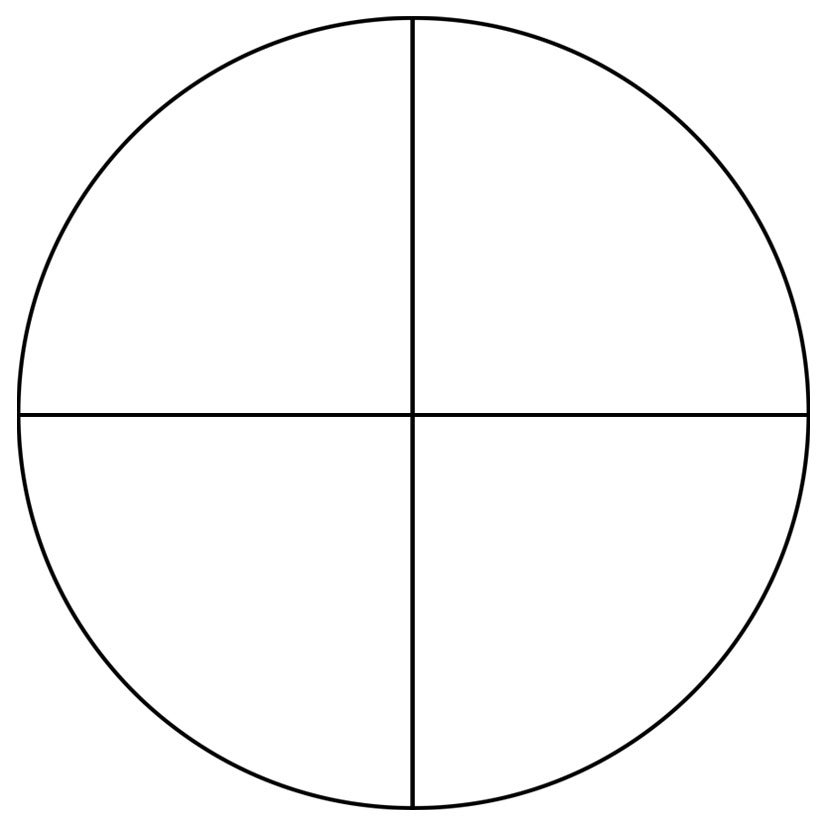
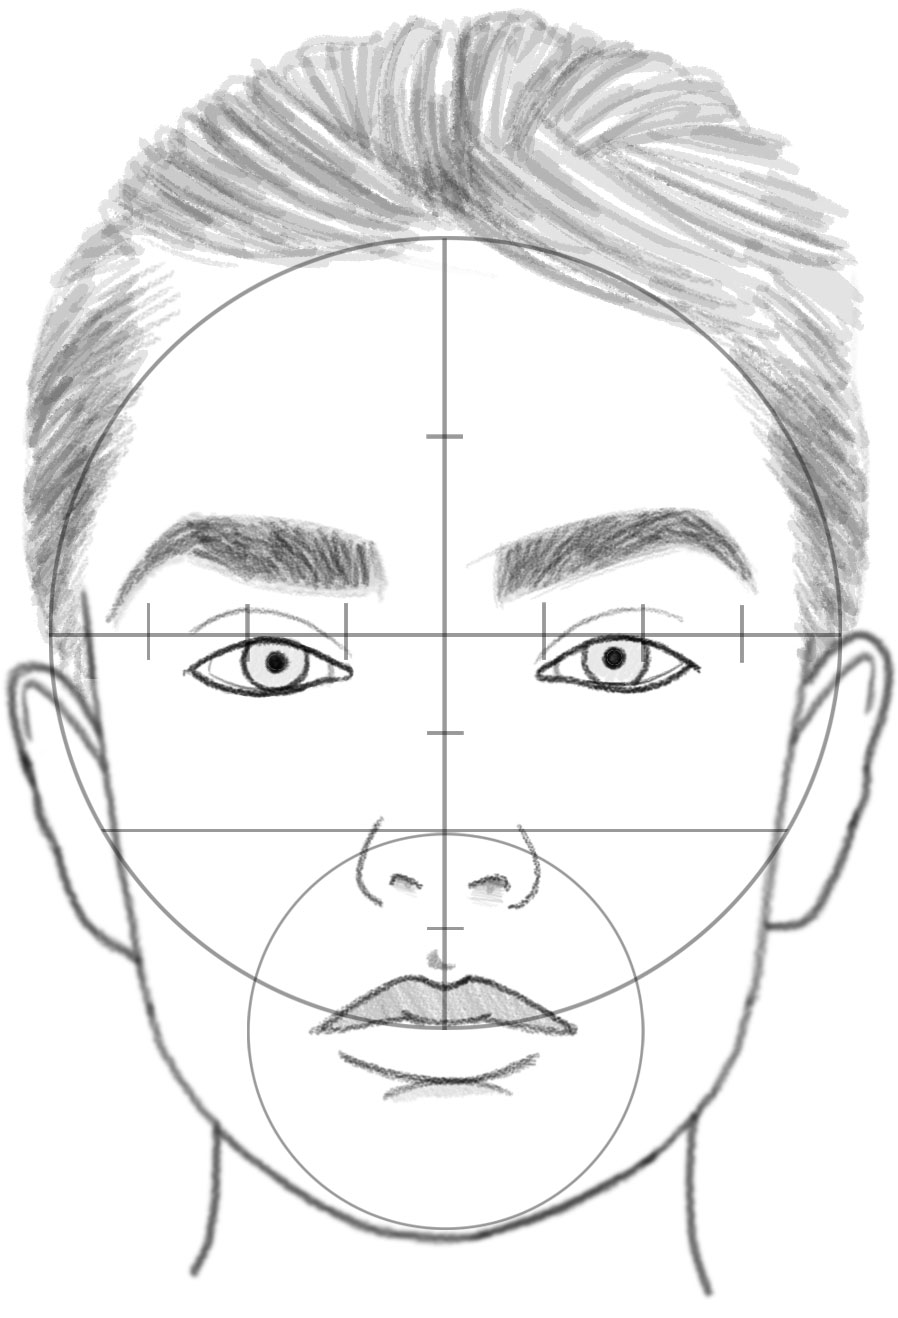
Lightly draw a circle. You can trace a lid or bowl or something. Then draw a line thru the center in both directions.
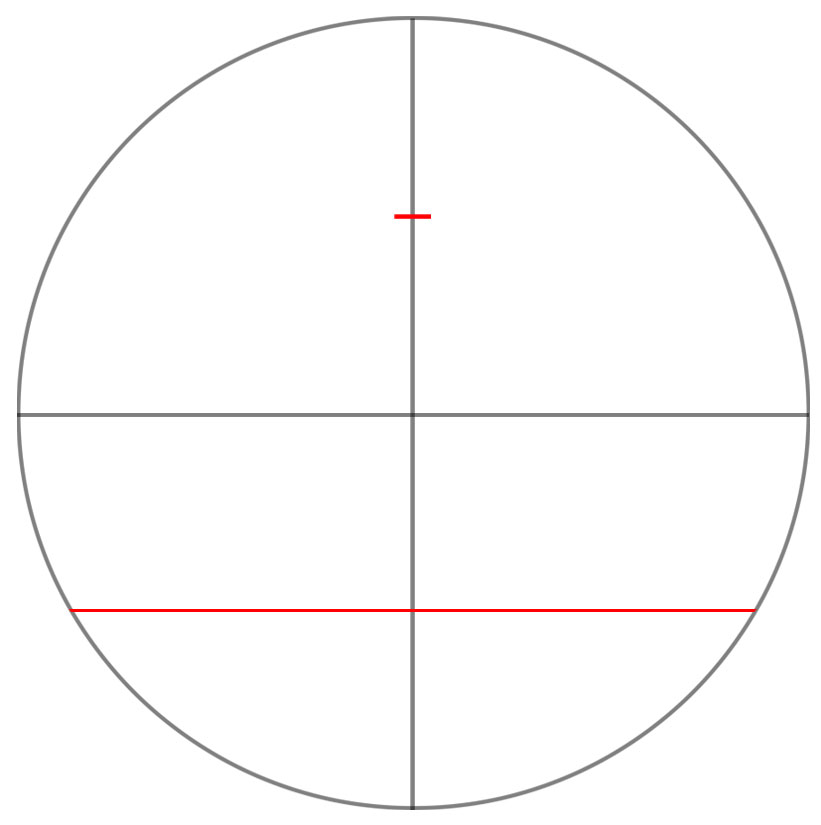
Now lightly draw a line through the center for the bottom half and for the top half too. This all might seem annoying, but it works.
Find the centers of these areas as well.
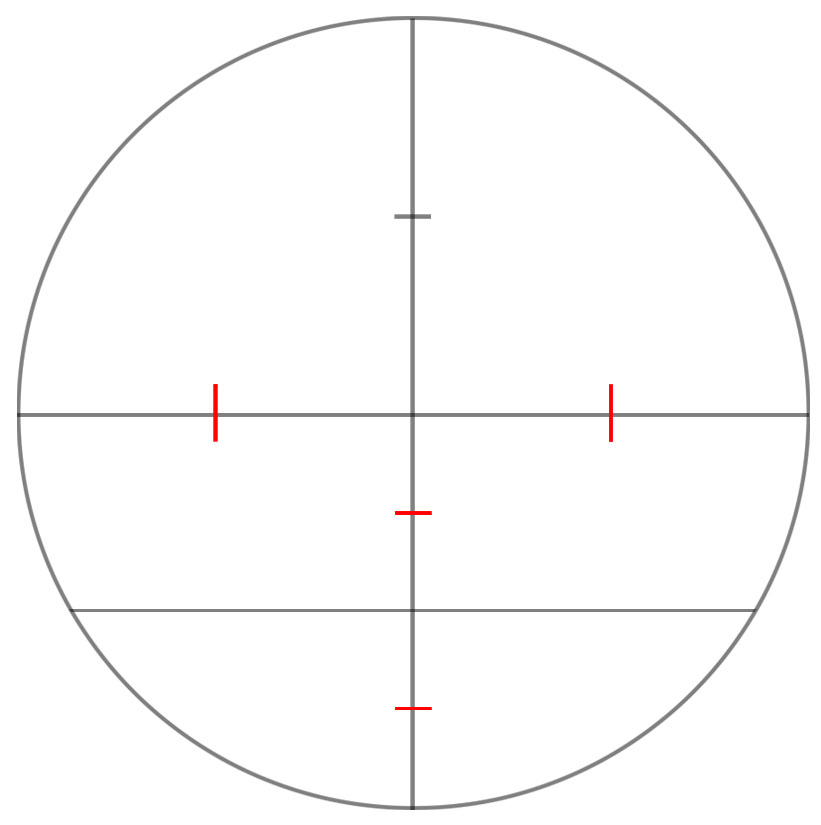
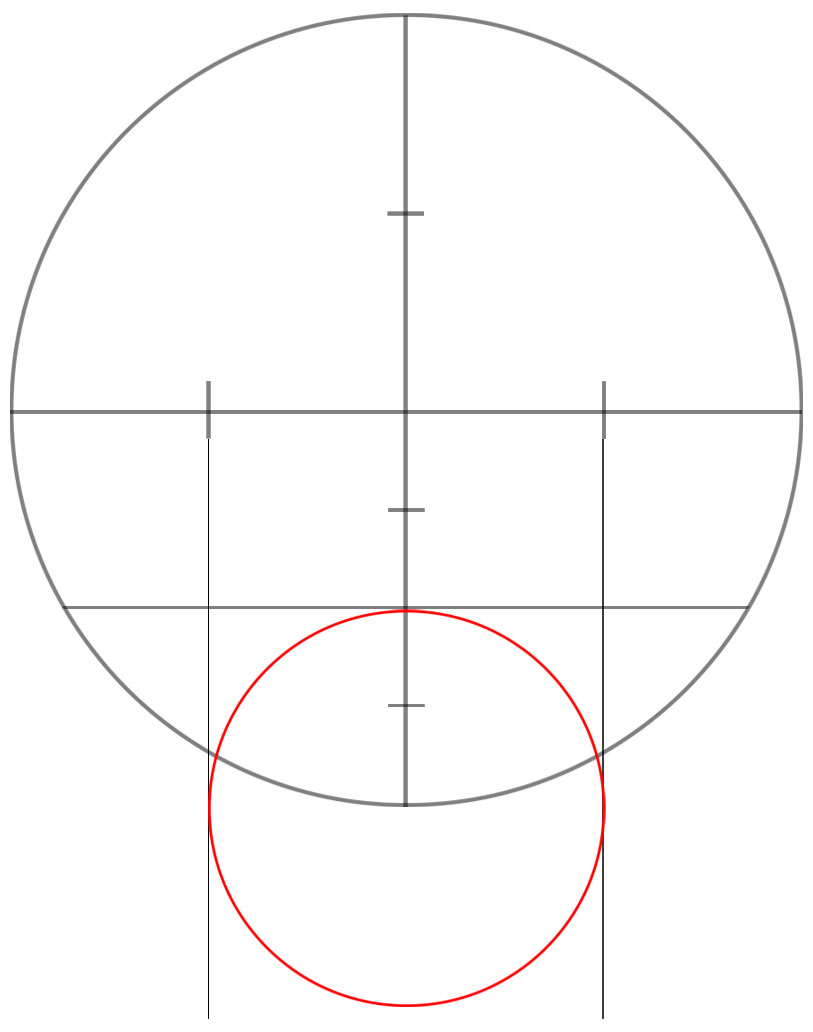
Now lightly draw 2 lines down from the little lines you drew in the previous step. Lightly draw a circle within the area you created. It doesn’t have to be perfect, it’s only a guideline.
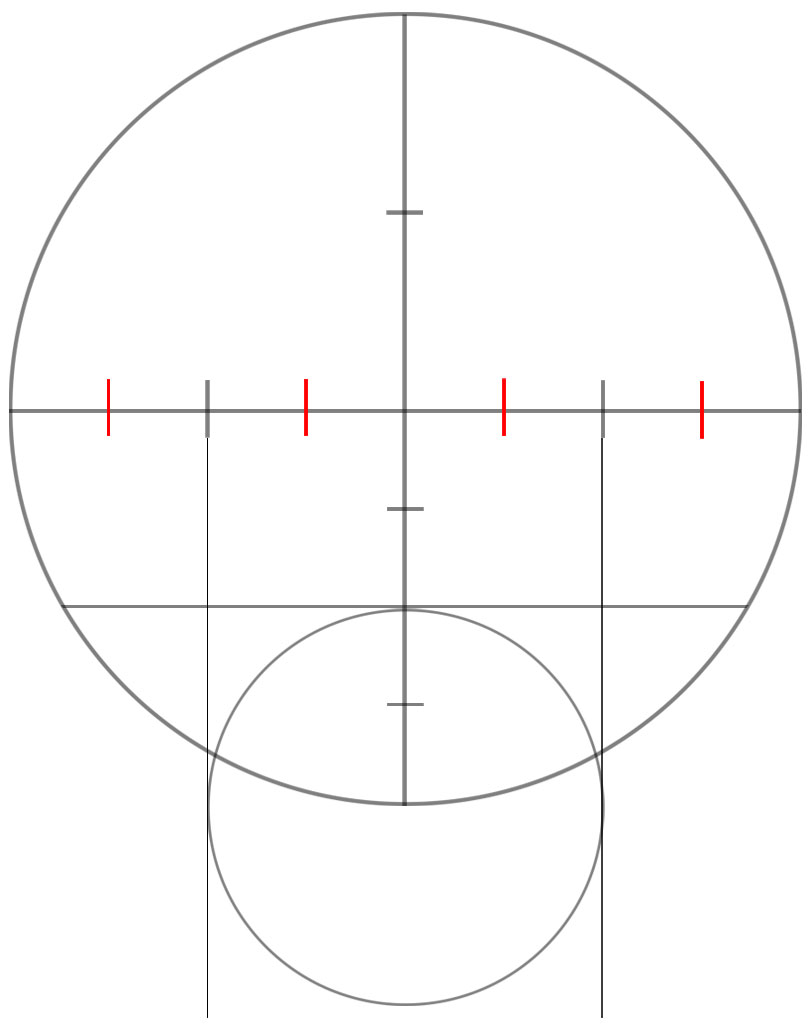
Find the centers of these areas too, these lines will help you place the eyes correctly.
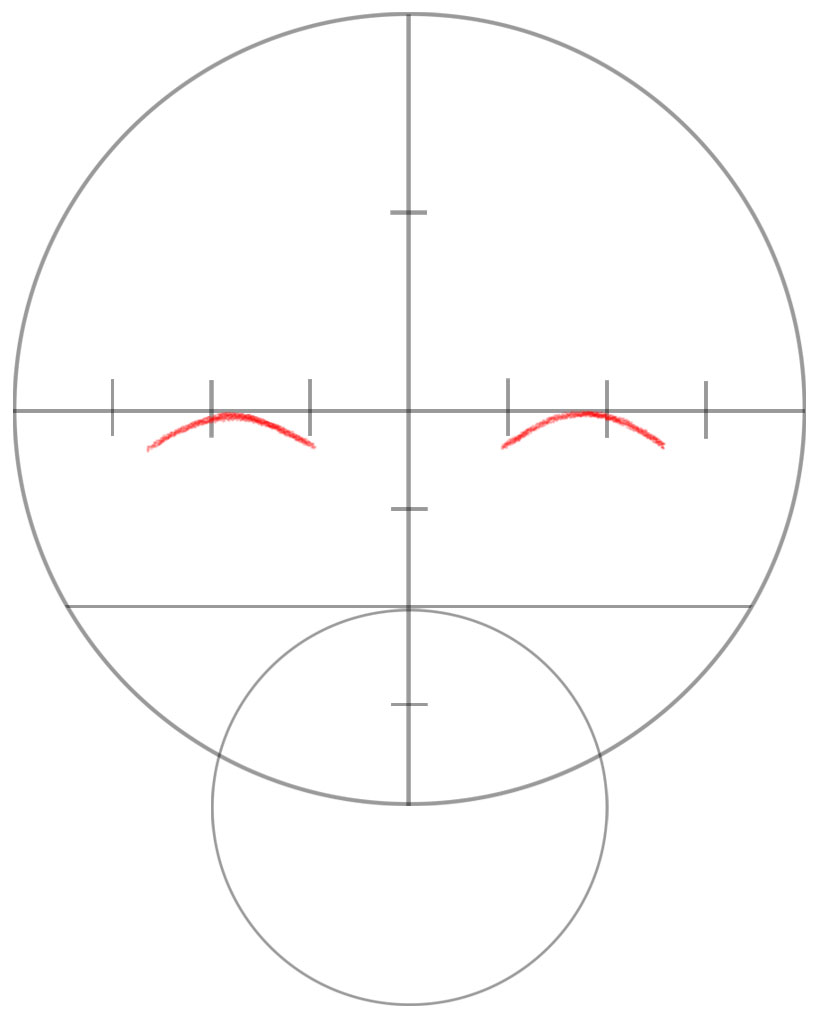
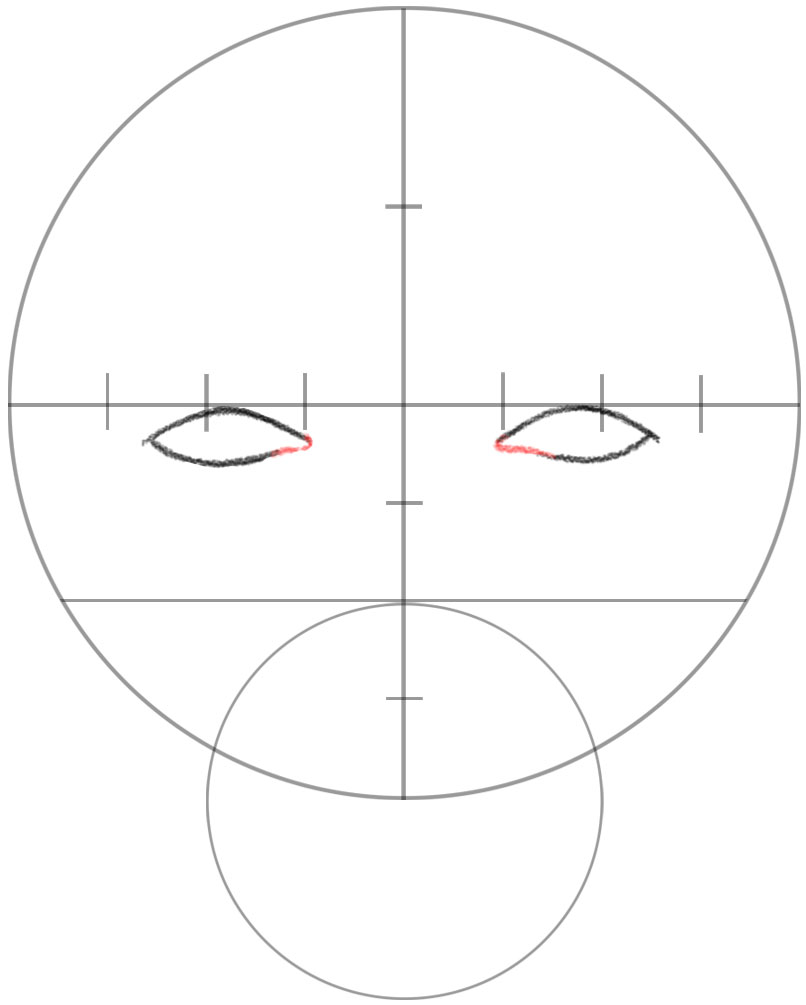
Now use the guidelines that you drew to help you place the facial features. Start off by drawing curved lines for the tops of her eyes.
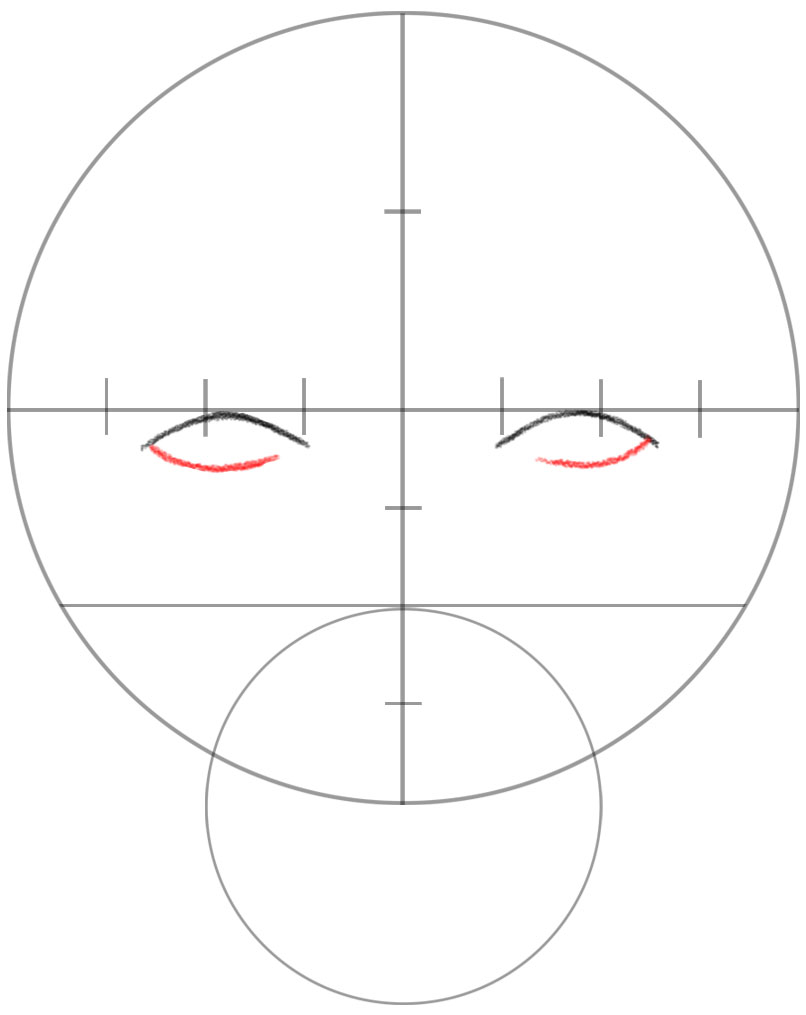
Draw curved lines for the lower eyes.
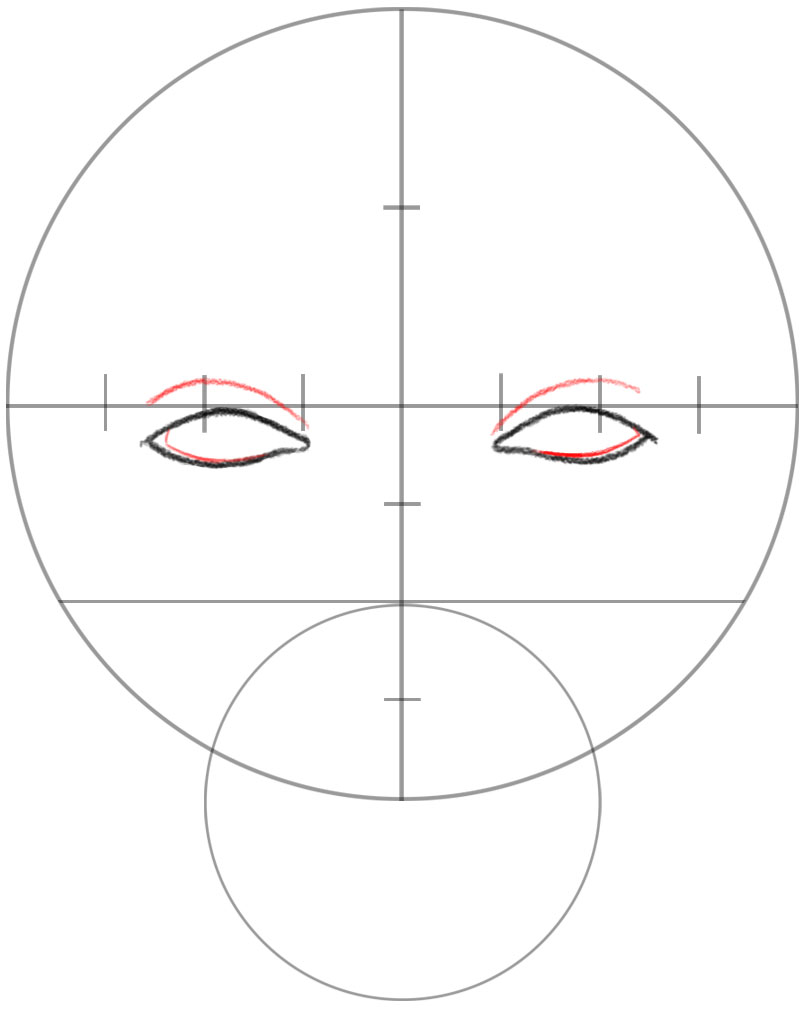
Draw sideways “J” shapes for the inner eyes.
Draw curved lines over the eyes. Also, draw the inner outline of her eyes.
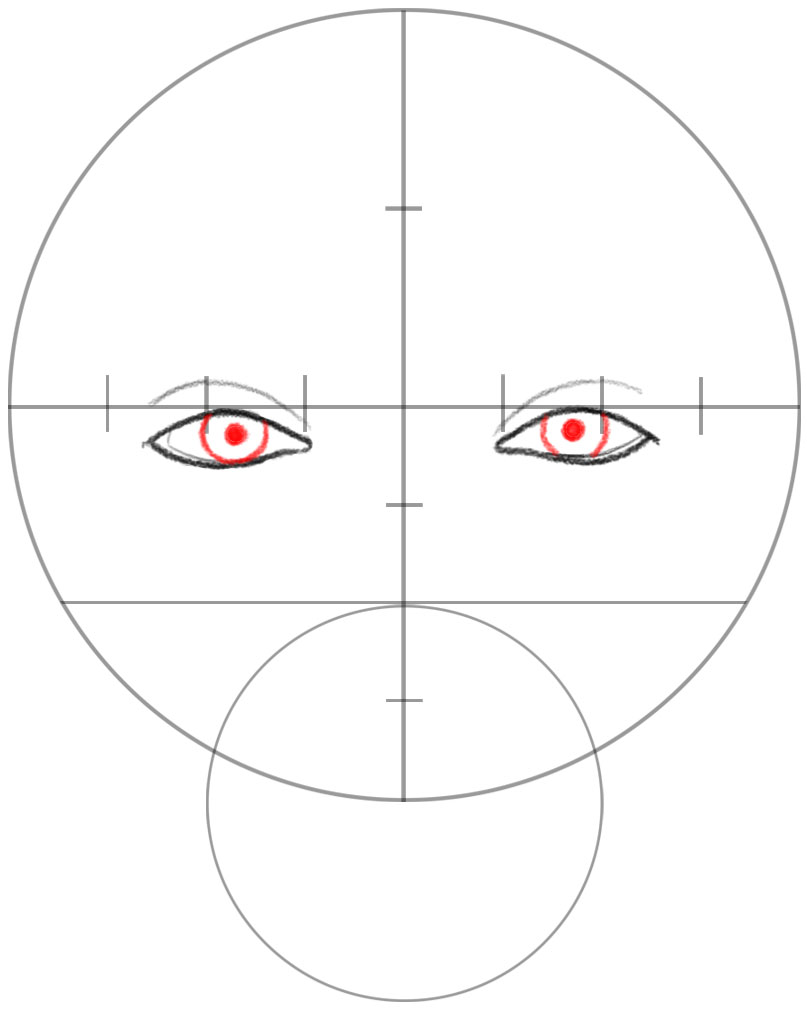
Draw partial circles in the eyes. Draw filled in circles for pupils.
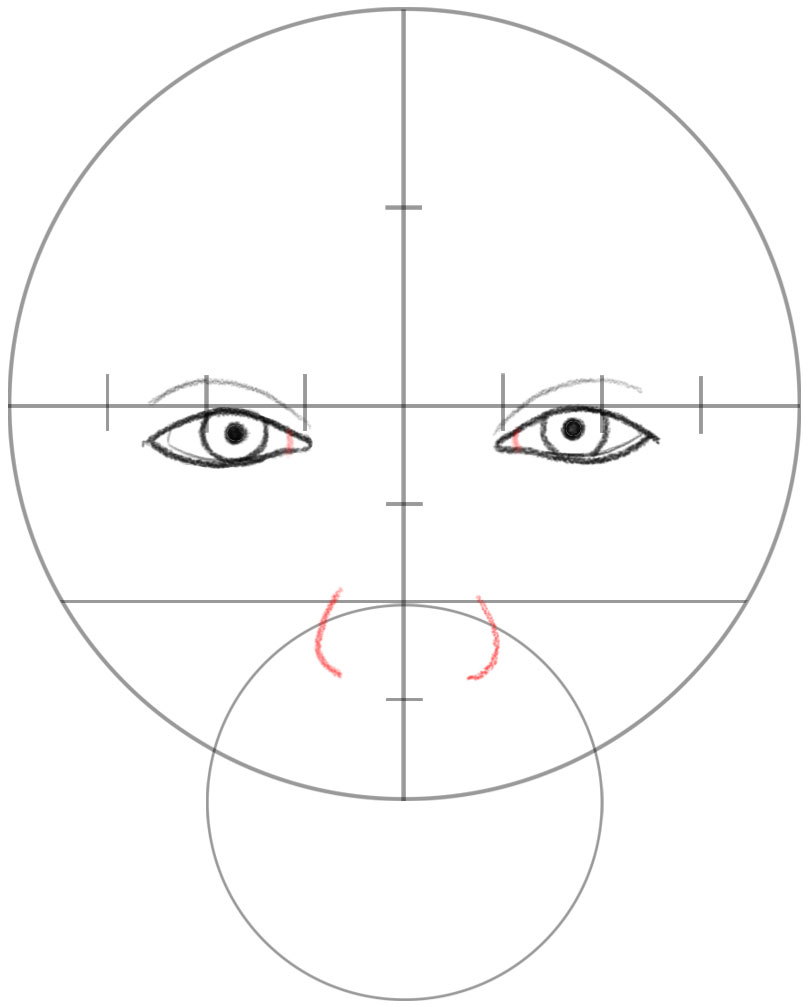
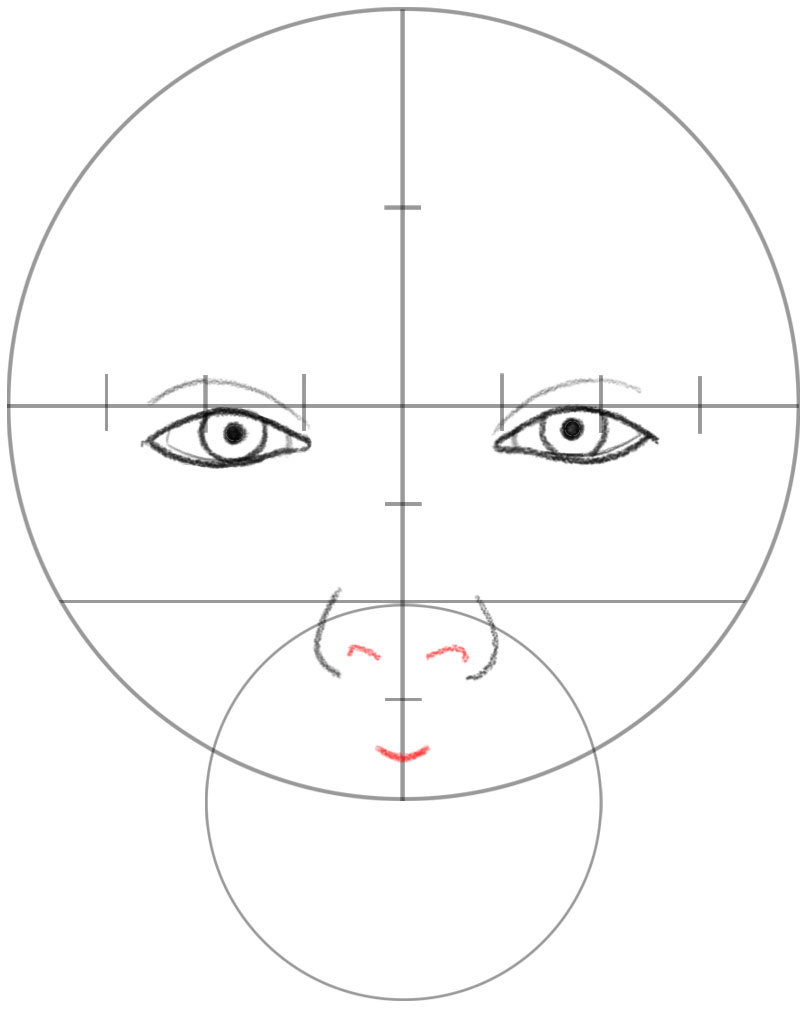
Draw curved lines for part of the inner eye. Draw 2 “J” shapes for the sides of her nose.
Draw “J” shaped nostrils. Draw a wide “V” shape for part of her top lip.
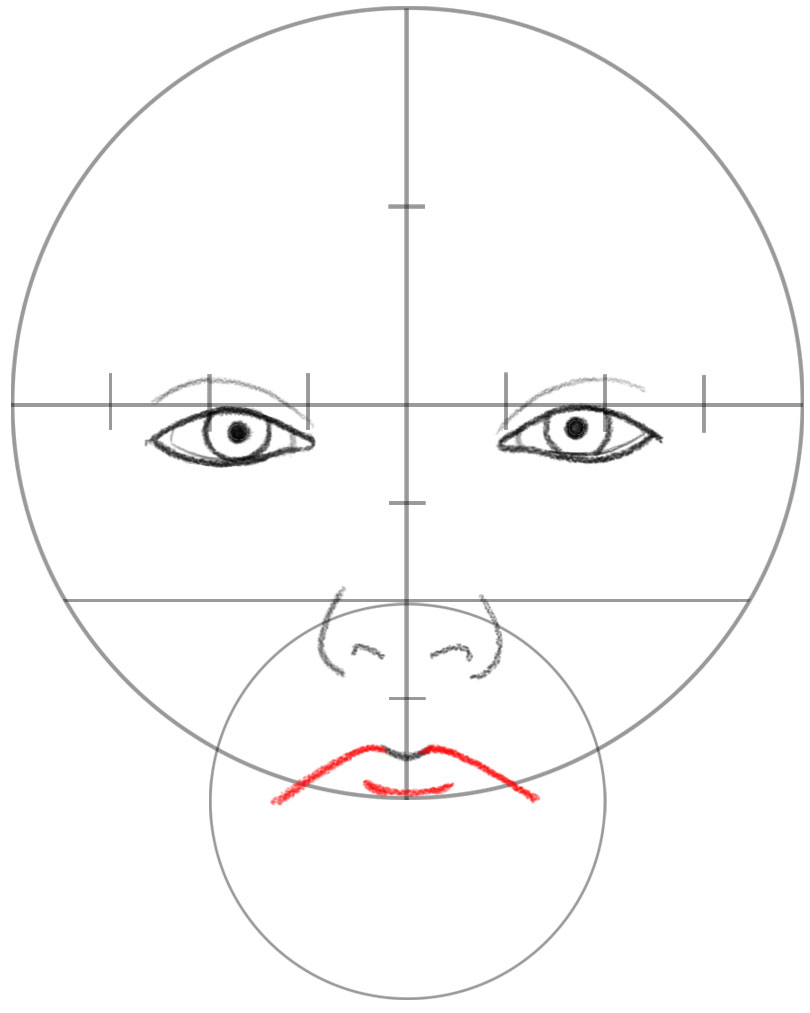
Draw downward curved lines for the top lip. Draw an upward curved line for the center of her lip.
Connect the center of the lip to the outside of the lip. Draw a curved line for the bottom lip.
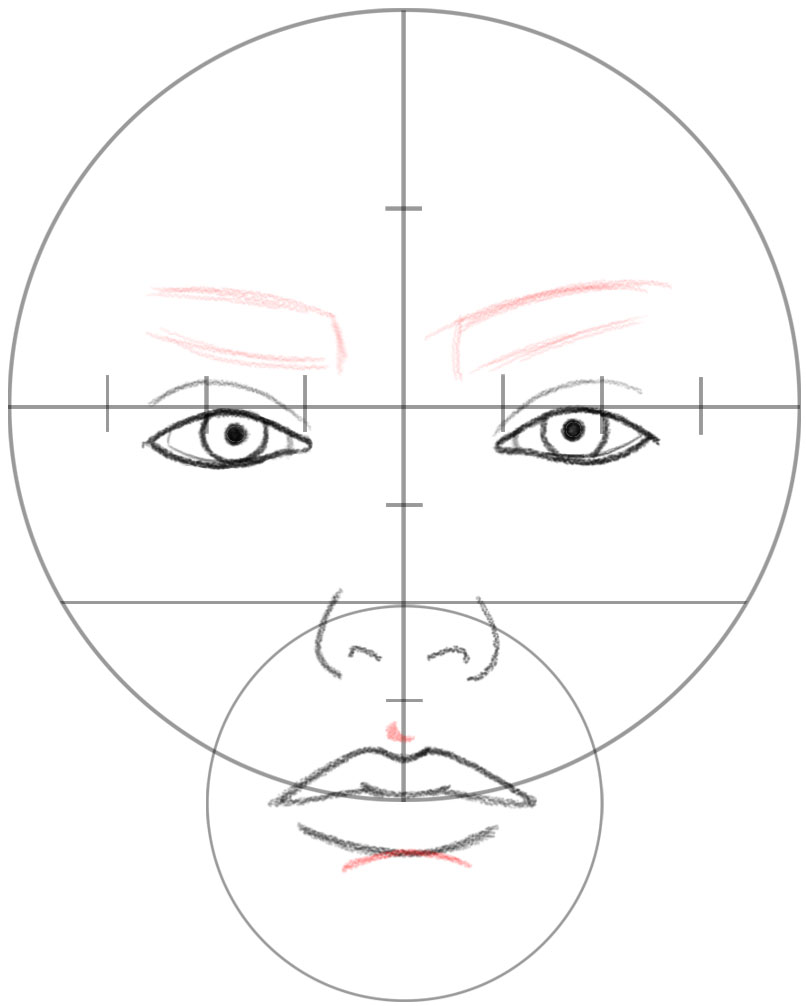
Lightly draw the outlines of the eyebrows (for guides). Draw an “L” shaped shadow above the mouth. Draw a downward curved line under the mouth.
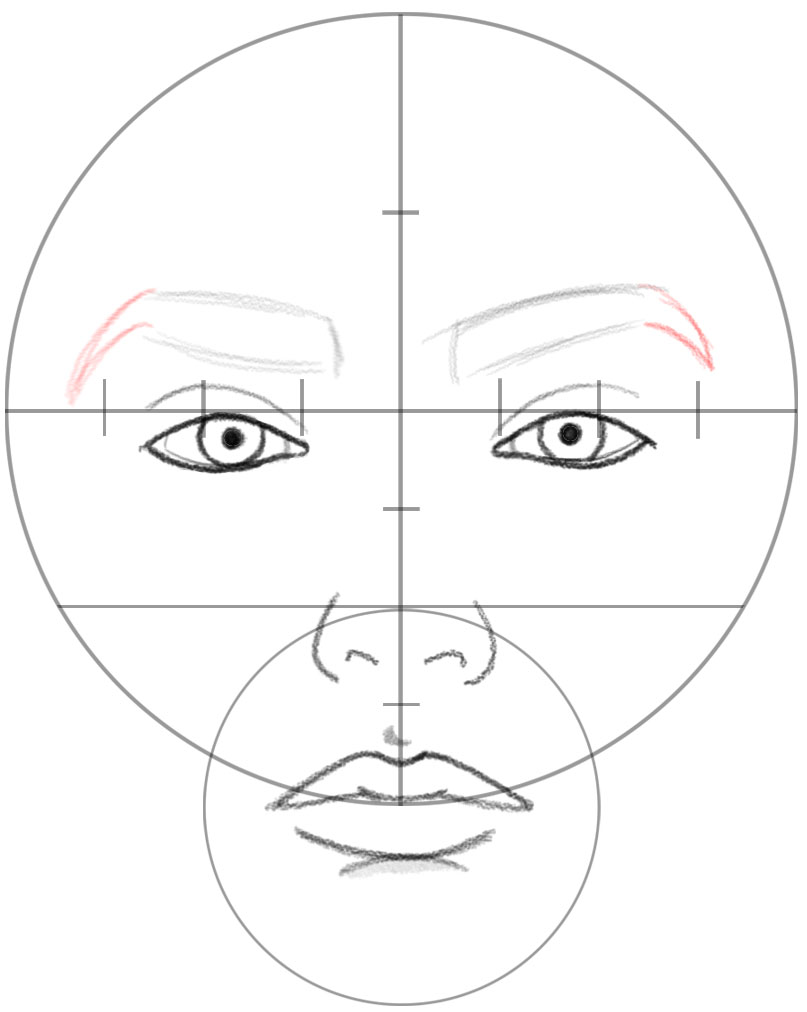
Finish sketching in the outline of the eyebrows. Add shading in the shadow below his mouth.
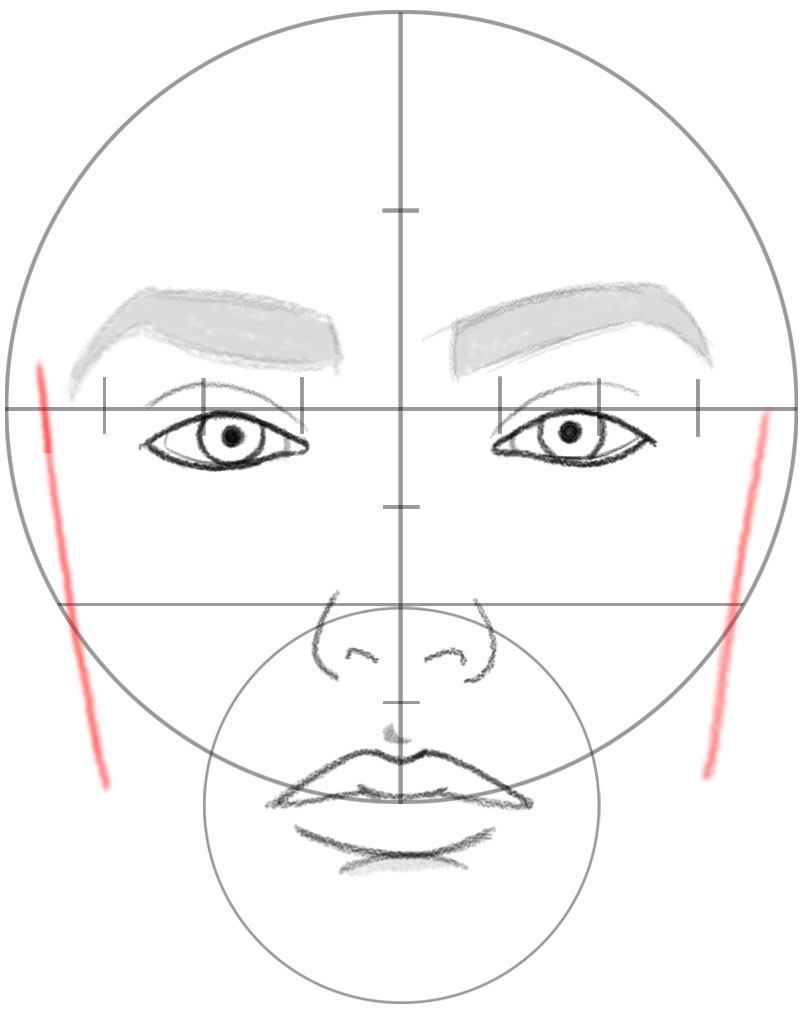
Use the guidelines to help you place the sides of her face. Add base shading to the eyebrows.
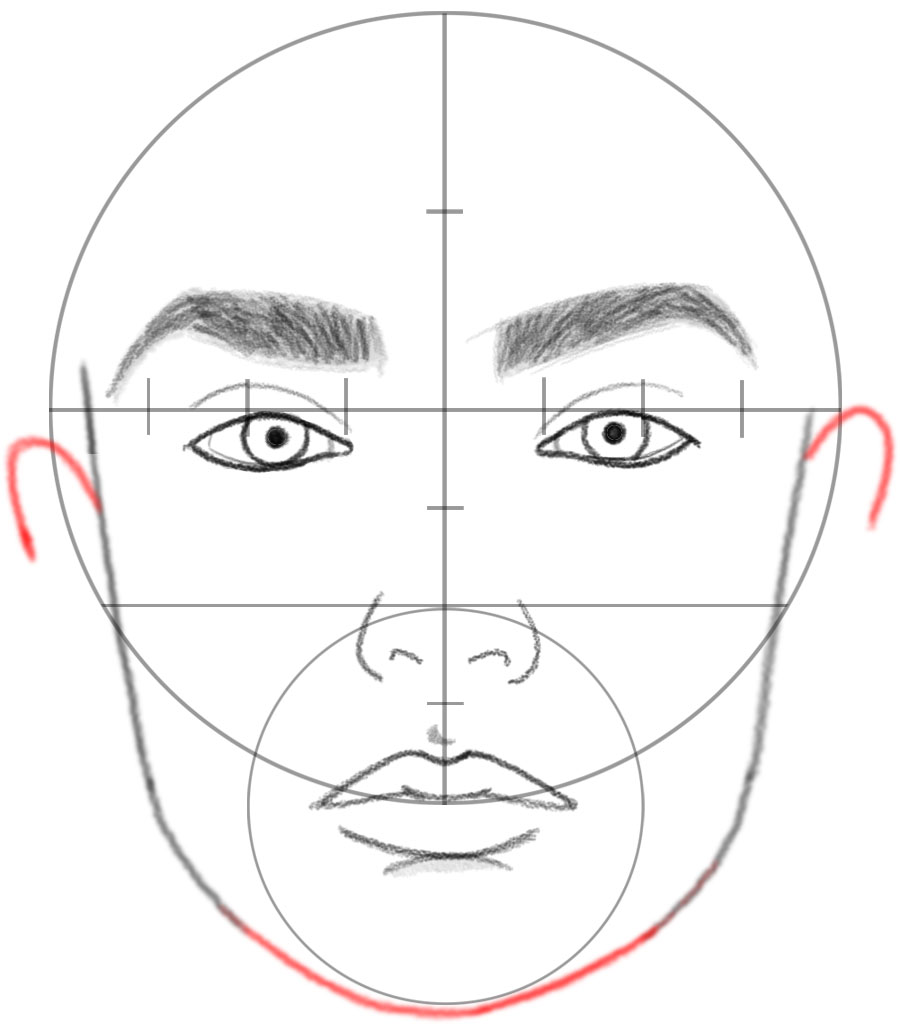
Start scribbling in some lines for the eyebrows. Continue drawing her jawline.
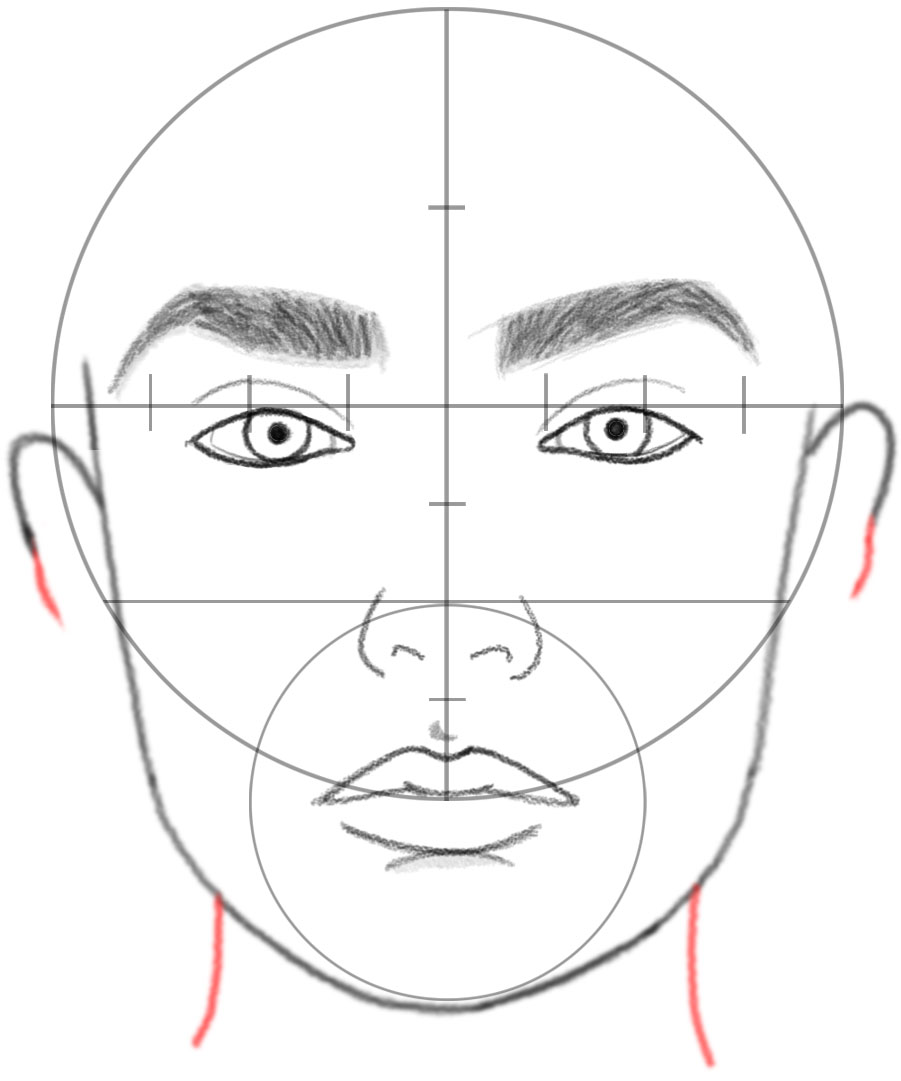
Use the circle guideline to help you draw the chin. Draw upside-down “U” shapes for her ears. Continue adding hairs (lines) to the eyebrows. Notice that the hairs change direction as you move further away from the center of the face.
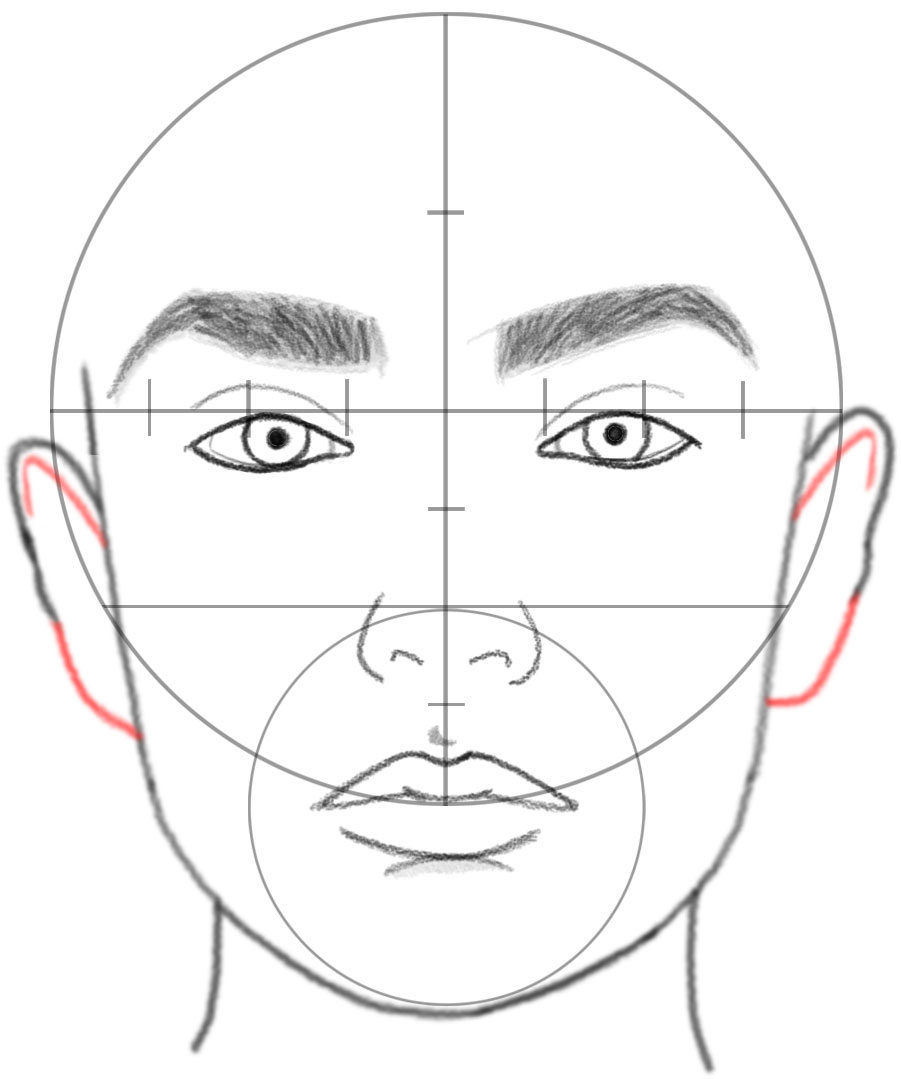
Draw curved lines for her neck. Add more to the ears.
Draw “L” shapes at the bottoms of her ears. Draw “J” shapes inside her ears.
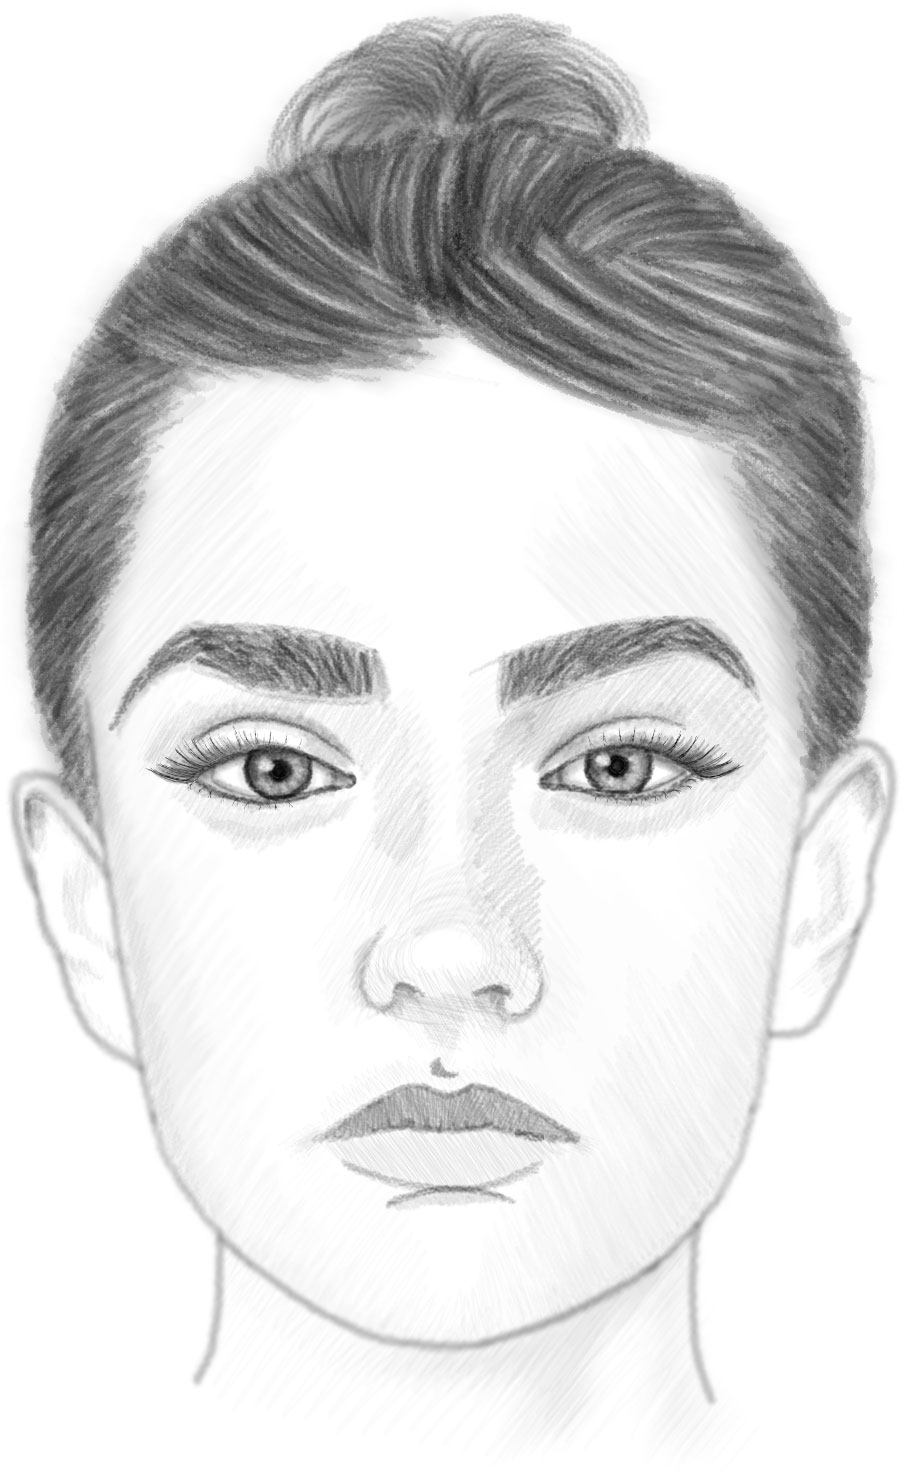
Add shading to the lips, nostrils, and irises. Add the base shapes that are in the hair.
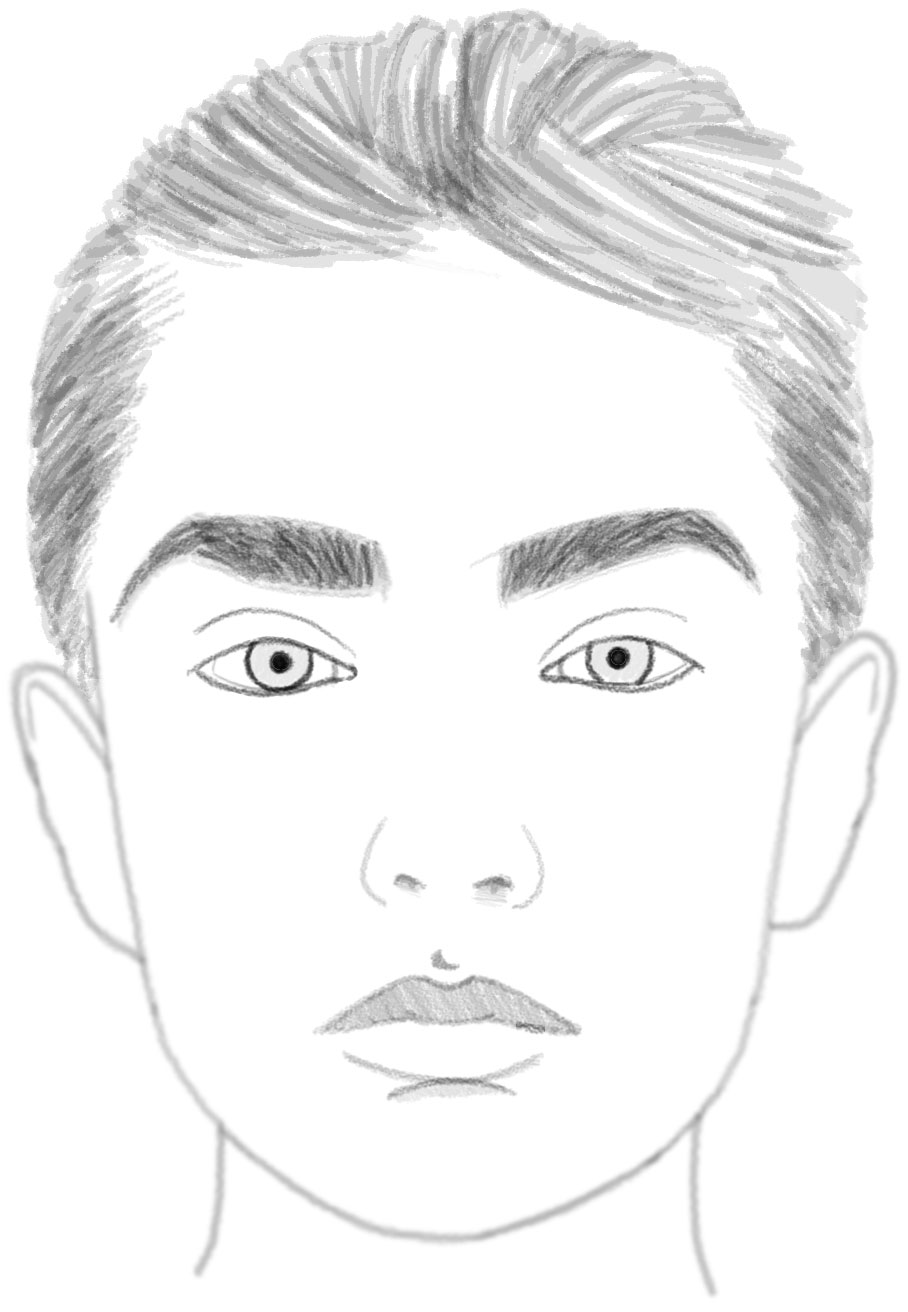
Erase the guidelines. Also, lighten the outlines of the face with an eraser. You could use a kneaded eraser to tap on the lines until they get light enough that you barely see them.
Add shading around the eyes, around the nose, and in her irises. Add some shading to the hair. You can smudge it a bit.
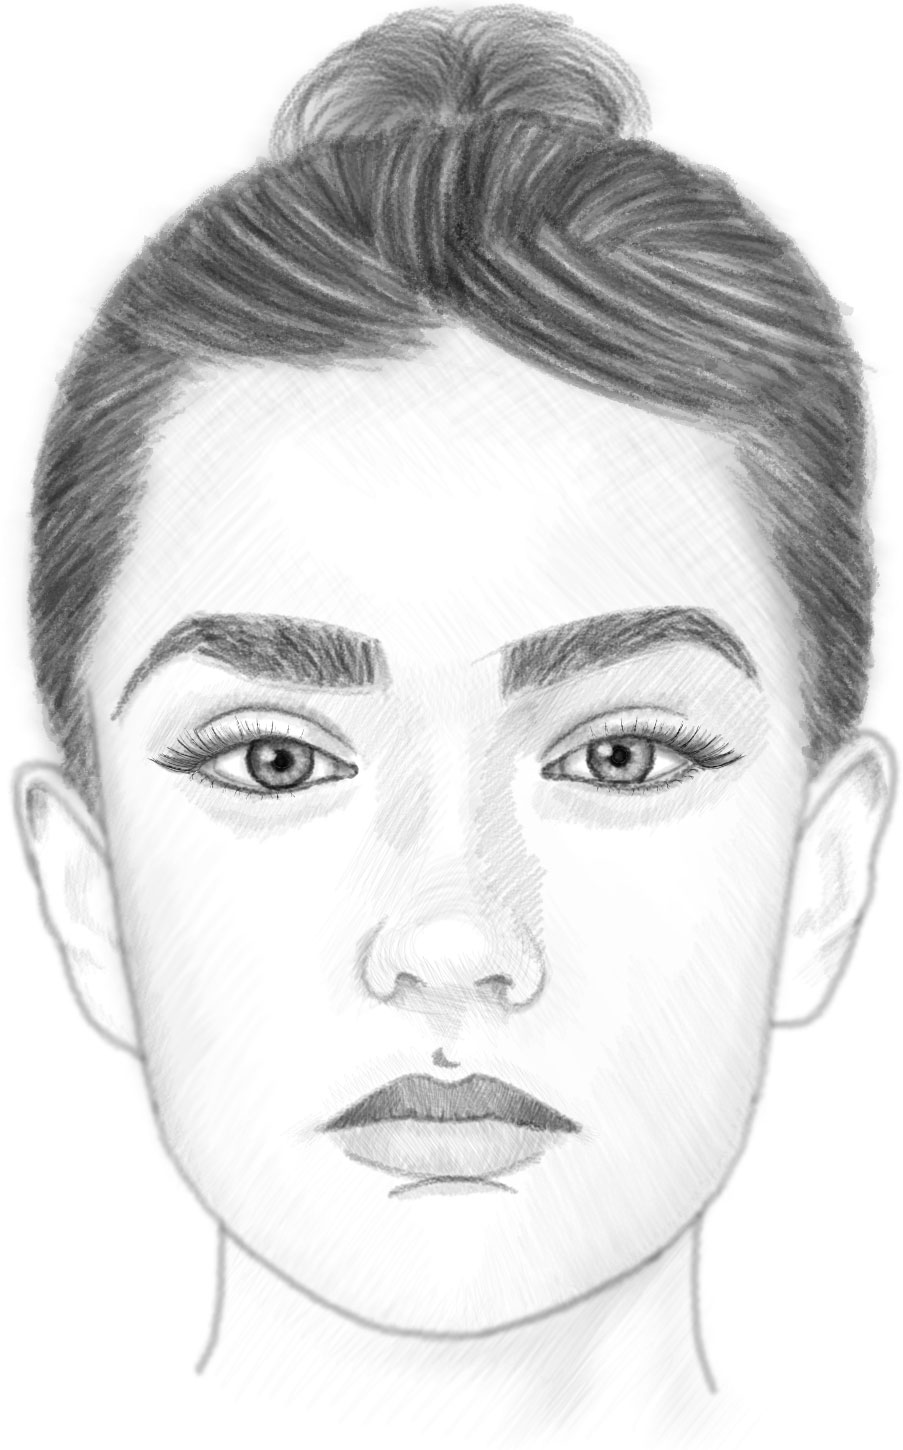
Add shading to the lower lip, to the side of the face, under the eyes, and on his upper eyelids. Shade the ears the way that I have.
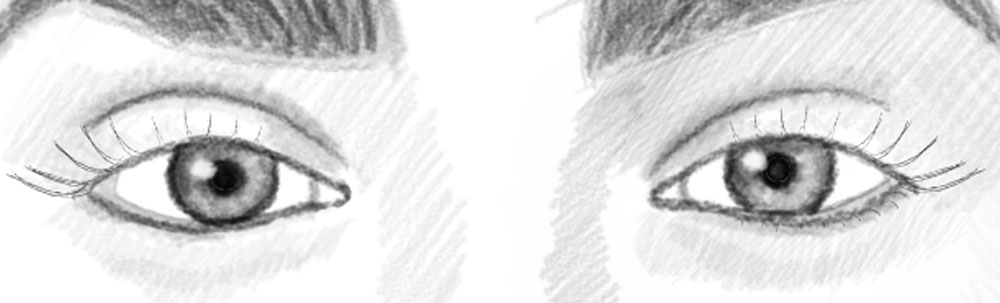
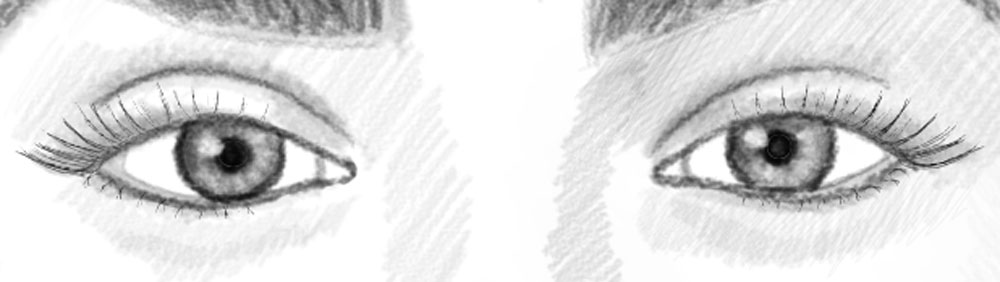
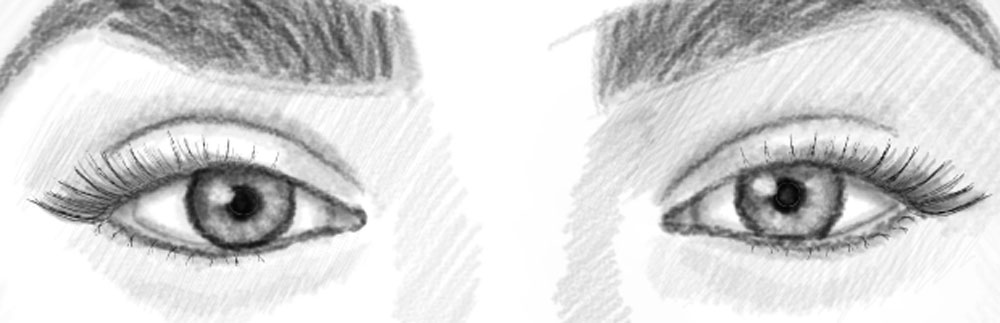
Darken the top left side of the iris. Then take an eraser and erase out a highlight. Remember that inner outline we drew a long time ago. Shade those in so they’re gray. Draw curved lines for the eyelashes. Then draw a second curved line for each eyelash so that they look like curved “V” shapes.
Add more eyelashes in between and shade behind them.
Darken the eyelashes and shade behind them again. Shade in the whites of the eyes, as well as the inner eye.
Add more lines to the hair. As you can see, we added a lot of shading. Try to imitate it.
Add more shading to her nose, the left side of her face, the right side of her throat, and her hair.
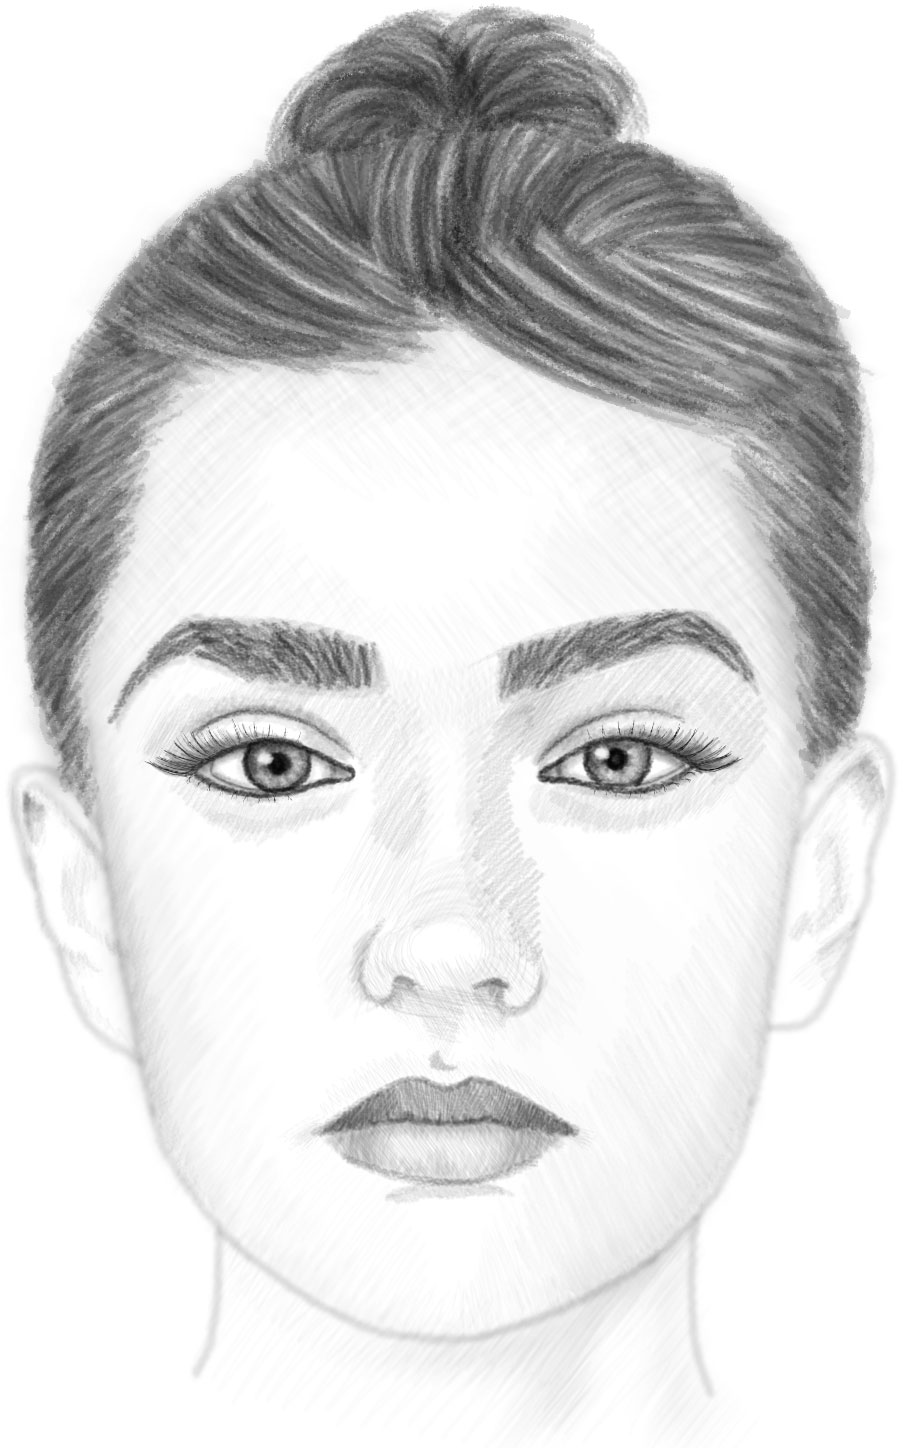
Add more shading to the sides of her top lip, the outer part of her bottom lip, the sides of her face, and her forehead.
Technorati Tags: portrait, portraits, portraiture, proportional, proportions, proportional face, how to draw a face, face, faces, head, heads, front view, side view, front, female, woman, girl, how to draw a realistic face, realistic
Today I'll show you how to draw Rick from the Rick and Morty cartoon tv…
Today I'll show you how to draw Morty from the Rick and Morty cartoon tv…
Today I'll show you how to draw the spunky little rabbit, Kuromi, from My Melody…
Today I'll show you how to draw this cute "bean duck" that I found on…
Today I'll show you how to draw Sosuke and Ponyo in a bubble (chibi /kawaii…
Today I'll show you how to draw a Boo from Super Mario Bros in Kawaii…
View Comments
Awesome 👍👍very useful technique for all beginners.
Awesome 👍👍 useful for all beginners.
Thank you for such an informative drawing I do ɓelive that this make me more productive.